Setting Up Departments
This document provides a step-by-step guide for setting up and managing Departments in the Exigo Admin portal.
Table of Contents
- Overview
- Accessing Department Settings
- Viewing Existing Departments
- Adding a New Department
- Deleting a Department
- Best Practices
- System Notes
Overview
Departments in Exigo are organizational units used to categorize and group users, content, and operations within your company. They appear across the system wherever departmental classification is needed, such as assigning users to teams or filtering company news by department.
Accessing Department Settings
Navigation Path
- Log in to the Exigo Admin portal at
login.exigo.com - From the left sidebar, navigate to Administration > Settings
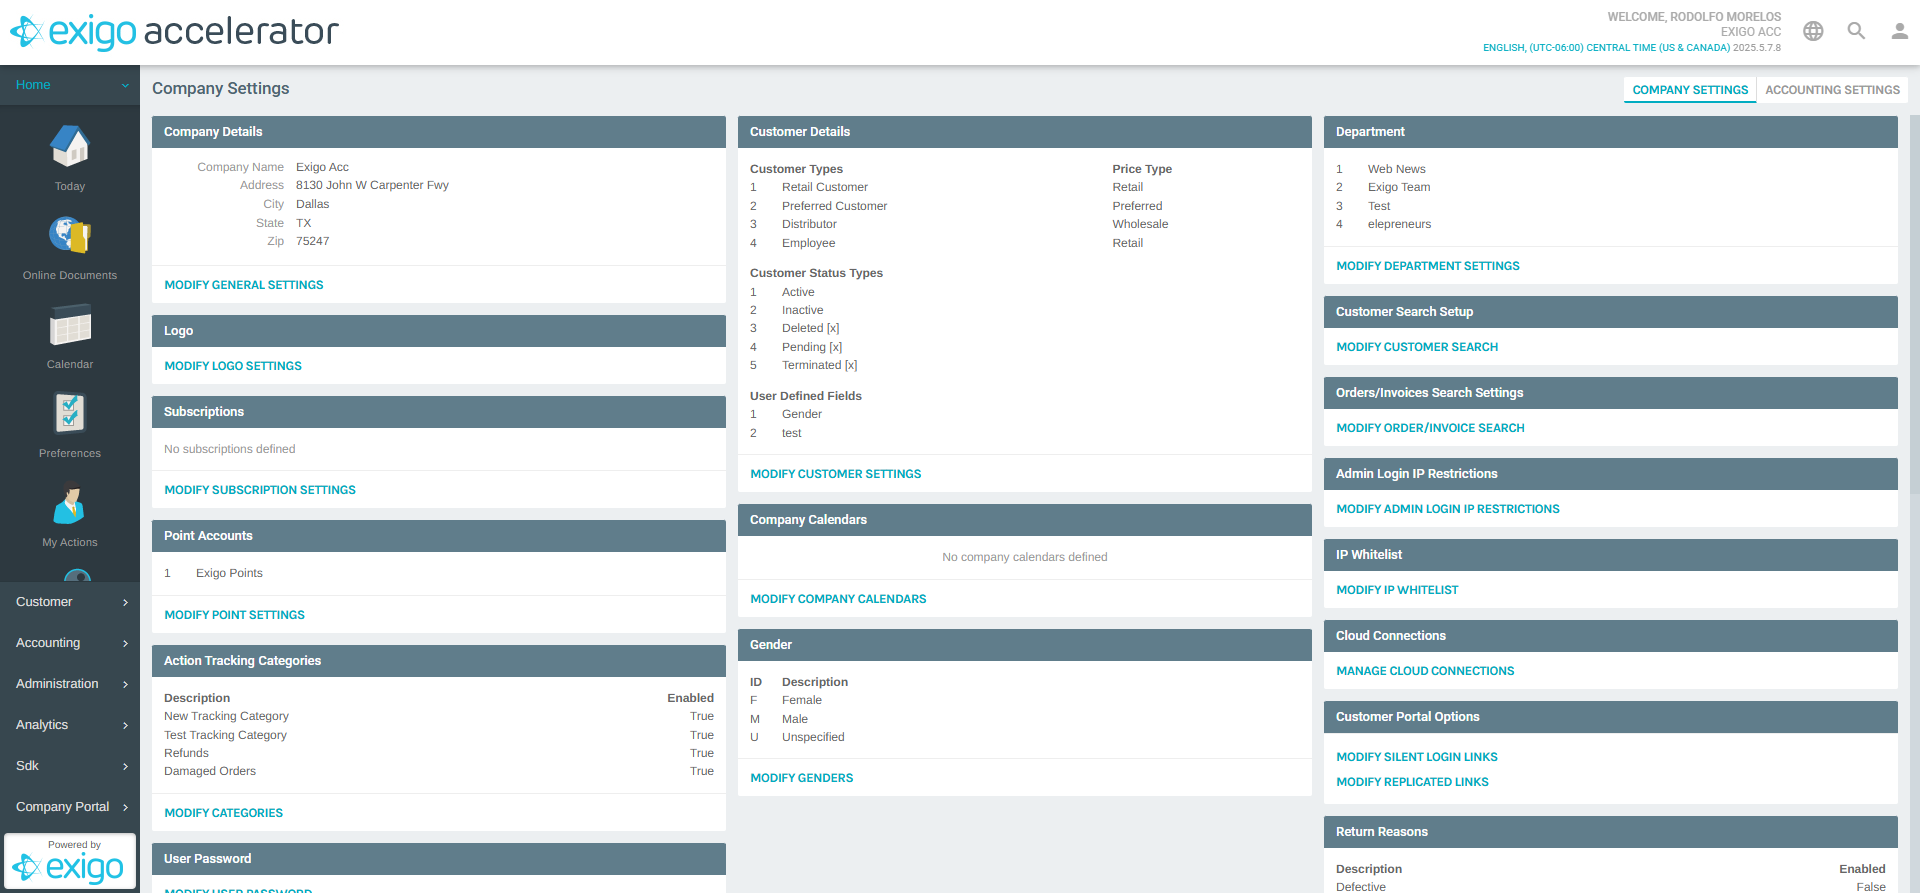
- The Company Settings page loads in the main content area. Scroll down to the Department section.
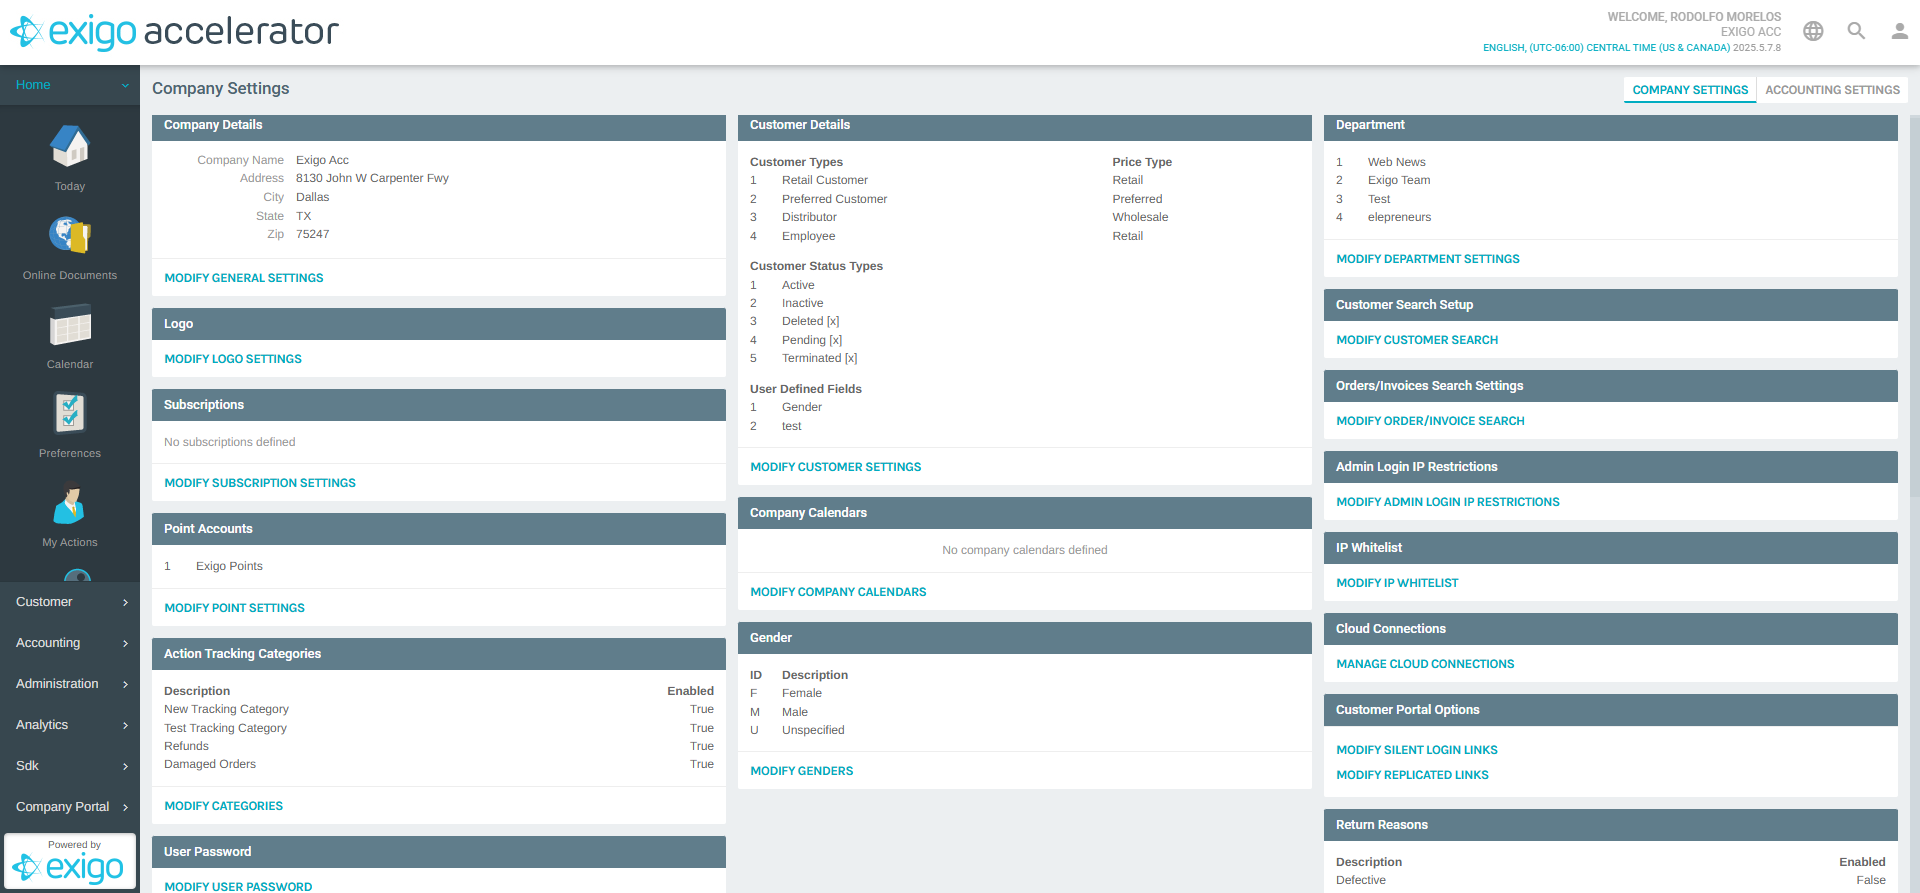
The Department section displays a summary of existing departments, showing: - ID: The numeric identifier for each department - Name: The department name
- Click MODIFY DEPARTMENT SETTINGS to open the department management popup.
Viewing Existing Departments
After clicking MODIFY DEPARTMENT SETTINGS, the "Modify General Settings" popup opens with the Departments tab selected.
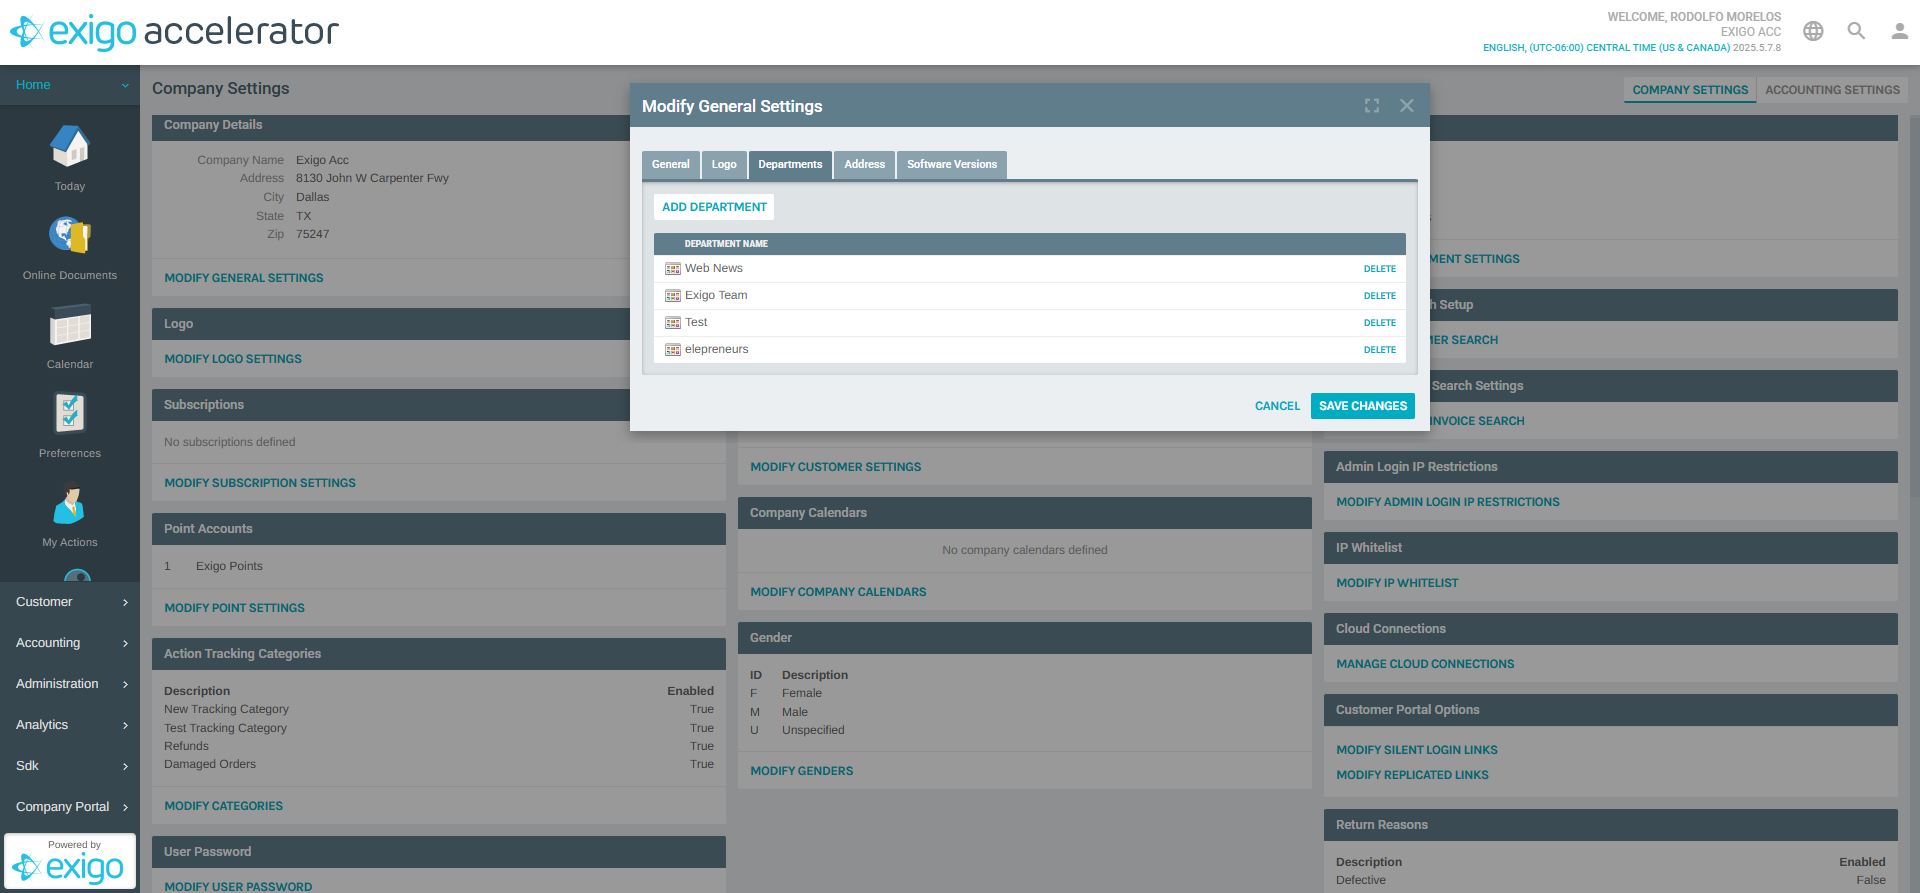
The popup includes: - Tab Navigation: General, Logo, Departments (active), Address, Software Versions - ADD DEPARTMENT button at the top of the department list - Department Table with columns: - Department Name: The name of each department - DELETE: Action button to remove a department - SAVE CHANGES / CANCEL buttons at the top of the popup
Adding a New Department
Steps to Add:
- In the Modify General Settings popup, ensure you are on the Departments tab
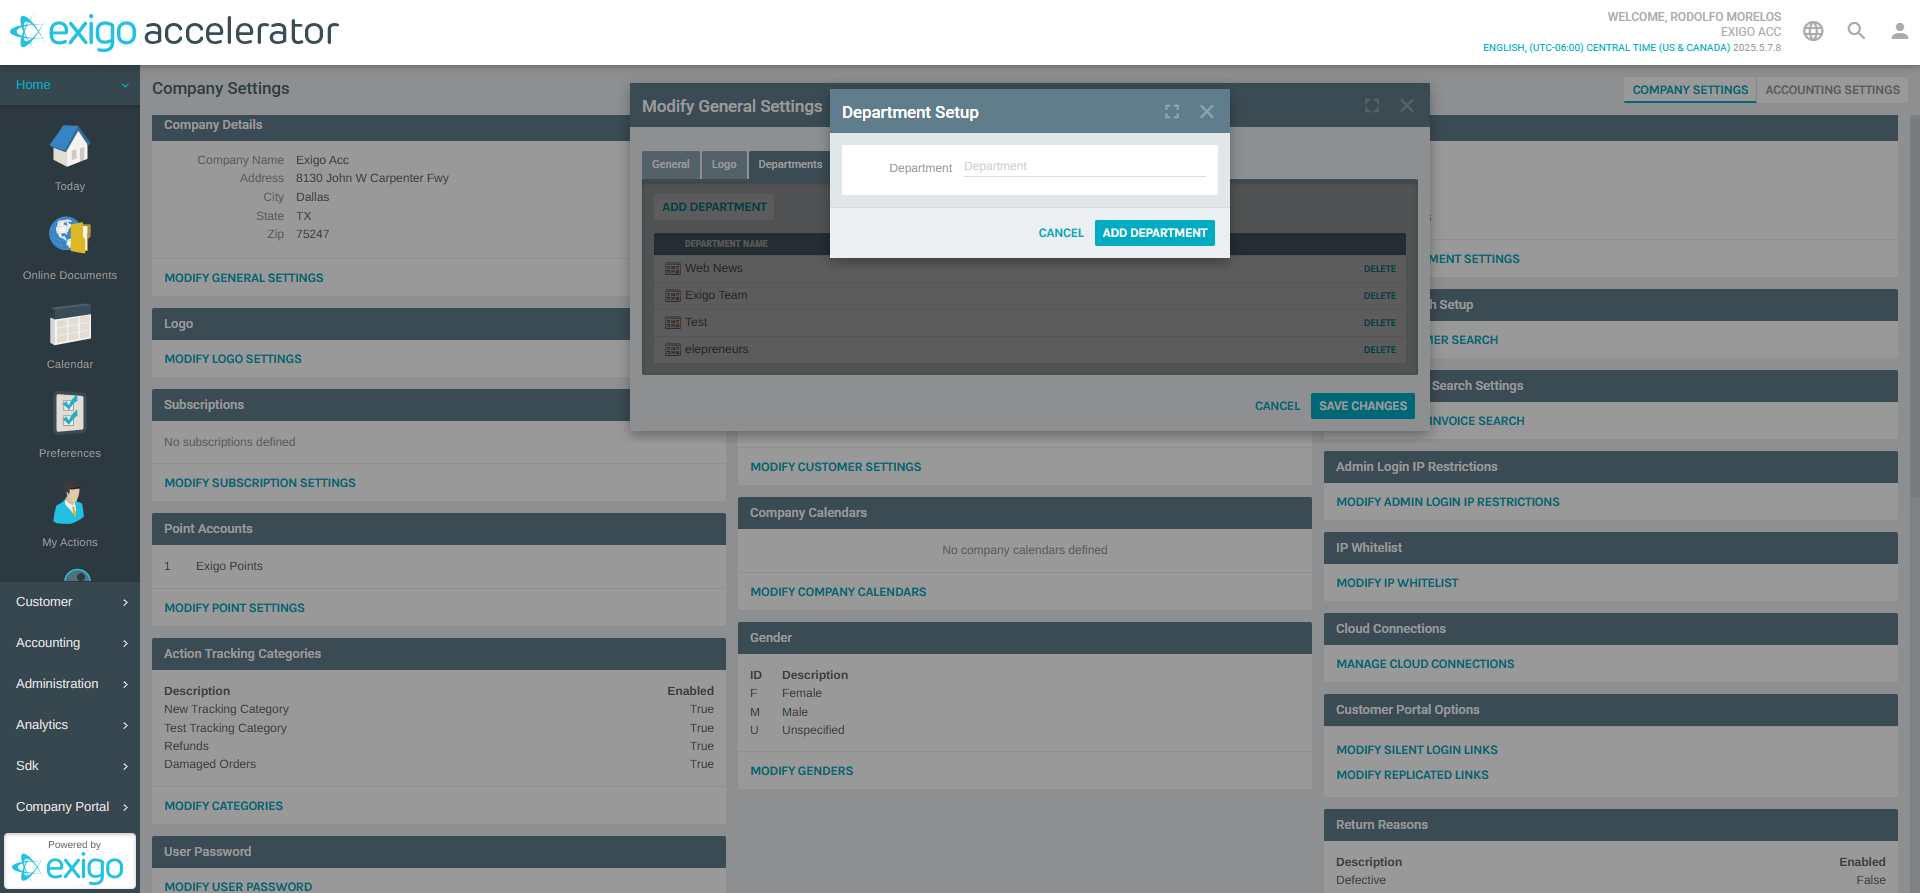
- Click the ADD DEPARTMENT button above the department list
-
The "Department Setup" dialog appears with:
- Department (Required): A text field for the new department name
- ADD DEPARTMENT button to confirm
- CANCEL button to abort
-
Enter the name for the new department:

- Click ADD DEPARTMENT to save the new department
- The new department will appear in the list on the Departments tab
- Click SAVE CHANGES on the Modify General Settings popup to persist all changes
Deleting a Department
Steps to Delete:
- Open the Modify General Settings popup via MODIFY DEPARTMENT SETTINGS
- Navigate to the Departments tab
- Find the department you want to remove in the list
- Click the DELETE button next to the department name
- Click SAVE CHANGES to persist the deletion
Warning
Deleting a department is permanent. Ensure the department is not actively assigned to users or referenced by other system configurations before removing it.
Best Practices
- Use Clear Names: Choose descriptive department names that clearly identify the team or organizational unit (e.g., "Customer Support", "Marketing", "Engineering")
- Plan Before Creating: Map out your organizational structure before adding departments to avoid unnecessary cleanup later
- Avoid Deleting Active Departments: If a department is in use, consider renaming it rather than deleting and recreating
- Consistent Naming Convention: Use a consistent style (e.g., title case) across all department names for a professional appearance
System Notes
- Departments are assigned a sequential numeric ID automatically when created
- Department IDs cannot be changed after creation
- Departments are available throughout the system for user assignment and filtering
- Changes to departments take effect after clicking SAVE CHANGES on the Modify General Settings popup
Documentation created: February 18, 2026 Environment: Exigo Admin v2025.5.7.8