Creating Customer Termination (Admin)
This guide explains how to configure Customer Termination Settings and Termination Reasons in Exigo Admin. These settings define what happens to a customer's account when they are terminated, and provide standardized reasons for the termination.
Overview
Customer Termination in Exigo is composed of two parts:
- Termination Settings: Define the automated actions that occur when a customer is terminated (e.g., change status, cancel recurring orders, disable login).
- Termination Reasons: Define the list of reasons that can be selected when terminating a customer (e.g., "Customer Request", "Policy Violation").
Both are configured under Administration > Settings > Company Settings.
Step-by-step
1) Navigate to Company Settings
- In the left navigation sidebar, expand Administration
- Click Settings
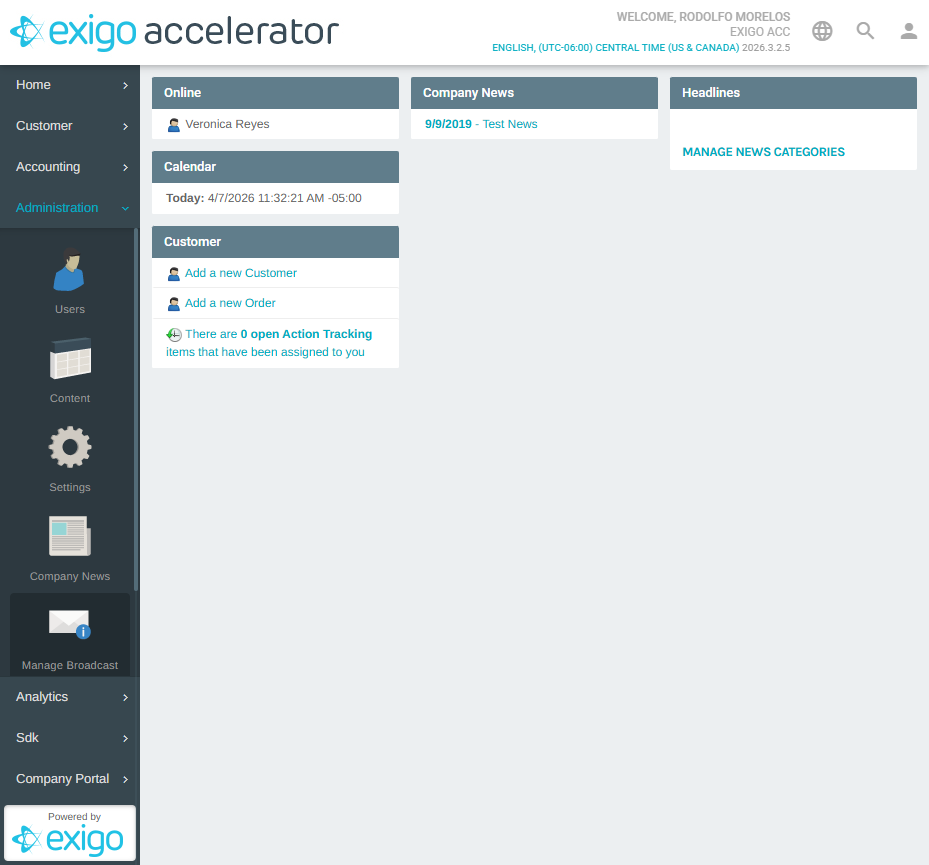
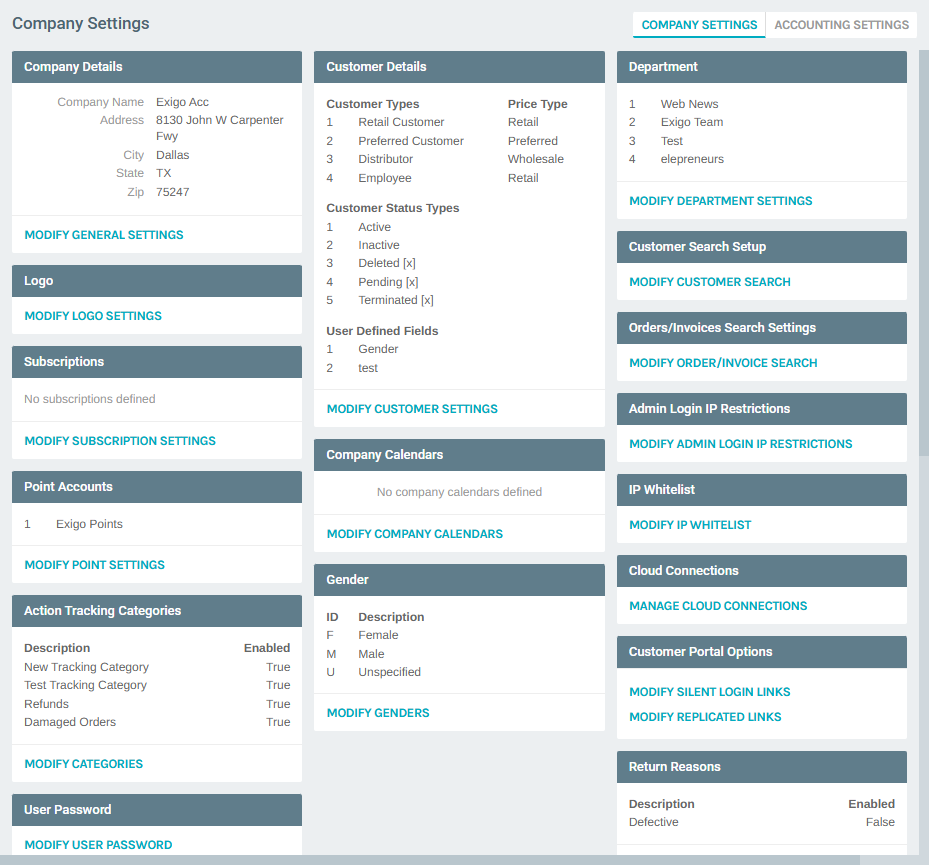
The Company Settings page loads, displaying all company-level configuration panels in a multi-column layout.
2) Locate the Customer Termination Sections
Scroll down on the Company Settings page to find two related panels:
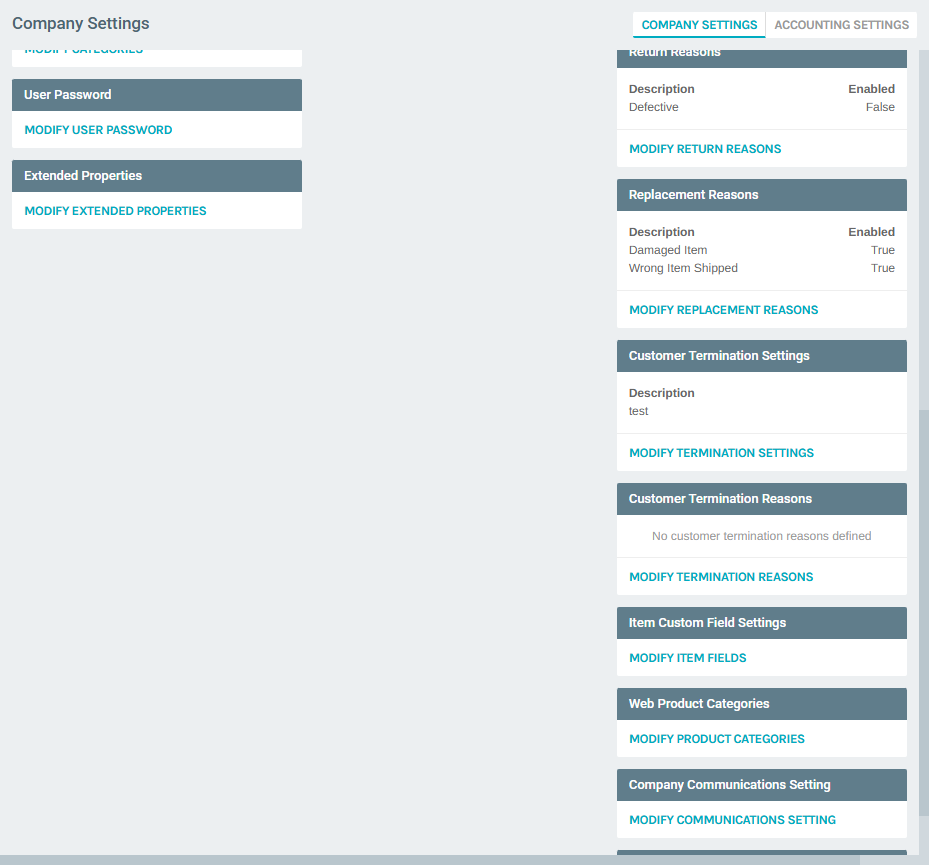
- Customer Termination Settings — lists configured termination setting profiles and provides a link to MODIFY TERMINATION SETTINGS
- Customer Termination Reasons — lists configured termination reasons and provides a link to MODIFY TERMINATION REASONS
Configuring Termination Settings
3) Open the Termination Settings List
Click MODIFY TERMINATION SETTINGS on the Company Settings page. The Customer Termination Settings list page displays all configured termination setting profiles.
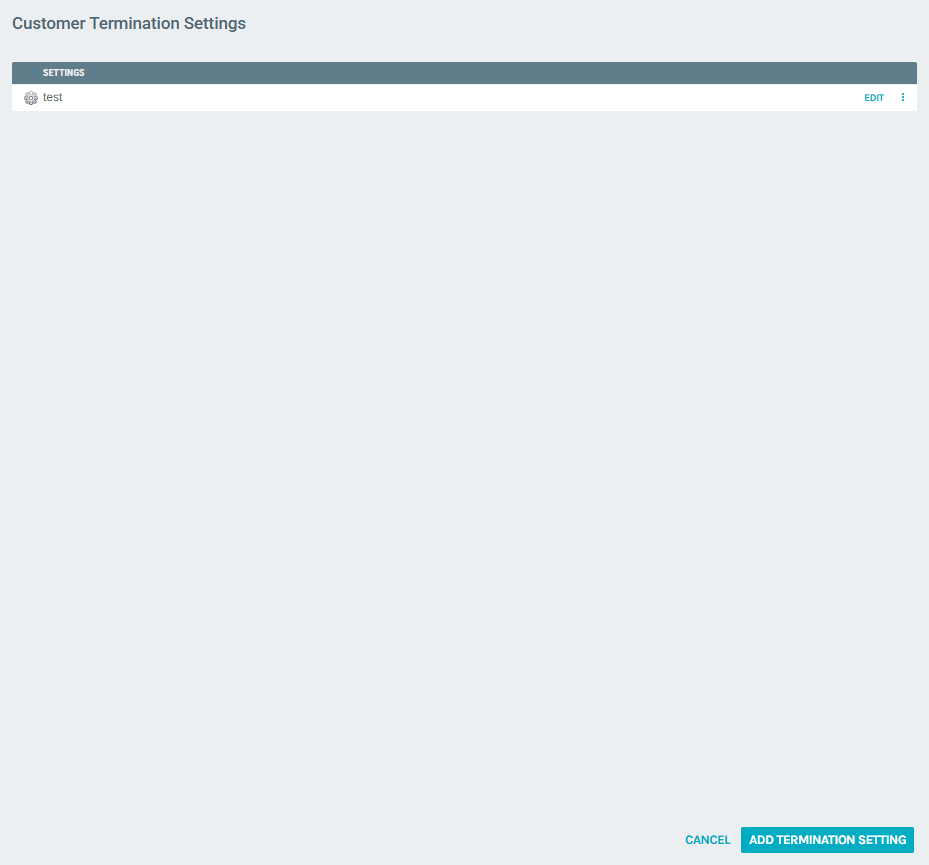
Each entry in the list shows:
- The setting description
- An Edit link to modify the setting
- A more options menu (three-dot icon) with additional actions (edit, delete)
4) Add a New Termination Setting
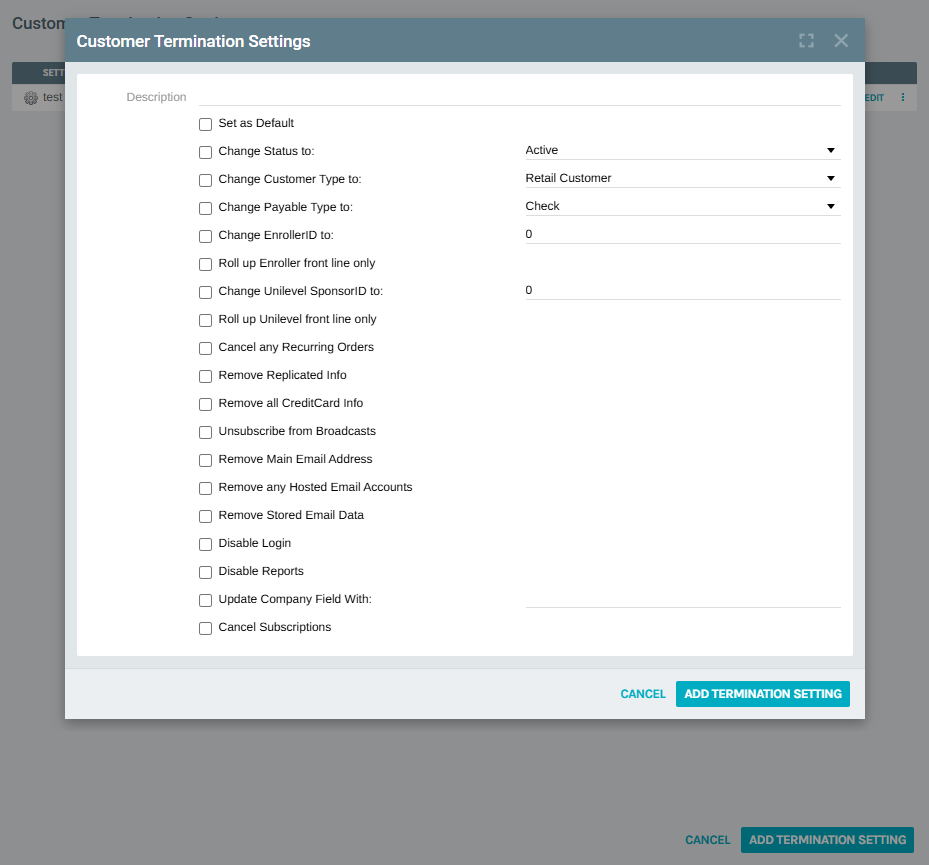
Click the ADD TERMINATION SETTING button at the bottom-right of the list page. A popup form appears with the following options:
Fields
| Field | Description |
|---|---|
| Description | A descriptive name for this termination setting profile (e.g., "Standard Termination", "Full Data Removal") |
Checkboxes and Options
| Option | Description |
|---|---|
| Set as Default | Marks this setting as the default profile used when terminating a customer |
| Change Status to | When checked, changes the customer's status to the selected value (e.g., Active, Inactive, Terminated) |
| Change Customer Type to | When checked, changes the customer's type to the selected value (e.g., Retail Customer, Preferred Customer, Distributor) |
| Change Payable Type to | When checked, changes the customer's payable type to the selected value (e.g., Check) |
| Change EnrollerID to | When checked, reassigns the customer's Enroller ID to the specified value |
| Roll up Enroller front line only | Rolls the terminated customer's front-line enrollees up to the terminated customer's enroller |
| Change Unilevel SponsorID to | When checked, reassigns the customer's Unilevel Sponsor ID to the specified value |
| Roll up Unilevel front line only | Rolls the terminated customer's front-line unilevel downline up to the terminated customer's sponsor |
| Cancel any Recurring Orders | Cancels all active recurring (auto-ship) orders for the customer |
| Remove Replicated Info | Removes the customer's replicated website information |
| Remove all CreditCard Info | Deletes all stored credit card data from the customer's account |
| Unsubscribe from Broadcasts | Removes the customer from all broadcast/email subscription lists |
| Remove Main Email Address | Clears the customer's primary email address |
| Remove any Hosted Email Accounts | Deletes any hosted email accounts associated with the customer |
| Remove Stored Email Data | Removes stored email data from the customer's account |
| Disable Login | Prevents the customer from logging in to their account |
| Disable Reports | Removes the customer's access to reports |
| Update Company Field With | When checked, updates the customer's Company field with the specified text value |
| Cancel Subscriptions | Cancels all active subscriptions for the customer |
Click ADD TERMINATION SETTING to save the new profile, or CANCEL to discard.
5) Edit an Existing Termination Setting
From the Termination Settings list, click Edit next to any existing entry. The same form opens with the current values pre-populated.
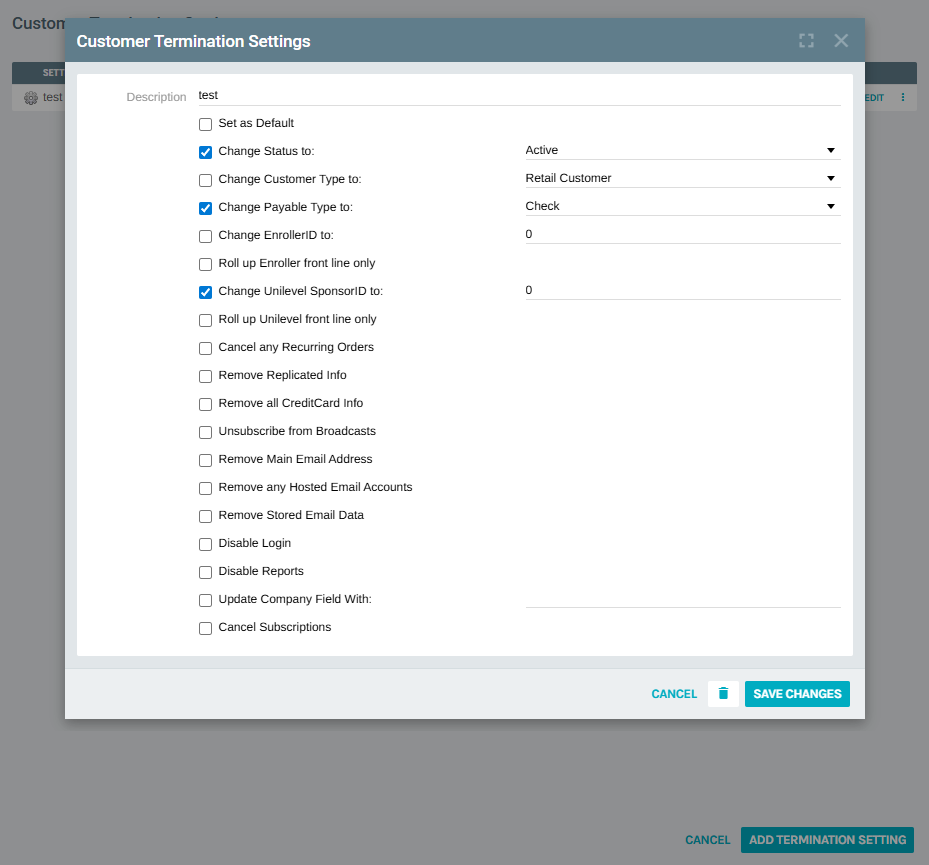
- Modify any fields or checkboxes as needed
- Click SAVE CHANGES to update the setting
- Click the delete icon (trash can) to remove the setting
- Click CANCEL to discard changes
Configuring Termination Reasons
6) Open the Termination Reasons List
Navigate back to the Company Settings page and click MODIFY TERMINATION REASONS, or access it directly from the list page. The Customer Termination Reasons list displays all configured reasons.
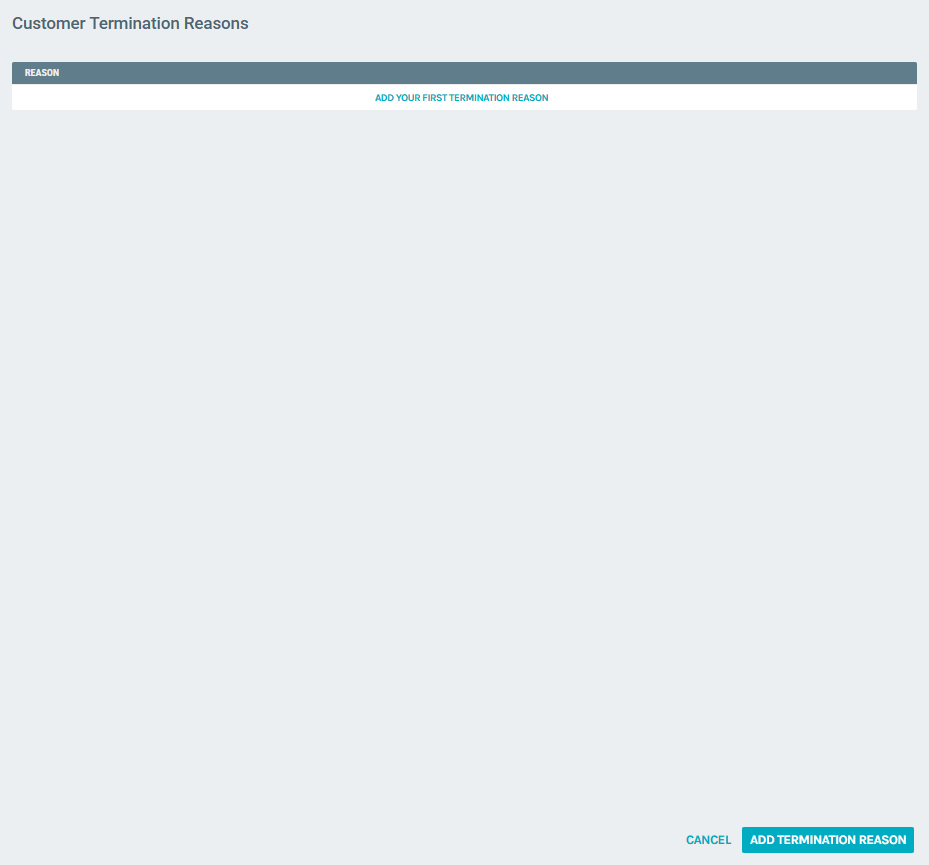
If no reasons have been defined, the list shows "Add your first Termination Reason".
7) Add a New Termination Reason
Click the ADD TERMINATION REASON button at the bottom-right of the list page. A popup form appears:
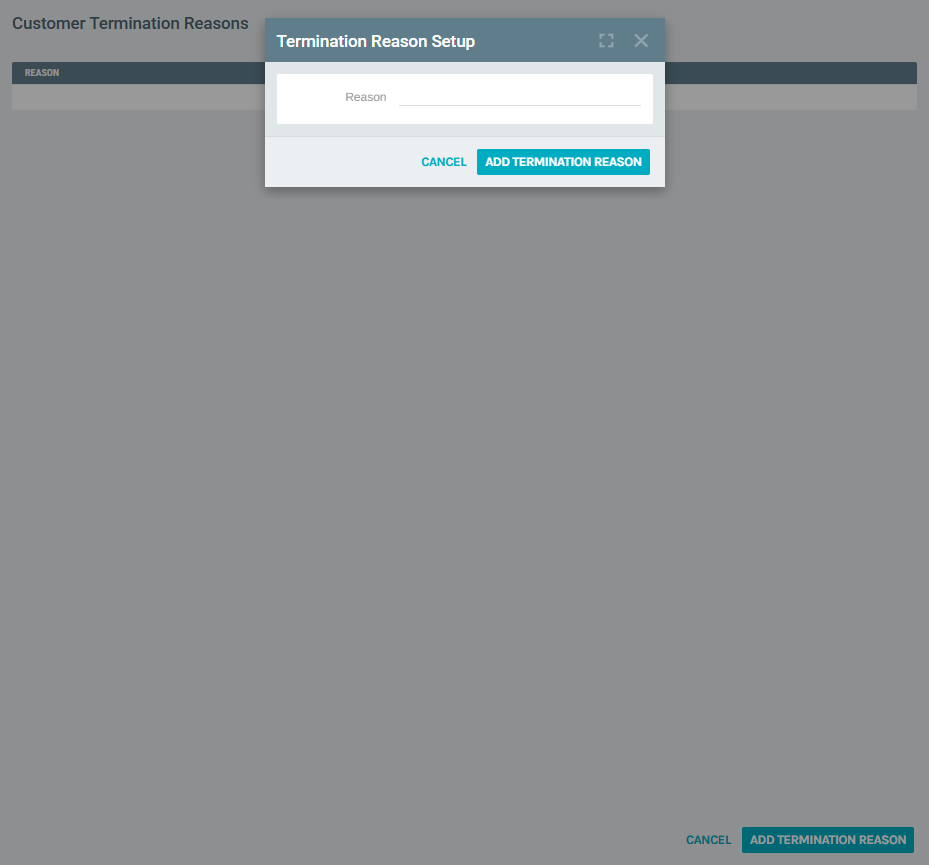
| Field | Description |
|---|---|
| Reason | The descriptive text for the termination reason (e.g., "Customer Request", "Policy Violation", "Non-Payment") |
Click ADD TERMINATION REASON to save, or CANCEL to discard.
8) Edit or Delete a Termination Reason
From the Termination Reasons list, each entry has:
- An Edit link to modify the reason text
- A more options menu with a delete option to remove the reason
Notes
- You can create multiple termination setting profiles for different scenarios (e.g., a "Soft Termination" that only changes status vs. a "Full Termination" that removes all data and disables login).
- Mark one profile as Set as Default so it is automatically selected when terminating a customer.
- Termination Reasons are presented to the user performing the termination, providing an audit trail for why the customer was terminated.
- The Change Status to dropdown includes all configured Customer Status Types (e.g., Active, Inactive, Deleted, Pending, Terminated). Typically, termination settings use "Terminated" or "Inactive".
- The Roll up options (Enroller and Unilevel) are important for maintaining the genealogy tree — they reassign the terminated customer's direct downline to avoid orphaned positions.
- Use caution with data removal options (credit cards, email, replicated info) as these actions cannot be undone.