Create a New User
This guide walks through the process of creating a new user in Exigo.
Prerequisites
- An active Exigo account with Administration access
- Access to login.exigo.com
Step 1: Log In
Navigate to login.exigo.com and enter your Username, Password, and Company name, then click Sign In.

If multi-factor authentication (MFA) is enabled on your account, you will be prompted to select a delivery method (SMS or Email) and enter the 6-digit code you receive before proceeding.
Step 2: Navigate to the Users List
Once logged in, you will land on the Dashboard. In the left-hand sidebar, expand the Administration section and click Users.
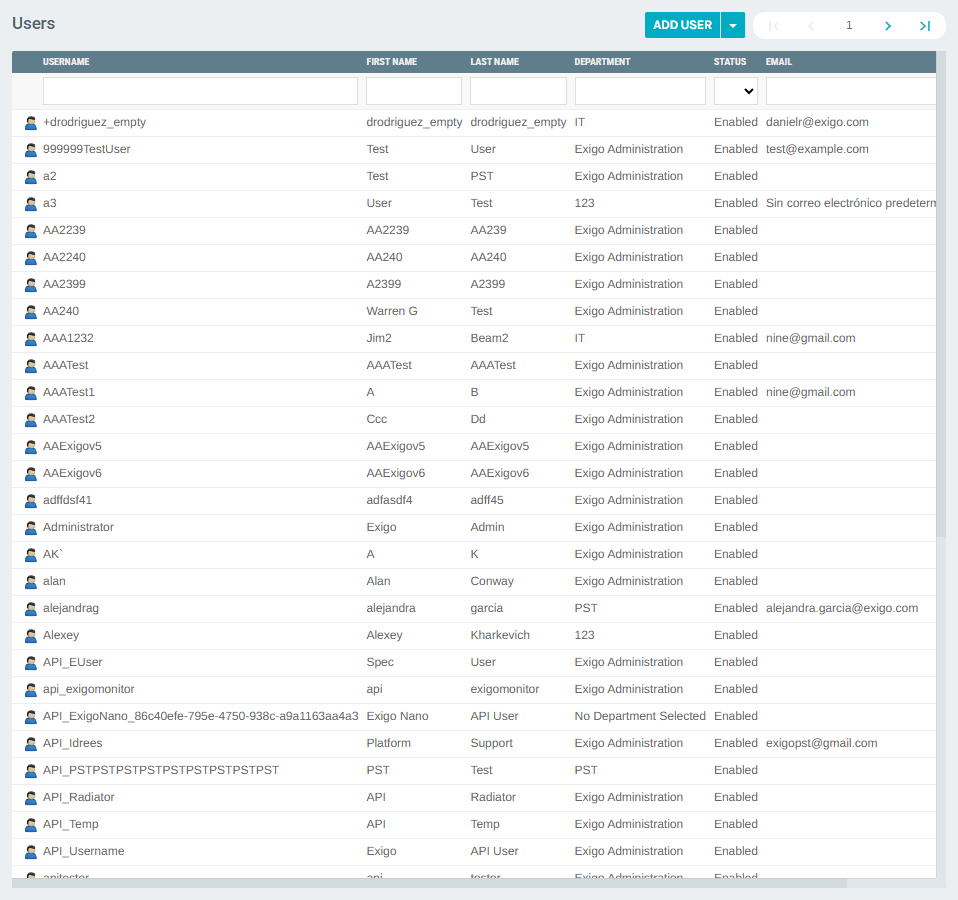
This opens the Users list, which shows all existing users along with their username, name, department, status, and email.
Step 3: Click "Add User"
At the top of the Users list, click the ADD USER button.
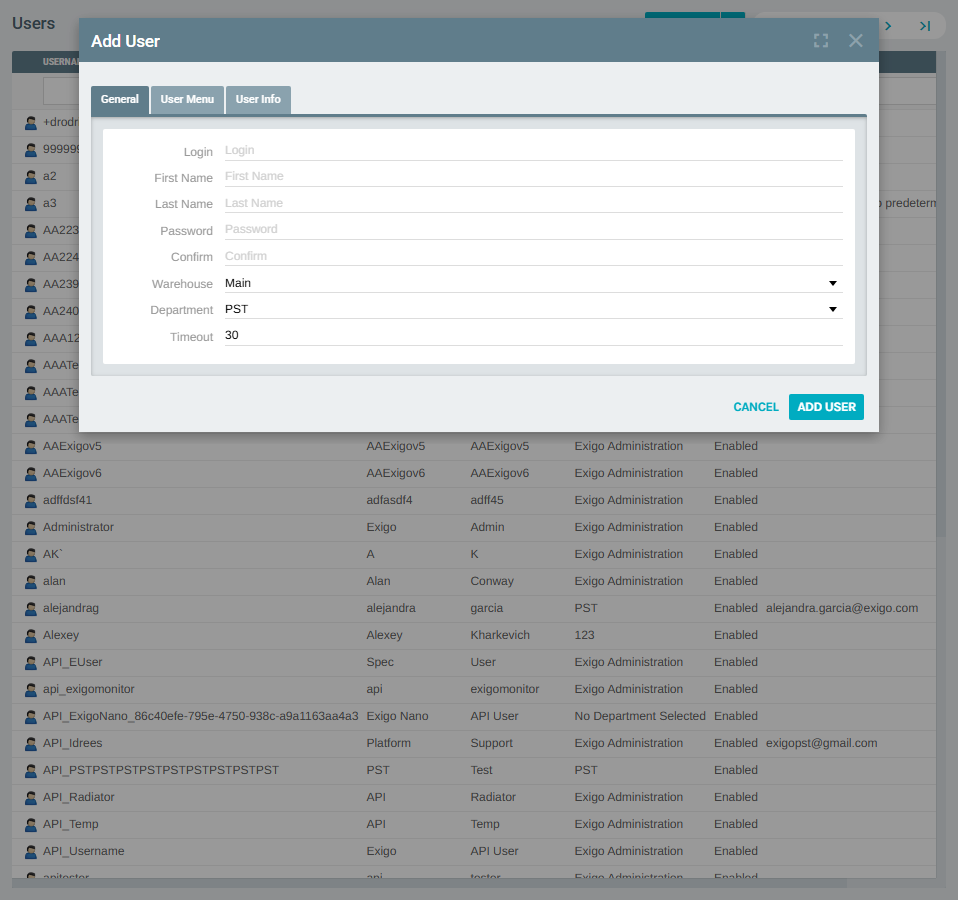
An Add User dialog will appear with three tabs: General, User Menu, and User Info.
Step 4: Fill in the User Details
On the General tab, fill in the required fields:
| Field | Description |
|---|---|
| Login | The username the new user will use to sign in |
| First Name | User's first name |
| Last Name | User's last name |
| Password | Initial password for the account |
| Confirm | Re-enter the password to confirm |
| Warehouse | Assign a warehouse (defaults to Main) |
| Department | Assign the user to a department |
| Timeout | Session timeout in minutes (defaults to 30) |
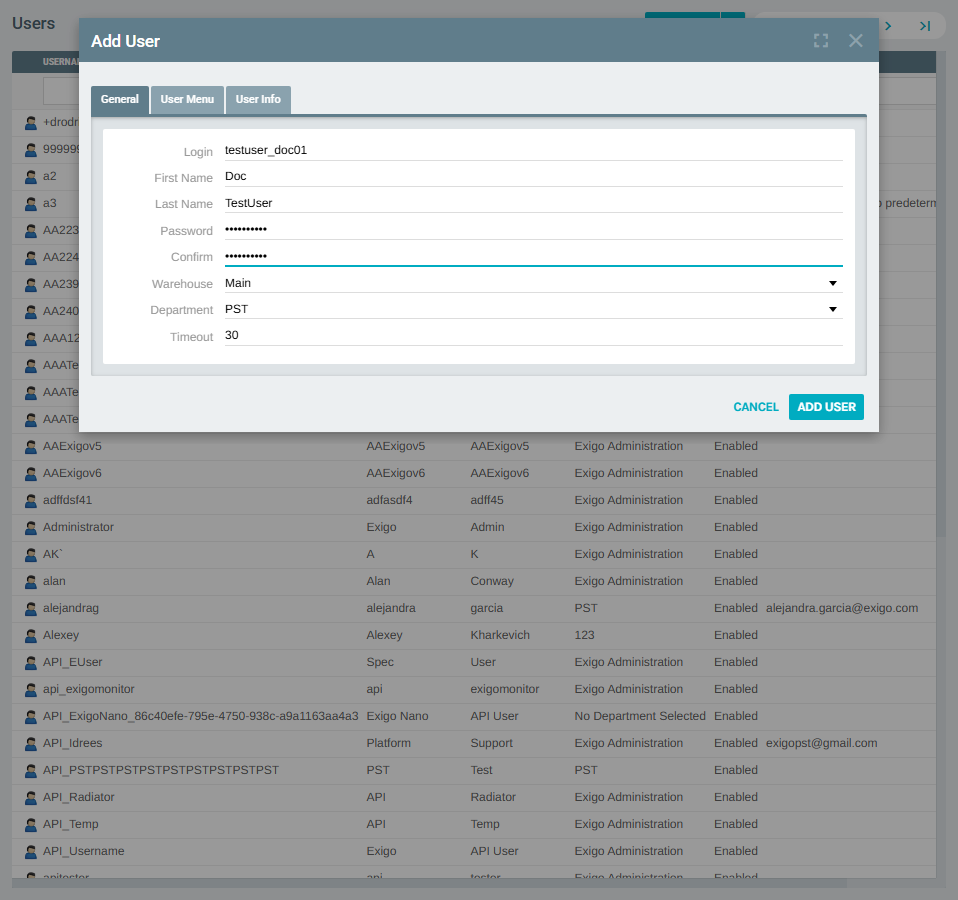
Once all required fields are filled, click ADD USER.
Step 5: Confirm the User Was Created
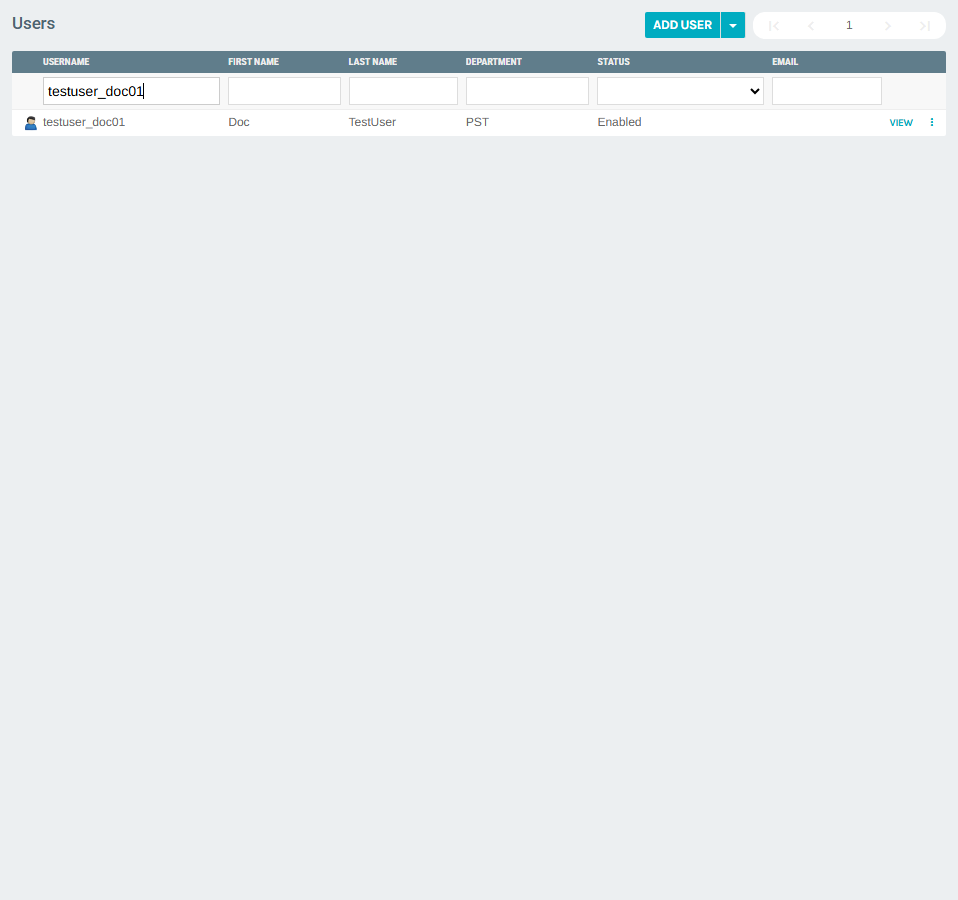
After submitting, you are returned to the Users list. The dialog closes automatically upon success.
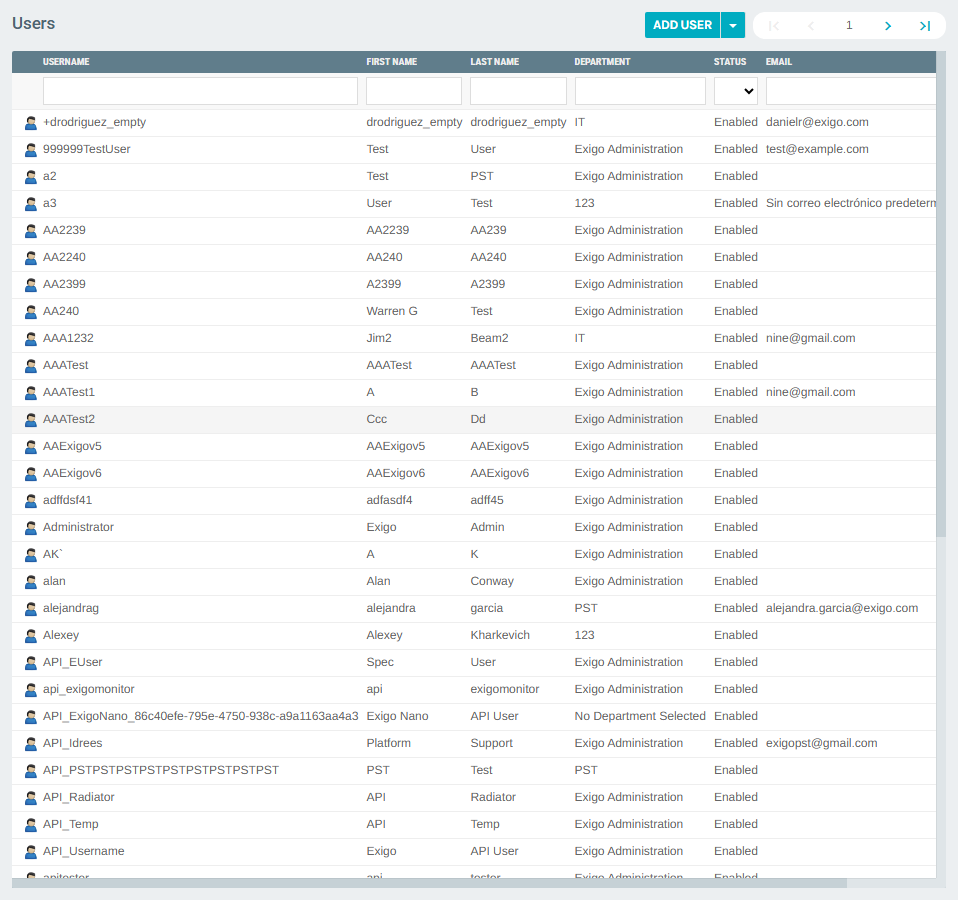
Use the Username search box to filter the list and confirm your new user appears.
Step 6: View the New User's Profile
Click VIEW next to the new user to open their profile. The User Details section confirms all the information that was entered during creation.
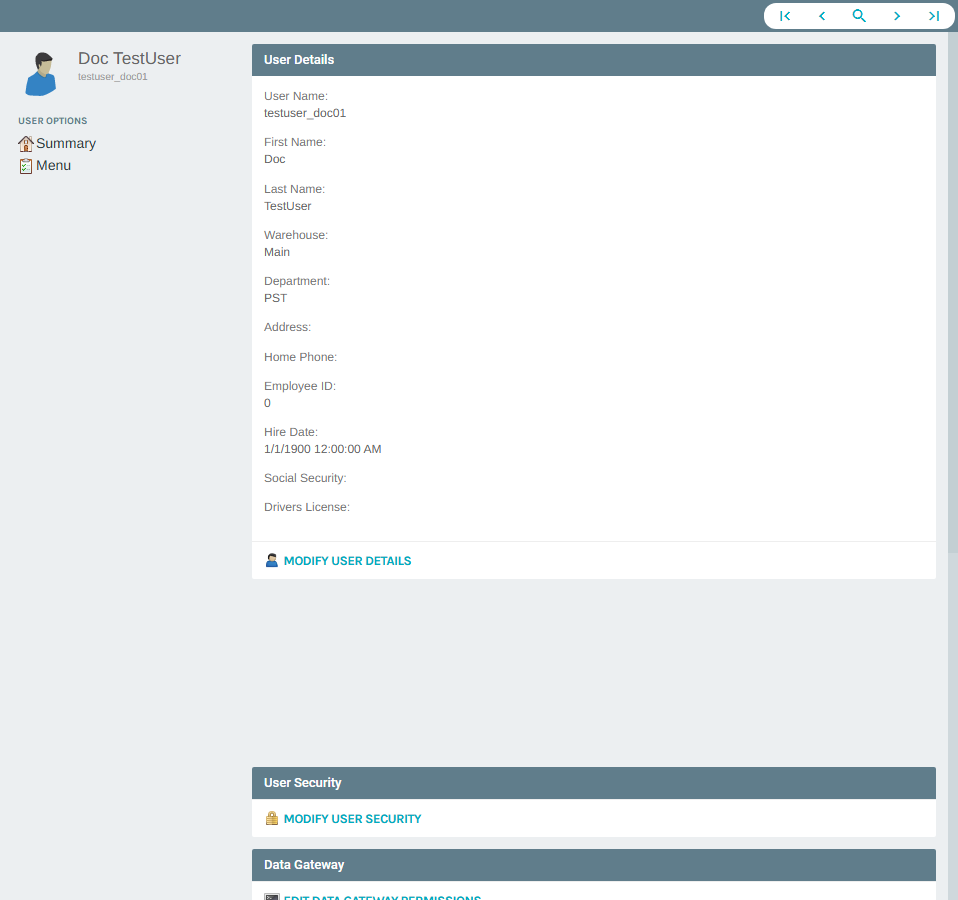
From this page you can further configure the user by modifying their details, security permissions, or data gateway access.