Creating Standard Items (Admin)
This guide explains how to create a Standard Item in Exigo Admin. Items represent the products, fees, enrollment packs, and other purchasable entities in your system.
Overview
Standard items are the most common item type in Exigo. When creating a standard item, you can configure:
- Basic information (description, item code, weight)
- Warehouse availability and inventory management
- Pricing across multiple price types and currencies
- Country/region availability and taxation
- Order triggers (subscriptions, point accounts, customer upgrades, recurring orders)
Other item types available include Static Kit, Dynamic Kit, and Static Kit (Legacy), but this guide focuses on creating a standard item.
Step-by-step
1) Navigate to the Items List
- In the left navigation sidebar, expand Accounting
- Click Items
- The Items list page will load, displaying all existing items with their Item Code and Description
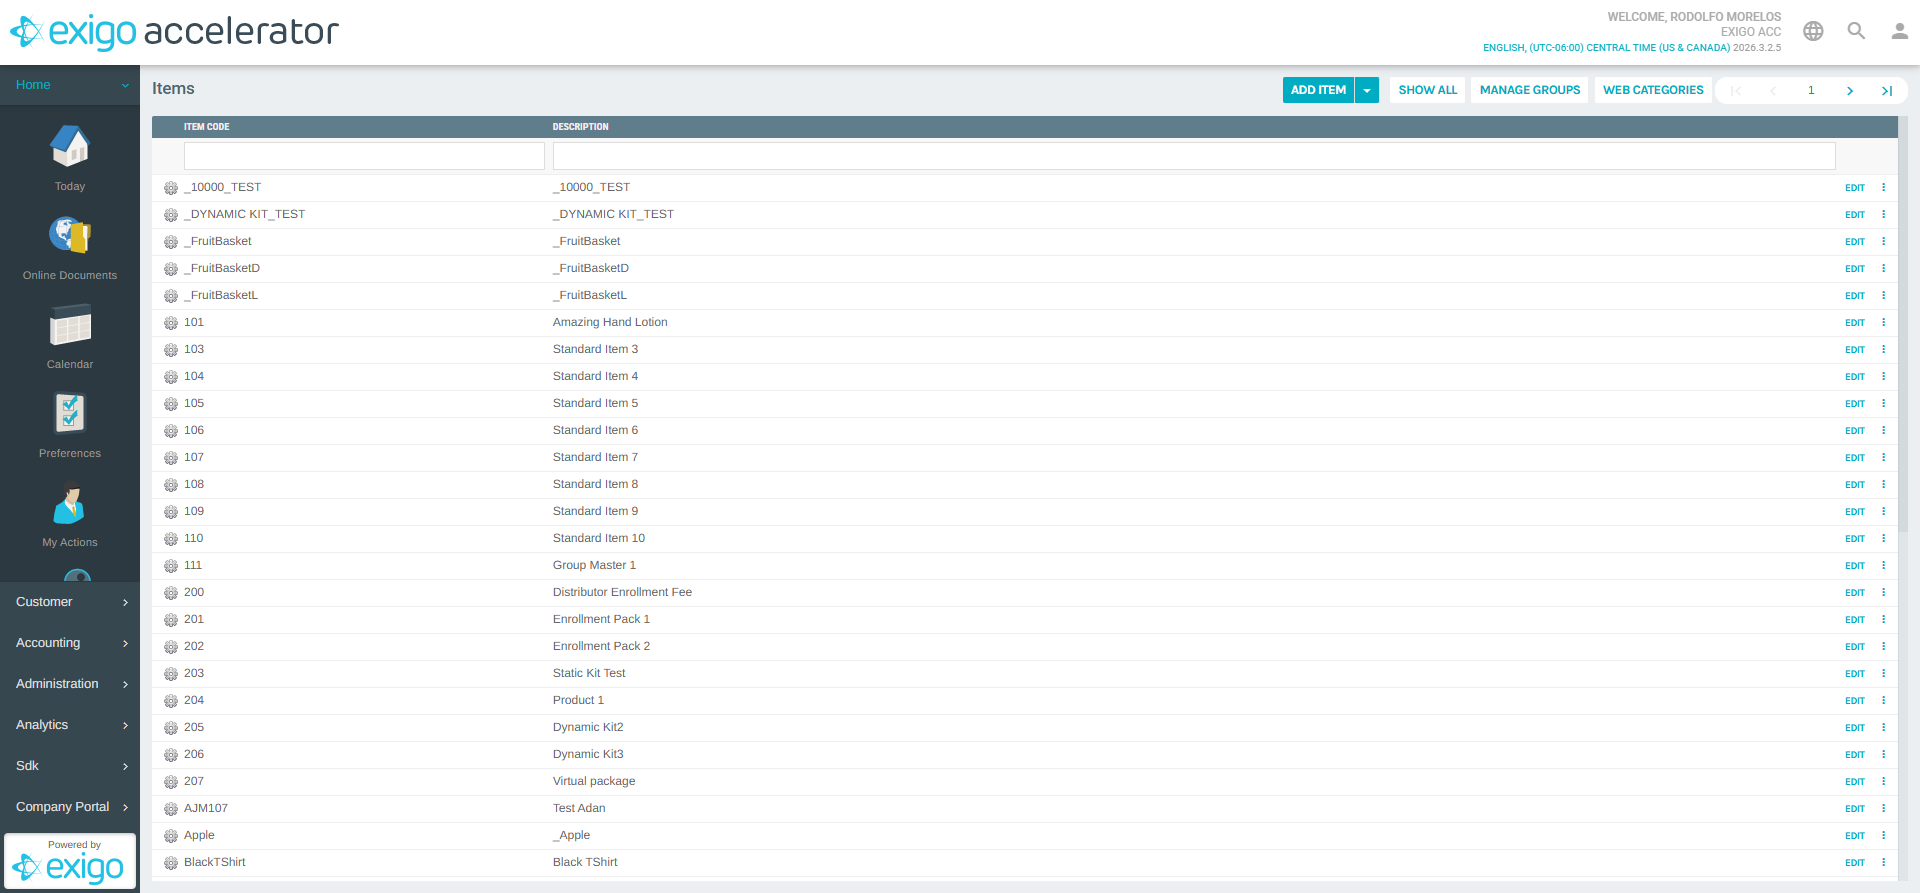
The Items list page also provides buttons for:
- ADD ITEM: Create a new item (with a dropdown arrow to create from a model)
- SHOW ALL: Display all items across pages
- MANAGE GROUPS: Organize items into groups
- WEB CATEGORIES: Manage web category assignments
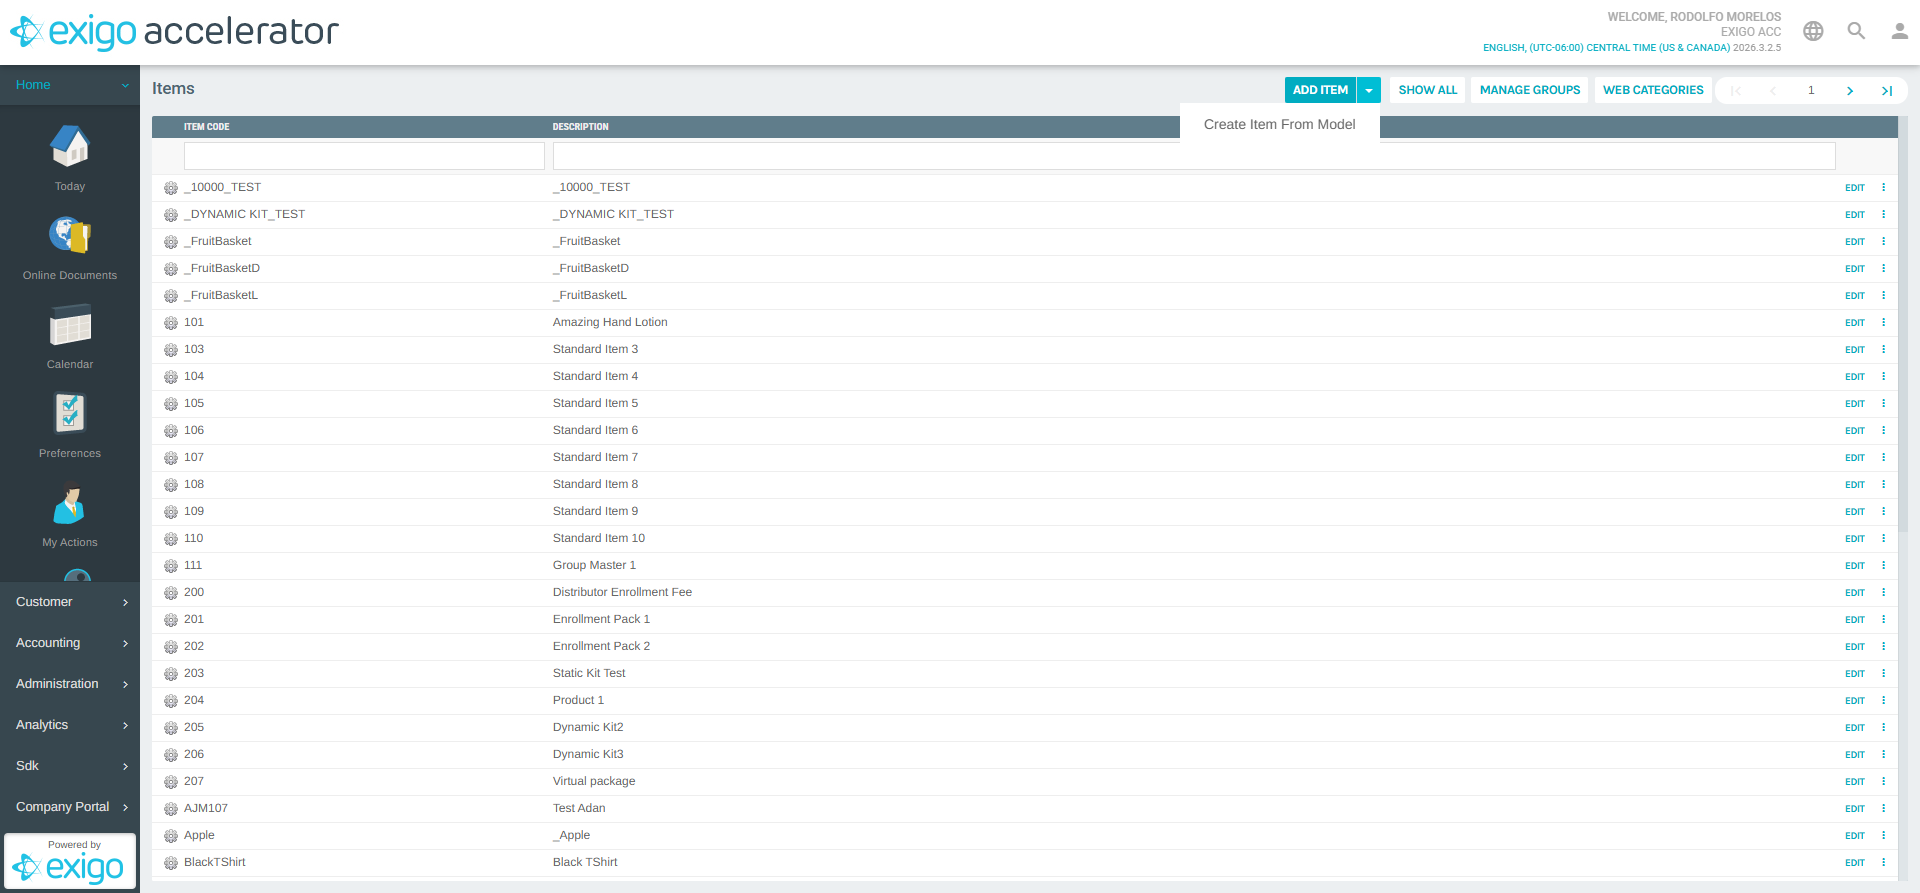
2) Click "Add Item"
- Click the ADD ITEM button at the top of the Items list
- A dropdown arrow next to the button provides an additional option: Create Item From Model (to duplicate settings from an existing item)
- Clicking the main button opens the Add Item form in a new popup window
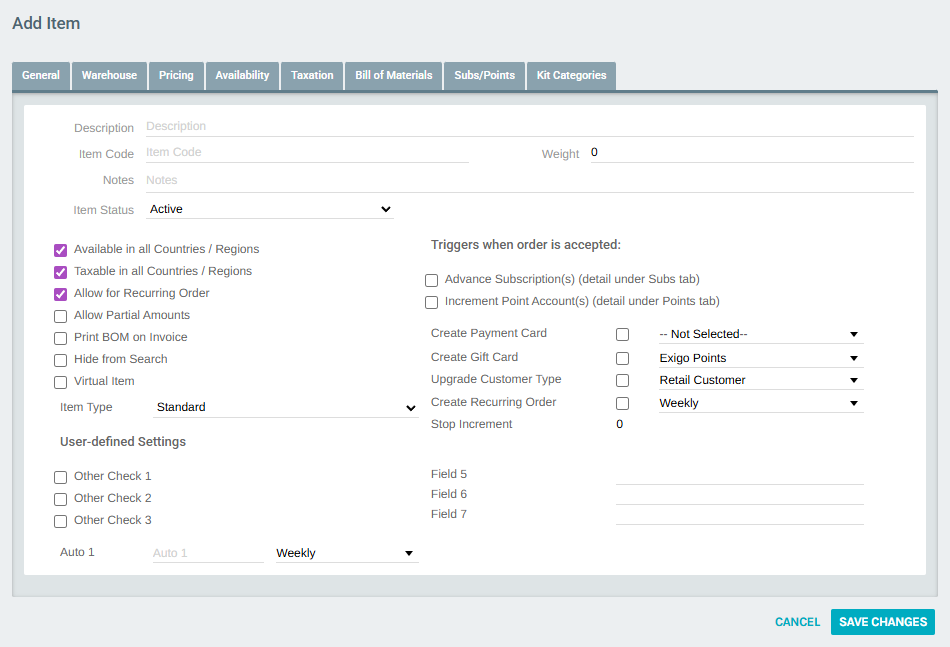
3) Configure the General Tab
The Add Item form opens on the General tab by default. This is where you set the core item properties.

Fill in the following fields:
| Field | Description |
|---|---|
| Description | The display name of the item (e.g., "Amazing Hand Lotion") |
| Item Code | A unique alphanumeric identifier for the item (e.g., "101", "MPO", "BlackTShirt") |
| Weight | The item's weight (used for shipping calculations) |
| Notes | Internal notes about the item |
| Item Status | Set to Active or Deleted |
| Item Type | Select Standard for a standard item. Other options: Static Kit, Dynamic Kit, Static Kit (Legacy) |
Checkboxes
| Option | Description |
|---|---|
| Available in all Countries / Regions | Makes the item purchasable in every configured country. Uncheck to restrict by country on the Availability tab |
| Taxable in all Countries / Regions | Applies taxation in every configured country. Uncheck to manage per-country taxation on the Taxation tab |
| Allow for Recurring Order | Enables this item to be added to auto-ship / recurring orders |
| Allow Partial Amounts | Permits ordering fractional quantities |
| Print BOM on Invoice | Prints the Bill of Materials detail on invoices |
| Hide from Search | Hides the item from search results |
| Virtual Item | Marks the item as virtual (no physical shipment) |
Order Triggers
Scroll down to see additional settings that fire when an order containing this item is accepted:
| Trigger | Description |
|---|---|
| Advance Subscription(s) | Extends a customer's subscription expiration (configure on the Subs/Points tab) |
| Increment Point Account(s) | Adds points to a customer's point account (configure on the Subs/Points tab) |
| Create Payment Card | Creates a payment card on the customer's account |
| Create Gift Card | Creates a gift card using the selected point account |
| Upgrade Customer Type | Changes the customer's type (e.g., from Retail Customer to Distributor) |
| Create Recurring Order | Automatically creates a recurring order with the selected frequency (Weekly, Monthly, etc.) |
The User-defined Settings section at the bottom provides custom checkbox and text fields (Other Check 1-3, Auto 1, Field 5-7) for company-specific metadata.
4) Configure the Warehouse Tab
Click the Warehouse tab to manage warehouse availability and inventory settings.
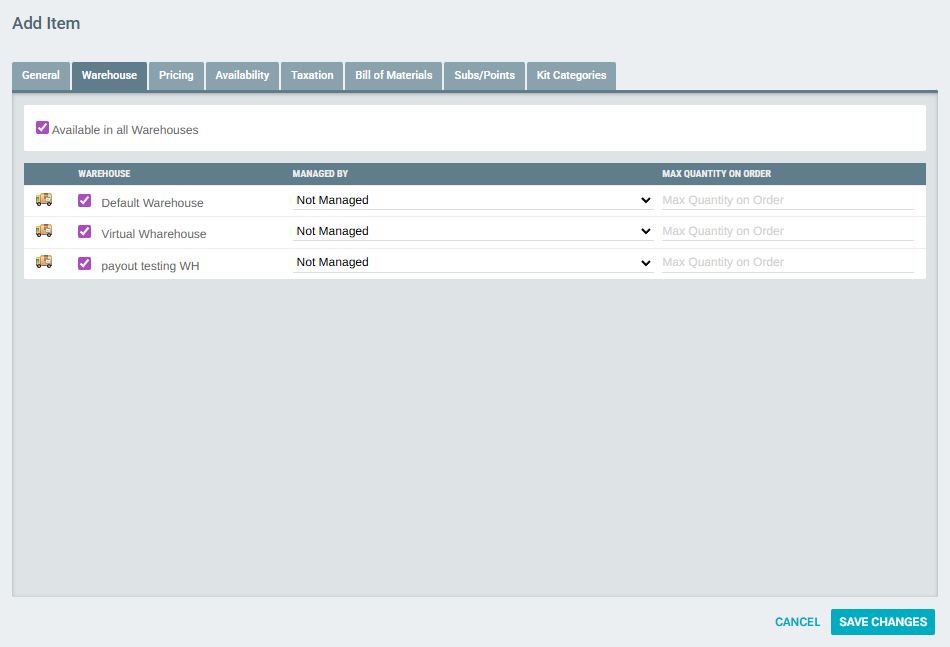
- Available in all Warehouses: Check to make the item available in every warehouse. Uncheck to select specific warehouses.
- For each warehouse, configure:
- Checkbox: Enable/disable the item in that warehouse
- Managed By: Select inventory management mode:
- Not Managed: No inventory tracking
- Managed By Inventory: Track stock levels; orders fail when out of stock
- Purchased Ordered: Item is purchase-ordered from a vendor
- Discontinued: Item is no longer available
- On BackOrder: Item is temporarily out of stock
- Managed by Inventory Auto BackOrder: Track stock; automatically backorder when out of stock
- Max Quantity on Order: Set the maximum quantity a customer can order at once
5) Configure the Pricing Tab
Click the Pricing tab to set item prices for each price type and currency.
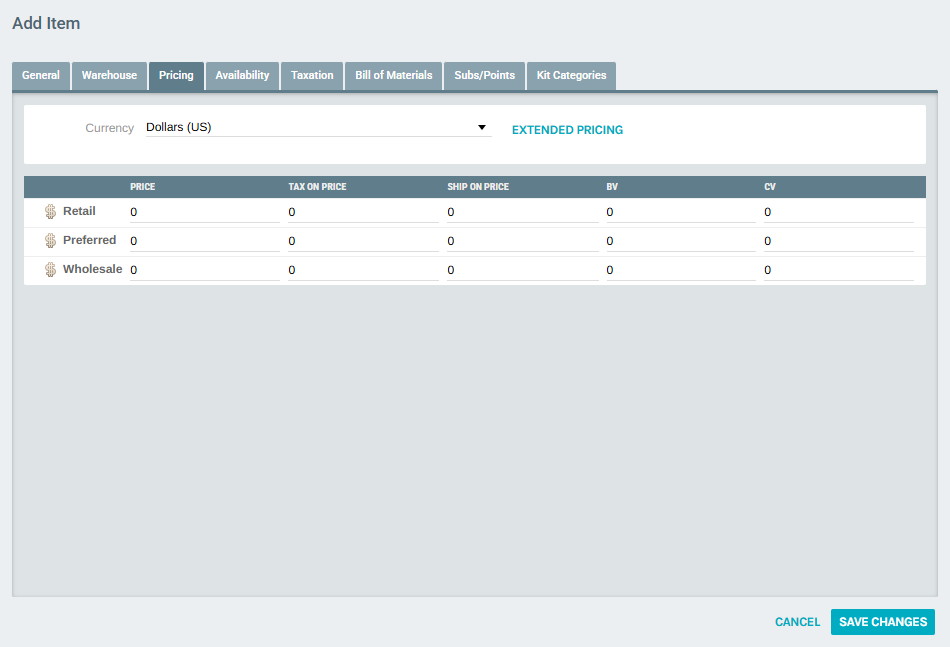
- Currency: Select the currency to configure pricing for (e.g., "Dollars (US)")
- EXTENDED PRICING: Link to manage volume-based or tier-based pricing rules
- For each Price Type (e.g., Retail, Preferred, Wholesale), enter:
| Column | Description |
|---|---|
| Price | The selling price for this price type |
| Tax On Price | Tax amount applied to the price |
| Ship On Price | Shipping amount applied to the price |
| BV | Business Volume value (used in commission calculations) |
| CV | Commissionable Volume value (used in commission calculations) |
6) Review the Availability Tab
Click the Availability tab to manage per-country item availability.
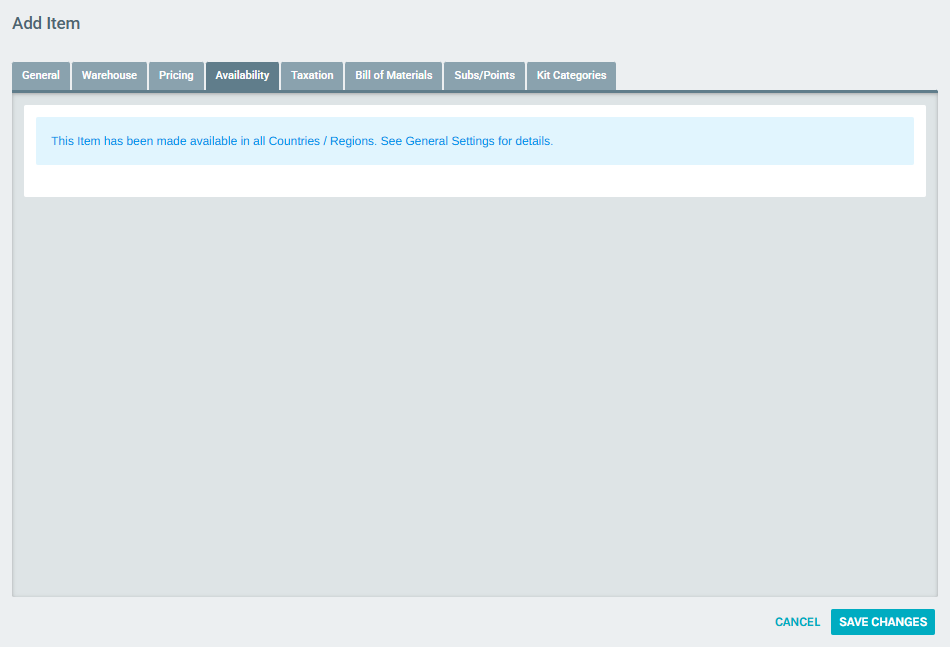
- If "Available in all Countries / Regions" is checked on the General tab, this tab displays a message confirming global availability
- Uncheck that option on the General tab to see a list of countries and individually enable or disable the item per country
7) Review the Taxation Tab
Click the Taxation tab to manage per-country taxation settings.
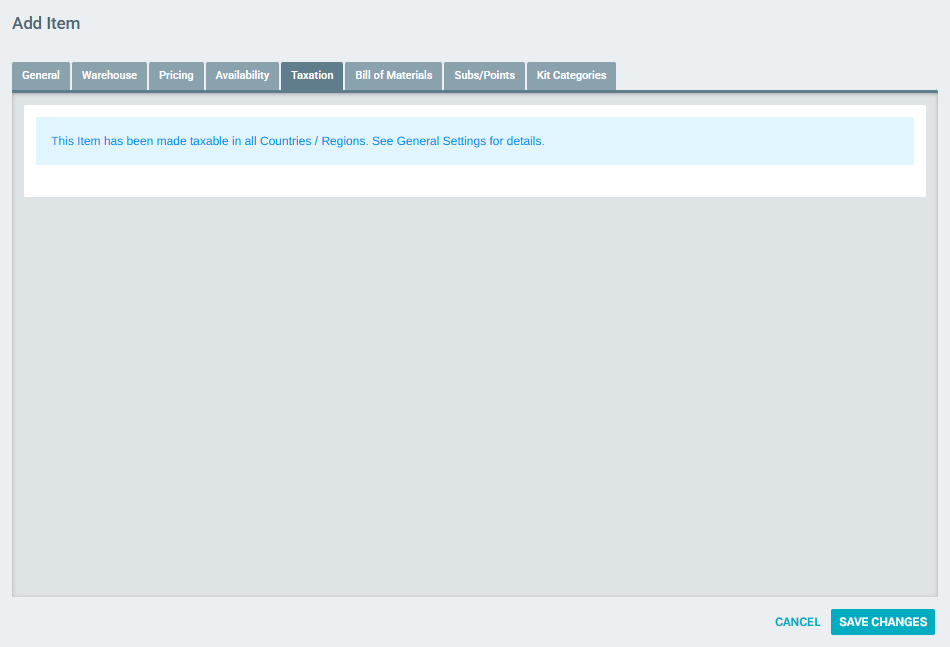
- If "Taxable in all Countries / Regions" is checked on the General tab, this tab displays a message confirming taxation in all countries
- Uncheck that option on the General tab to see a list of countries and individually configure taxation per country
8) Additional Tabs
The remaining tabs provide advanced configuration:
- Bill of Materials: For kit-type items only. Standard items display "This Item is not a Kit"
- Subs/Points: Configure subscription advancement and point account increments. Requires the corresponding trigger checkboxes on the General tab to be enabled
- Kit Categories: For kit-type items only. Defines the categories of items that can be selected in a dynamic kit
9) Save the Item
- After configuring all required tabs, click SAVE CHANGES at the top of the form
- The item will be created and appear in the Items list
- Click CANCEL to discard changes and return to the Items list
Notes
- The Item Code must be unique across all items in the system
- Setting the Item Type to anything other than "Standard" will enable the Bill of Materials and Kit Categories tabs
- Pricing must be configured for each currency your company supports
- Warehouse settings determine where the item can be fulfilled from
- Order triggers are powerful automation tools — use them carefully as they affect customer accounts when orders are accepted
- Use Create Item From Model (via the dropdown arrow) to quickly duplicate settings from an existing item when creating similar products