Creating New API Users
This guide explains how to create and configure API User accounts in the Exigo platform. API Users are special user accounts designed exclusively for programmatic access to the Exigo API — they are not intended for logging into the Admin panel. Typical use cases include server-to-server integrations, automated data imports/exports, and third-party platform connections.
What is an API User?
An API User is a standard Exigo user account configured with:
- A dedicated username (typically prefixed with
API_for easy identification) - Data Gateway permissions that control which data tables and API endpoints the account can access
- No User Menu permissions (since UI access is not required)
API Users authenticate to the Exigo API using their username, password, and company alias — the same credentials used in the API connection string.
Accessing the User List
API Users are managed under Administration > Users.
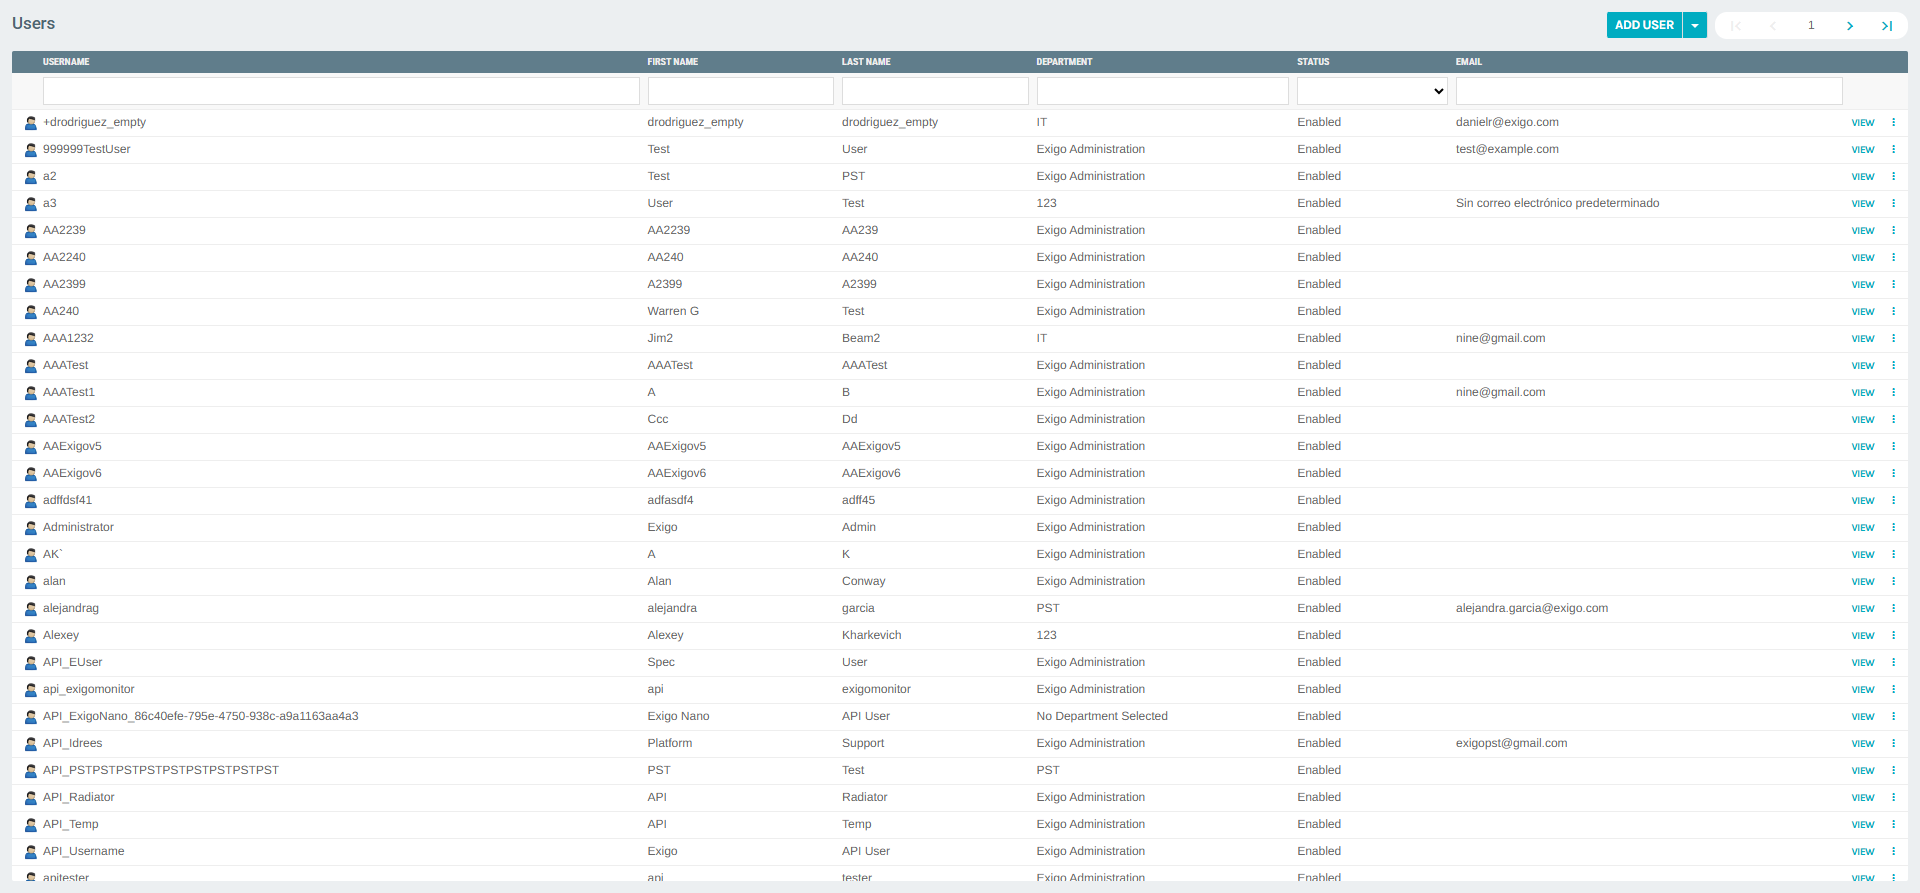
The Users list displays all user accounts in the system. API Users often follow a naming convention such as API_<Purpose> (e.g., API_Username, API_Radiator, API_ExigoNano_...) to distinguish them from human users.
Step 1 — Create a New User
Click ADD USER at the top of the user list to open the new user form.
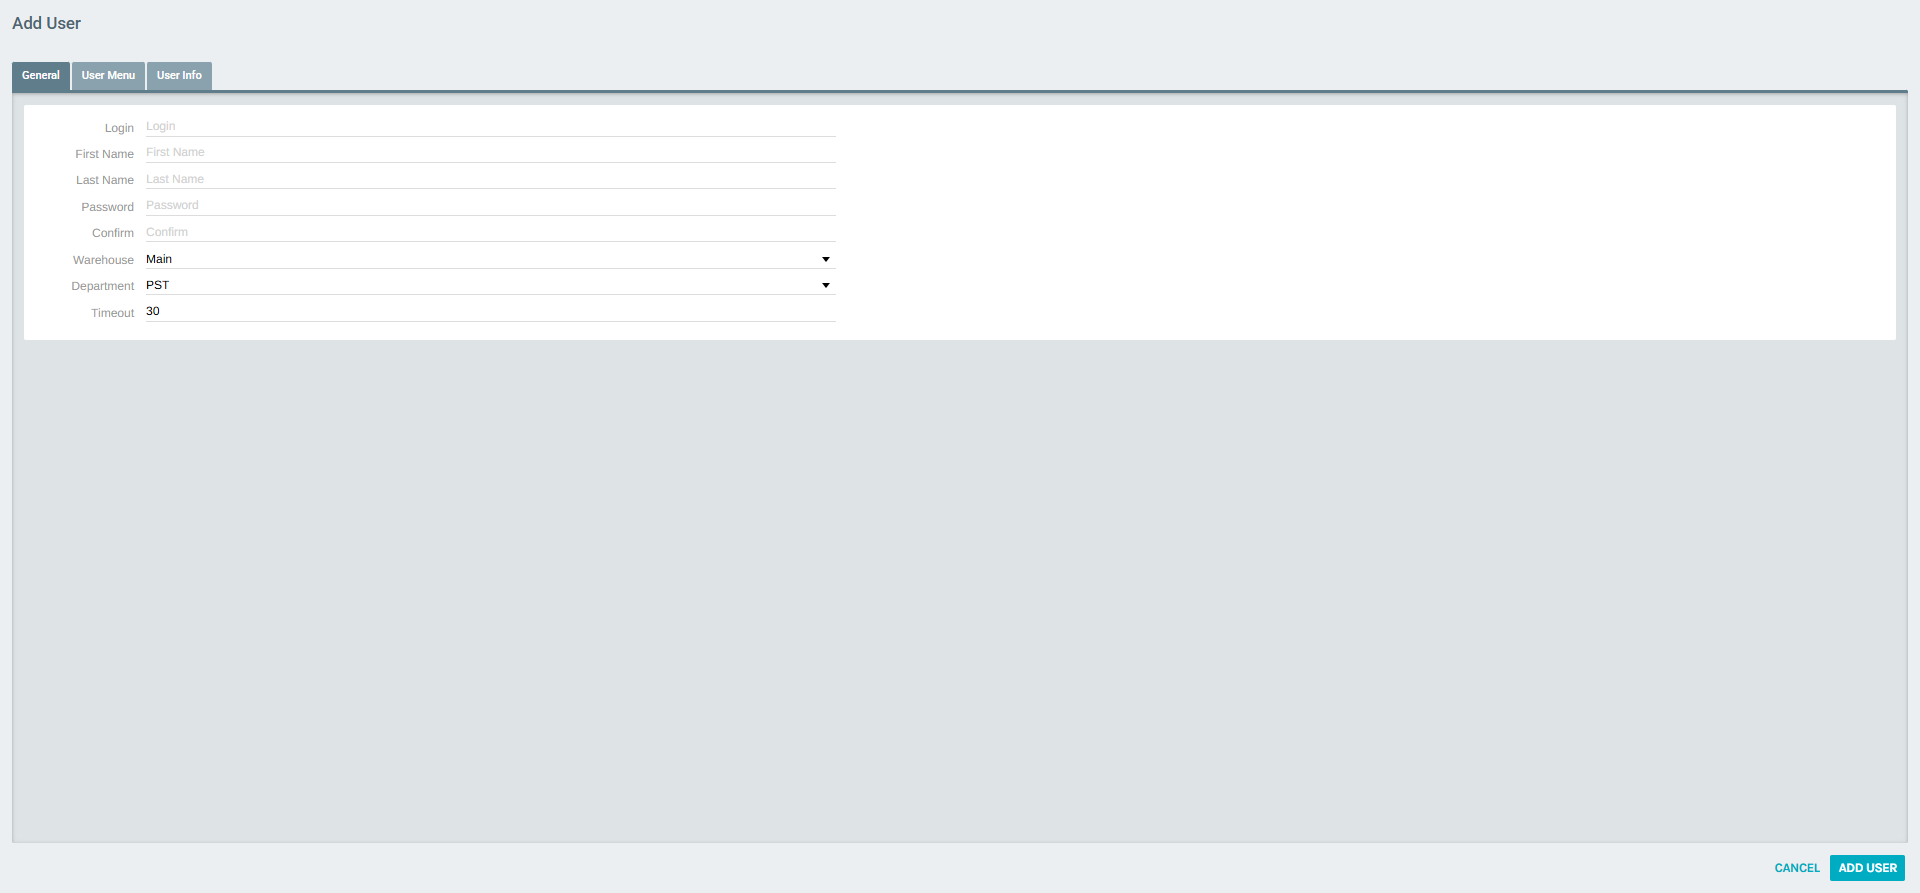
General Tab Fields
| Field | Description |
|---|---|
| Login | The username used for API authentication. Use a descriptive name such as API_IntegrationName. |
| First Name | A recognizable label (e.g., the integration name or system). |
| Last Name | Use a common label such as API User to identify the account type. |
| Password | A strong password. This will be part of the API credentials. |
| Confirm | Re-enter the password to confirm. |
| Warehouse | Assign the warehouse this user will operate under. |
| Department | Assign the department for organizational tracking. |
| Timeout | Session timeout in minutes (default: 30). |
Tip: Use a consistent naming convention (e.g.,
API_ClientOrPurpose) to make API users easy to identify in the user list.
User Menu Tab
API Users do not require any User Menu permissions since they never log into the Admin UI. Leave this tab with no menu items selected.
User Info Tab
The User Info tab contains optional contact and HR fields.
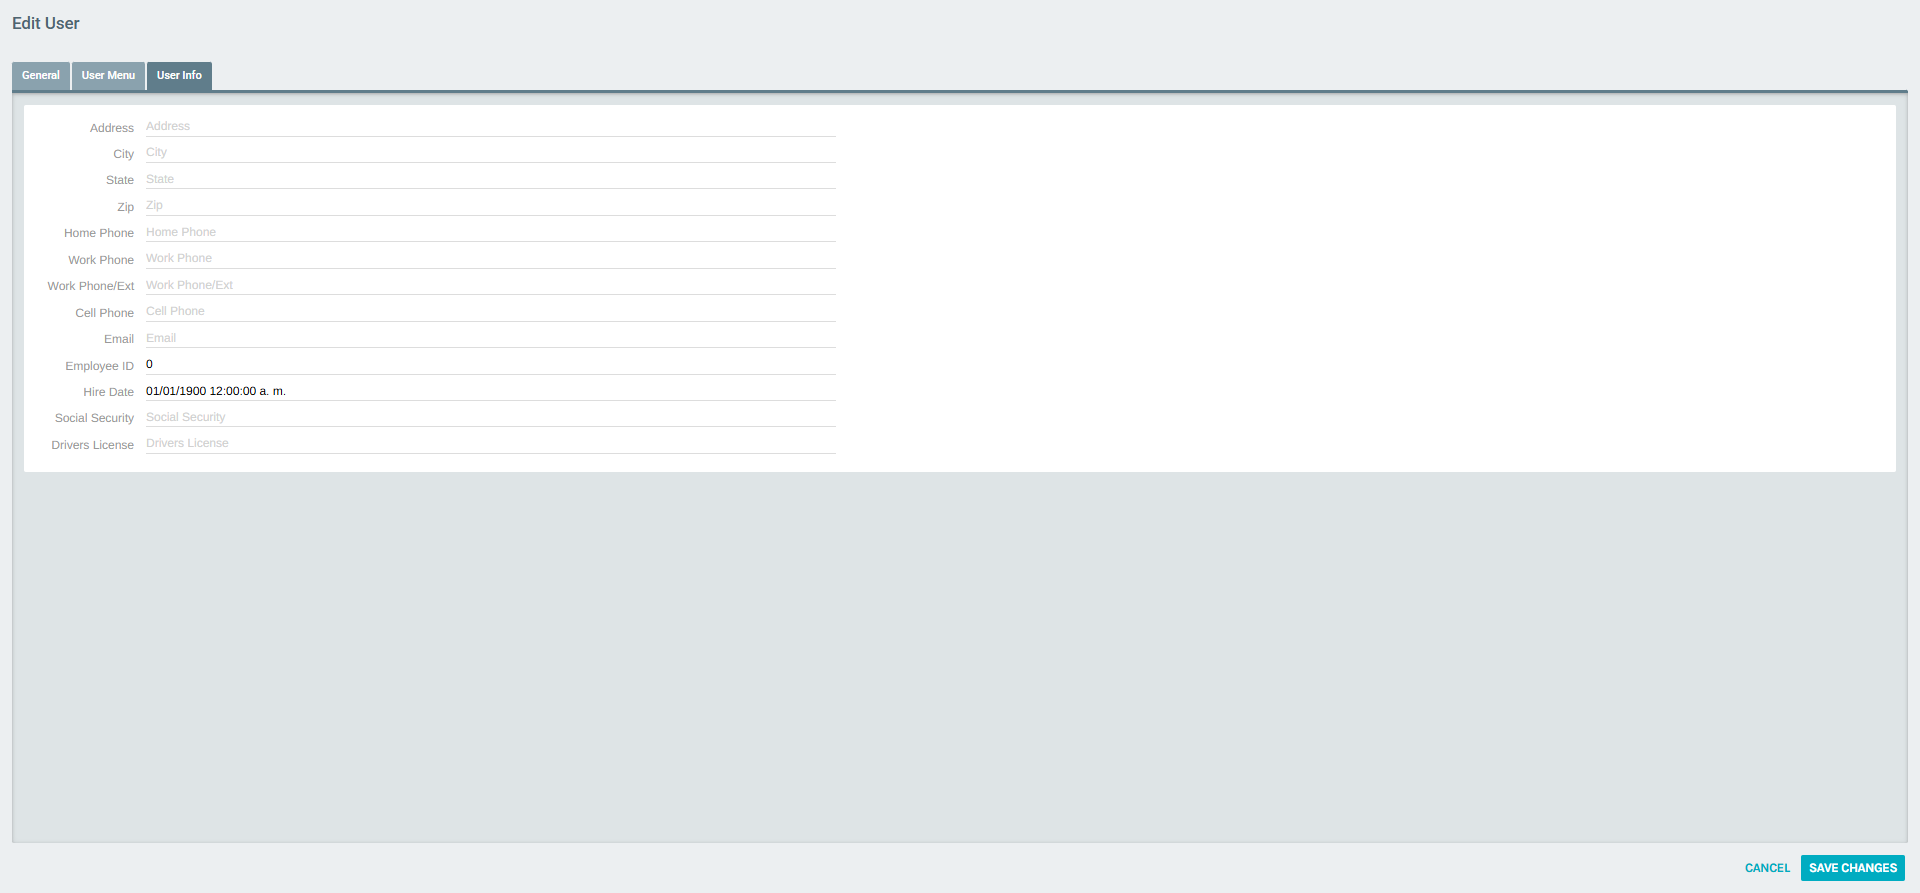
These fields (address, phone, email, hire date, etc.) are optional for API Users and can be left blank.
Step 2 — View the API User Portal
After saving the new user, navigate to Administration > Users, find the user in the list, and click VIEW to open the User Portal.
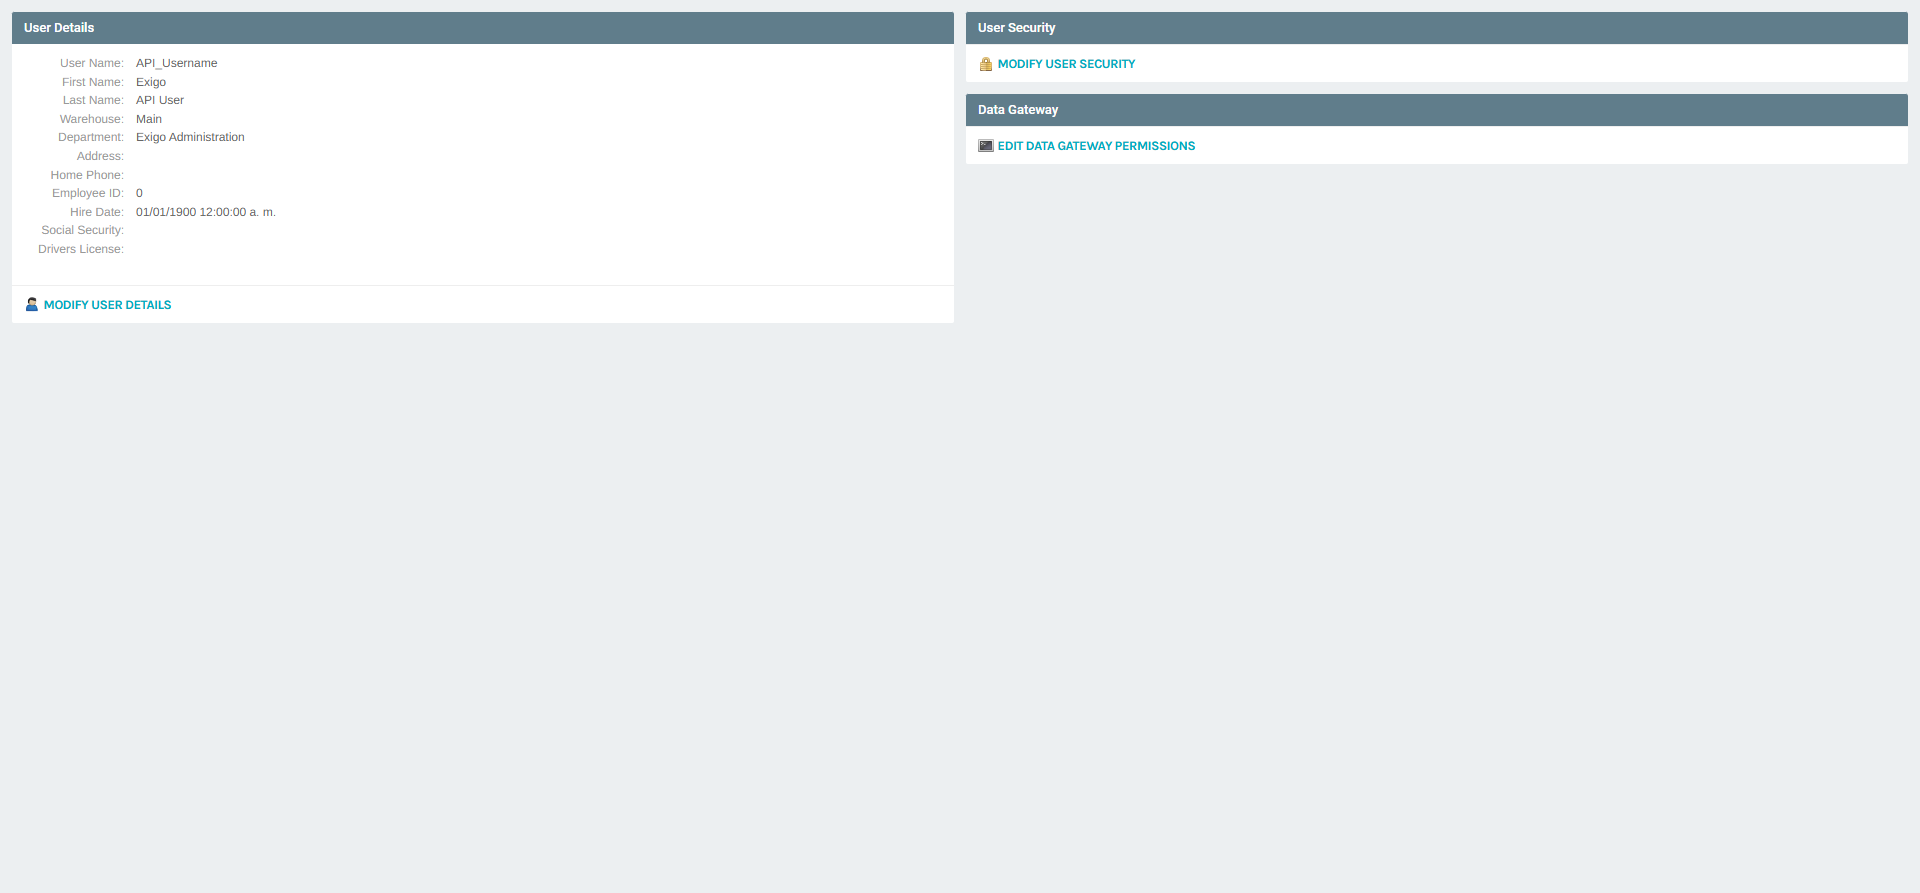
The User Portal summary displays three key sections:
- User Details — basic account information
- User Security — access control settings
- Data Gateway — API and database sync permissions (unique to API Users)
Step 3 — Configure User Security
Click MODIFY USER SECURITY to configure security settings for the API User.
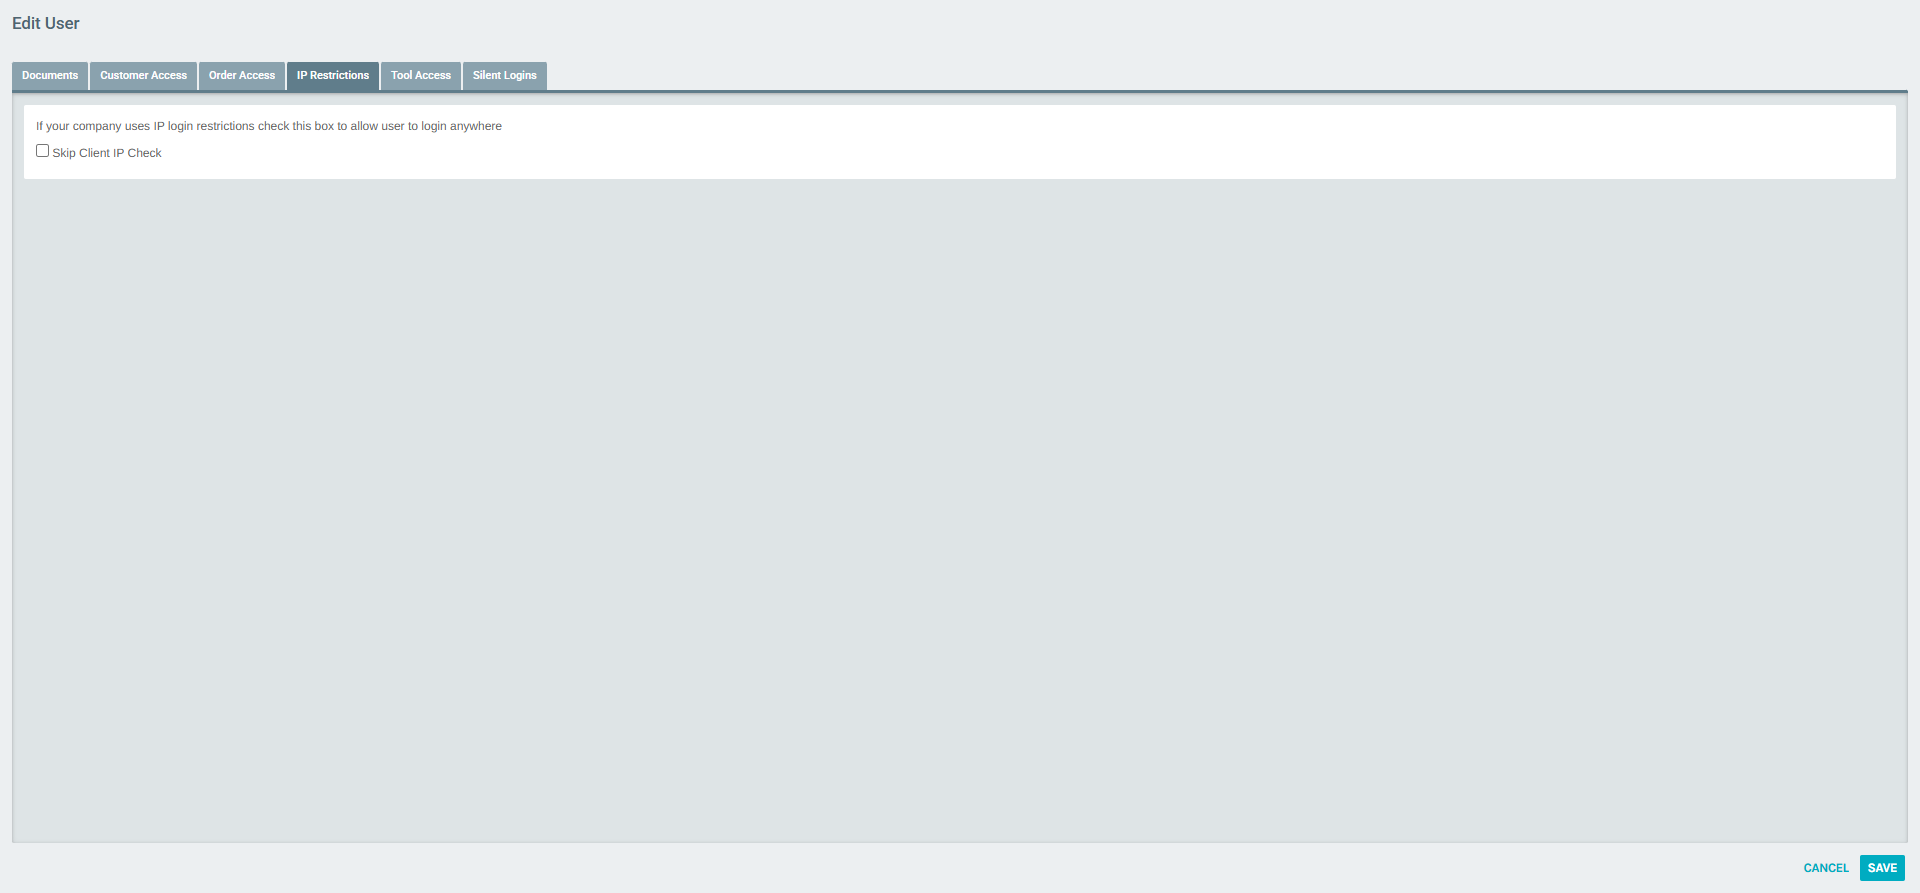
IP Restrictions Tab
| Option | Description |
|---|---|
| Skip Client IP Check | If your company enforces IP login restrictions, enable this option to allow the API user to authenticate from any IP address. Recommended for API integrations deployed in cloud environments with dynamic IPs. |
Step 4 — Configure Data Gateway Permissions
The Data Gateway section is the most important configuration step for API Users. Click EDIT DATA GATEWAY PERMISSIONS from the user portal summary.
The Data Gateway popup contains three tabs:
DBSync Allowed Fields Tab
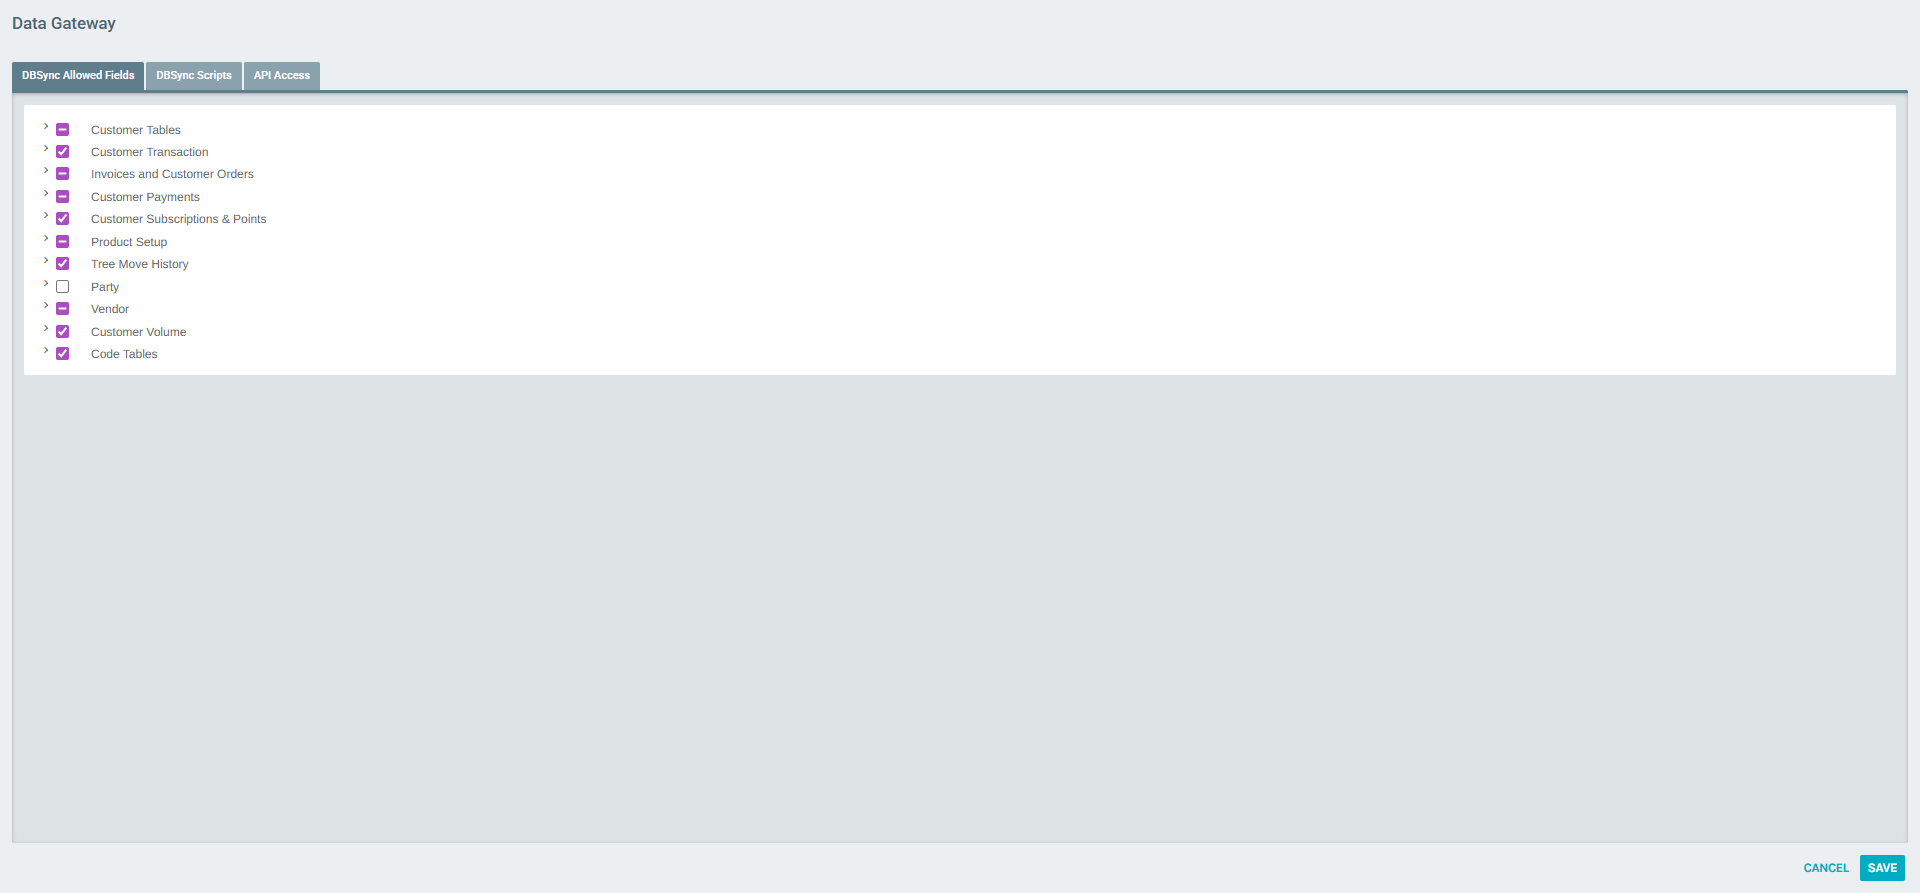
Controls which data tables the API User is permitted to read or write via the DBSync mechanism. Available table groups include:
| Table Group | Description |
|---|---|
| Customer Tables | Core customer/distributor record fields |
| Customer Transaction | Transaction history data |
| Invoices and Customer Orders | Order and invoice data |
| Customer Payments | Payment records |
| Customer Subscriptions & Points | Autoship subscriptions and loyalty points |
| Product Setup | Item/product catalog data |
| Tree Move History | Genealogy tree change history |
| Party | Party/event related data |
| Vendor | Vendor account data |
| Customer Volume | PV/CV volume data |
| Code Tables | Reference/lookup tables |
Use the checkboxes to grant or restrict access at the category level, or expand each category to set granular field-level permissions.
DBSync Scripts Tab
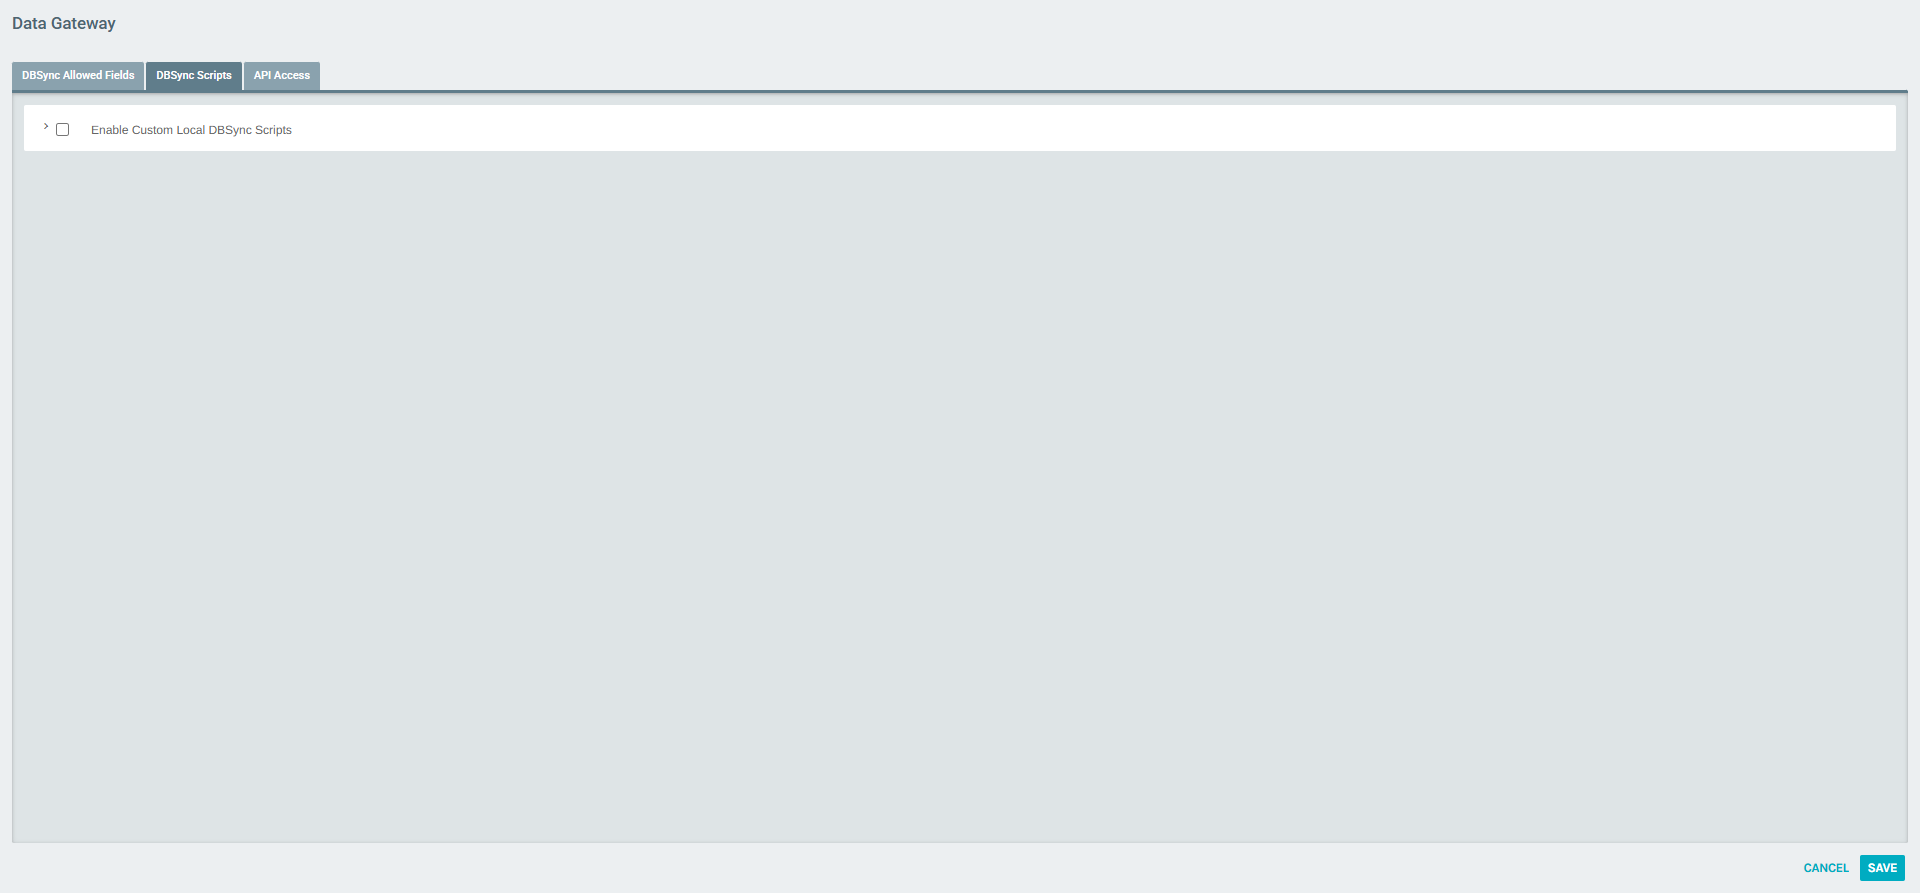
Controls which DBSync scripts this API User is authorized to execute. Only grant access to scripts required for the integration.
API Access Tab

| Option | Description |
|---|---|
| Allow API Access | Required. Must be enabled for the user to authenticate to the Exigo API. Without this, all API calls using these credentials will be rejected. |
| Enable API Logging | Enables detailed logging of all API calls made by this user. Use only for troubleshooting — logging fills up quickly and can slow API performance. |
| Require SSL | Forces all API connections from this user to use HTTPS/SSL. Recommended for production environments. |
Important: Always enable Allow API Access for API Users. This is the core setting that grants programmatic access.
API User Portal Overview
Once fully configured, the API User portal confirms all three configuration areas are in place:
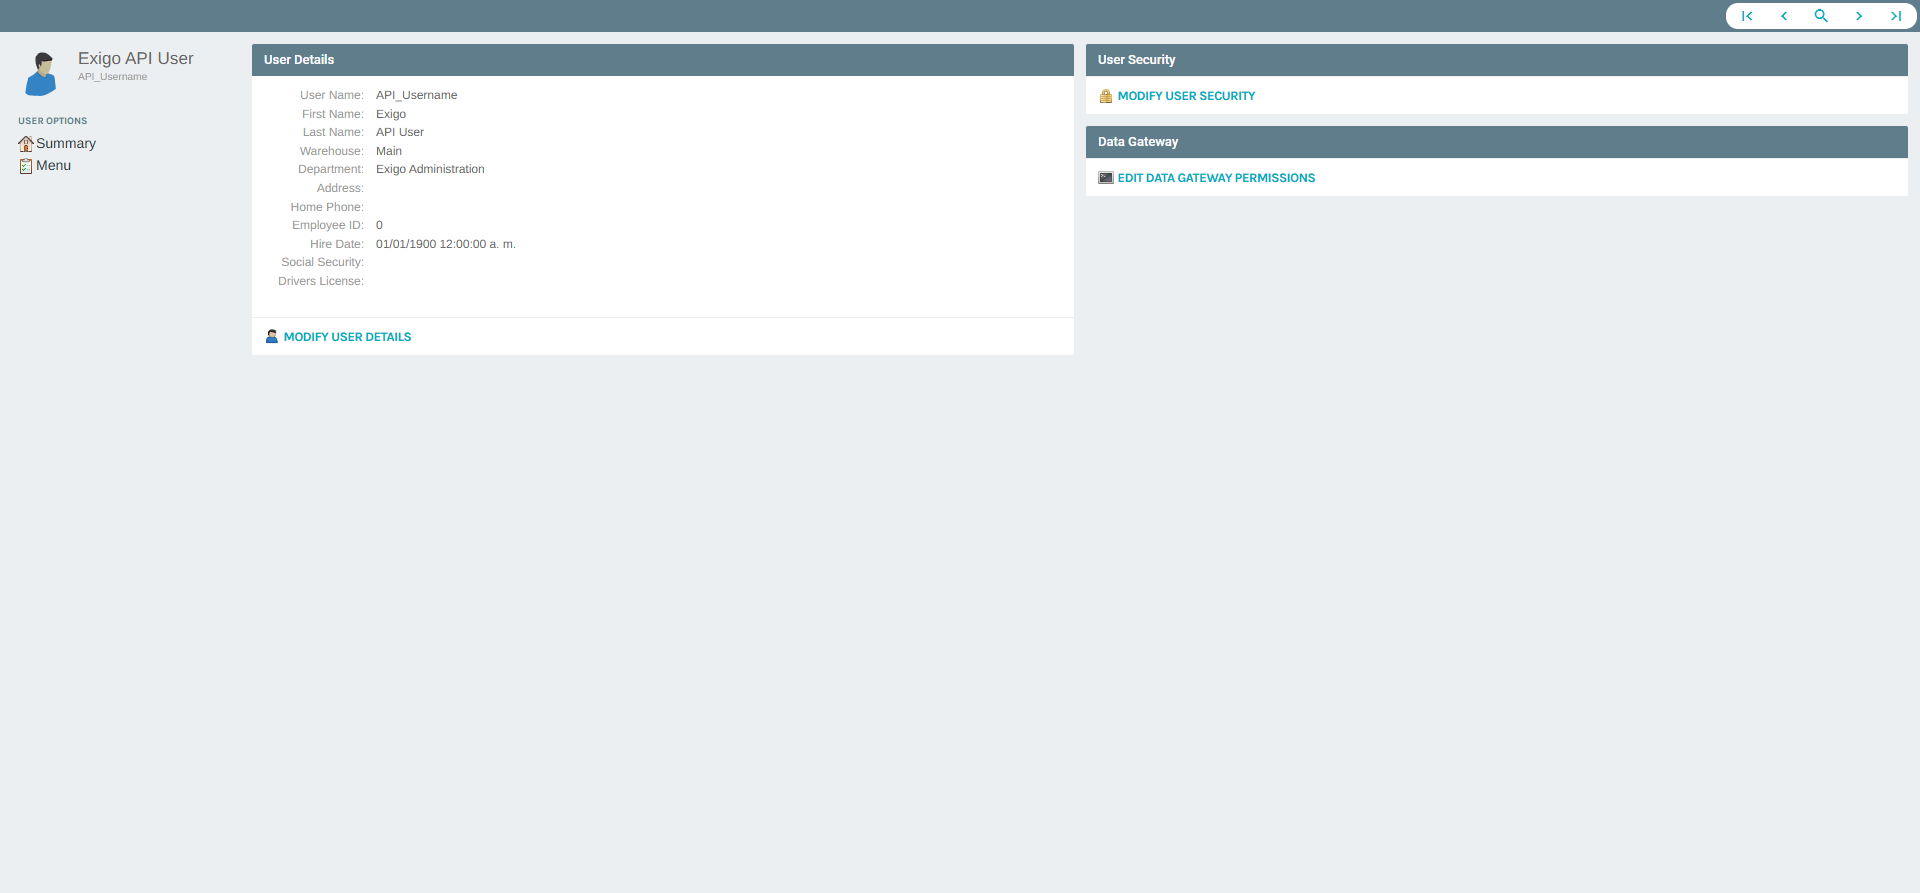
The portal shows:
- User Details — login, name, warehouse, and department
- User Security — security restrictions and tool access
- Data Gateway — the unique section that appears for API-enabled users, linking to DBSync field permissions, script access, and API access settings
Summary
| Step | Action |
|---|---|
| 1 | Navigate to Administration > Users and click ADD USER |
| 2 | Fill in General tab: Login (e.g., API_Name), First/Last Name, Password, Warehouse, Department |
| 3 | Skip User Menu tab (no UI access needed) |
| 4 | Save the user, then open the user portal and click MODIFY USER SECURITY |
| 5 | Under IP Restrictions, enable Skip Client IP Check if needed |
| 6 | Click EDIT DATA GATEWAY PERMISSIONS |
| 7 | Under DBSync Allowed Fields, grant access to required table groups |
| 8 | Under DBSync Scripts, grant access to required scripts |
| 9 | Under API Access, enable Allow API Access (required) |