Create a Grouped Item (Static Kit / Dynamic Kit)
This guide walks through creating a grouped item in Exigo — a kit that bundles two or more individual items sold together as a single product. Exigo supports two kit types:
| Kit Type | Description |
|---|---|
| Static Kit | A fixed bundle with a defined set of component items and quantities. |
| Dynamic Kit | A flexible bundle where customers choose items from pre-configured categories. |
This guide focuses on creating a Static Kit. The process for a Dynamic Kit is identical except that you also configure Kit Categories to define the choices customers can make.
Prerequisites
- You must be logged in to your Exigo account.
- You must have sufficient permissions to access the Accounting > Items section.
- The individual items you want to bundle must already exist in the system before you can add them to the kit.
Step 1 — Navigate to the Items List
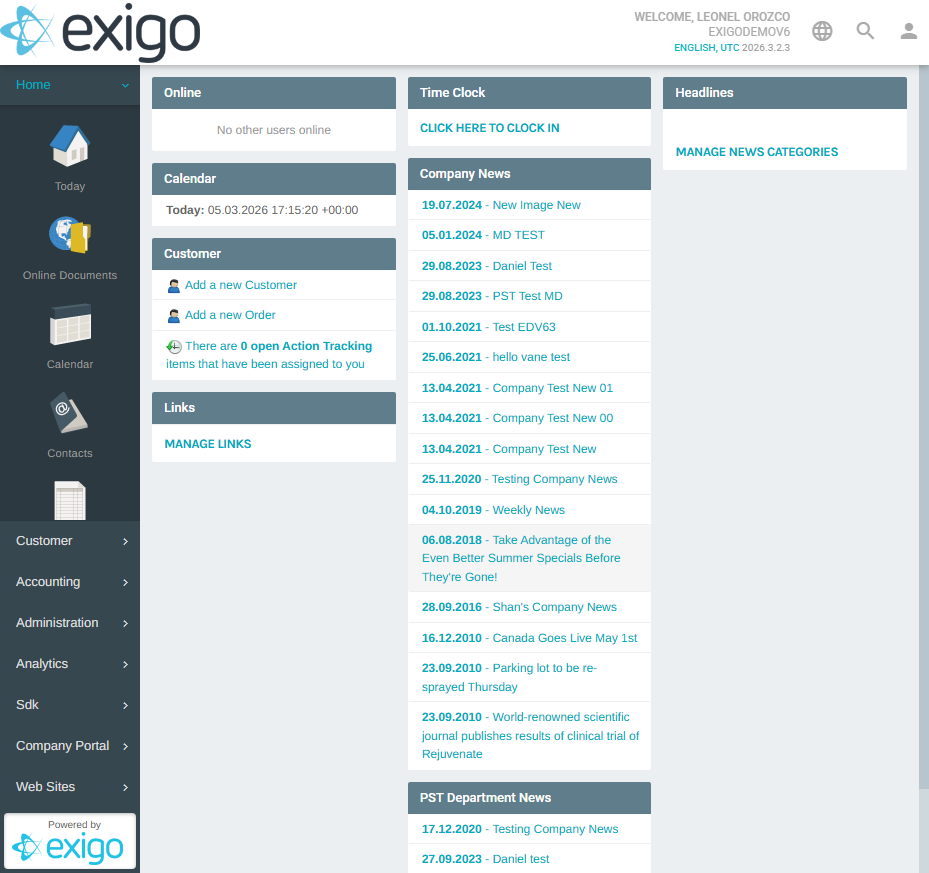
From the left navigation menu, go to Accounting → Items.
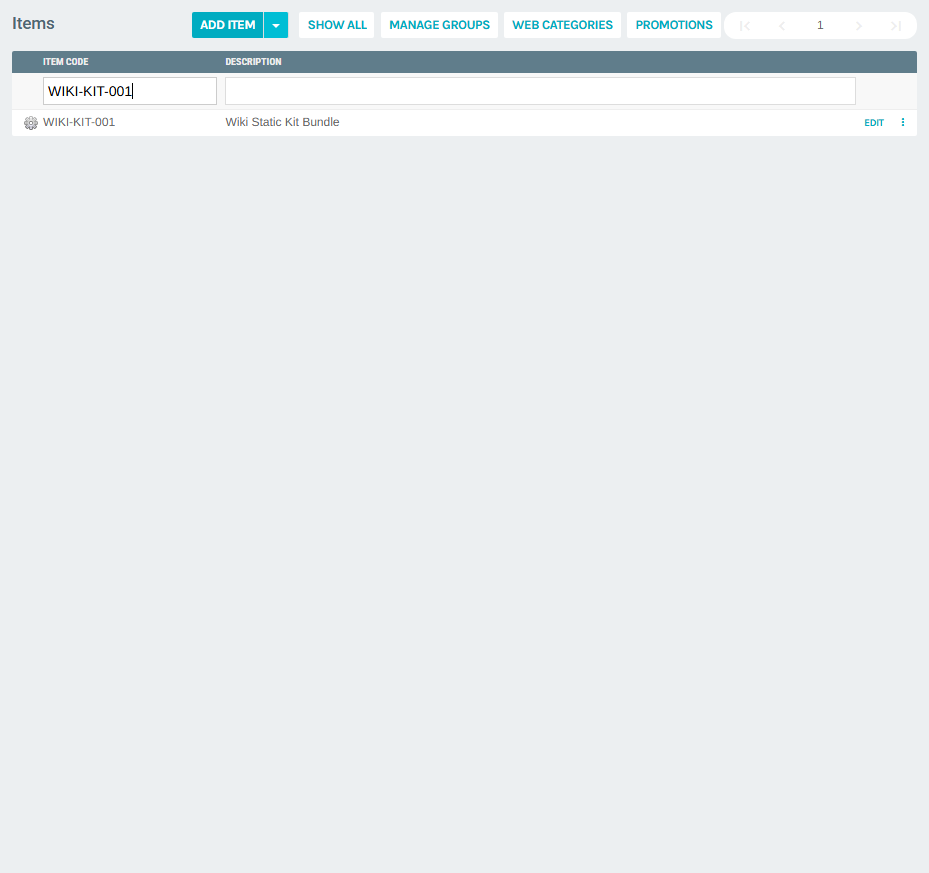
Step 2 — Open the Items List
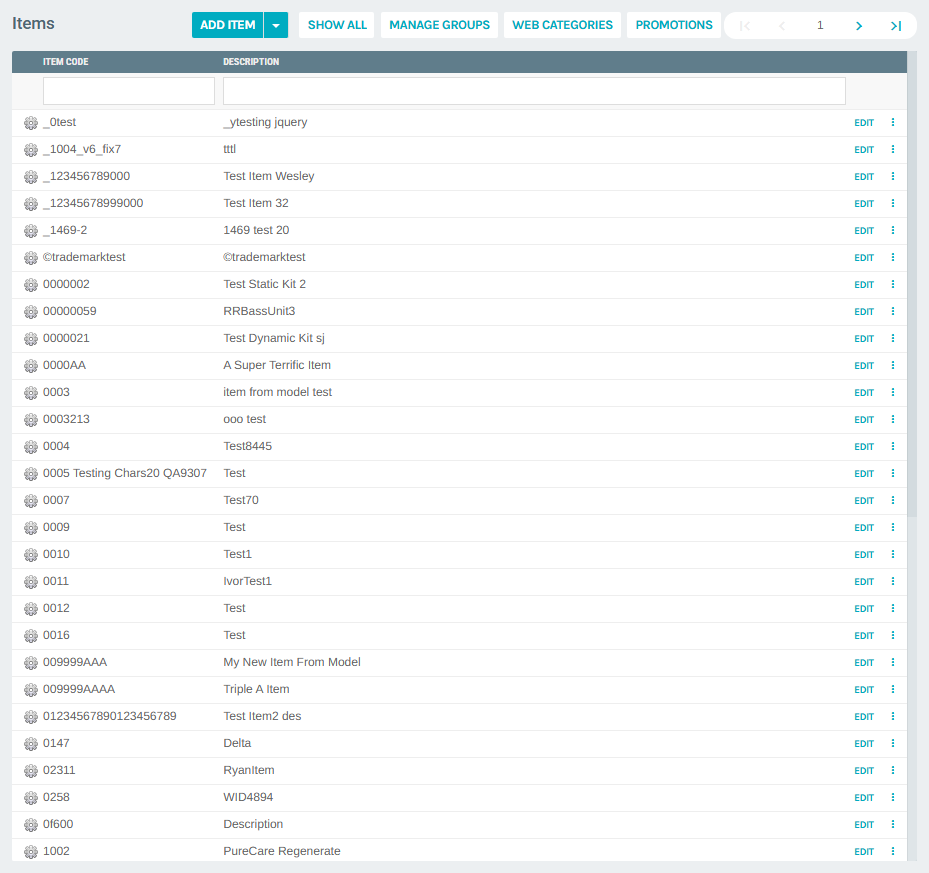
The Items list displays all existing items along with their Item Code and Description. Use the search boxes to filter the list.
Step 3 — Click "Add Item"
Click the ADD ITEM button in the top-left area of the Items list. This opens the Add Item form in a popup window.
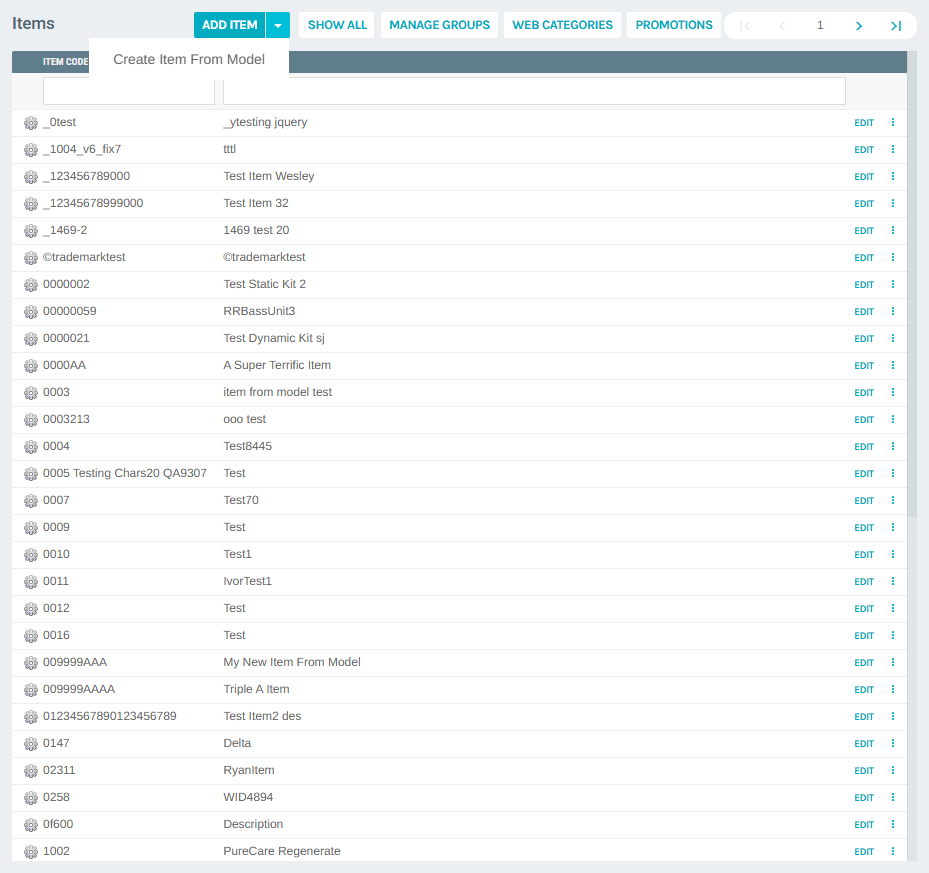
Note: The small arrow next to ADD ITEM opens a dropdown with the option Create Item From Model to base the new item on an existing one.
Step 4 — Fill in the General Tab
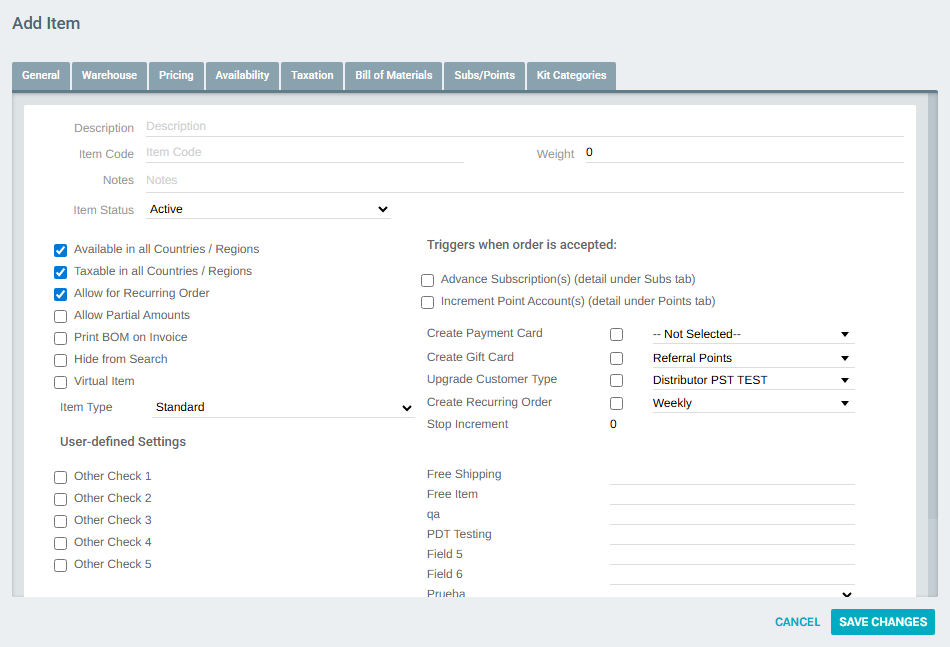
The General tab is pre-selected when the form opens. Fill in the required fields:
| Field | Description |
|---|---|
| Description | The display name of the kit (e.g., Starter Bundle). |
| Item Code | A unique identifier for the kit (e.g., BUNDLE-001). |
| Weight | Combined weight of the bundle, used for shipping. Defaults to 0. |
| Item Status | Set to Active to make the kit available. |
| Item Type | Change from Standard to Static Kit (or Dynamic Kit). |
Selecting the Kit Type
Open the Item Type dropdown and select Static Kit.
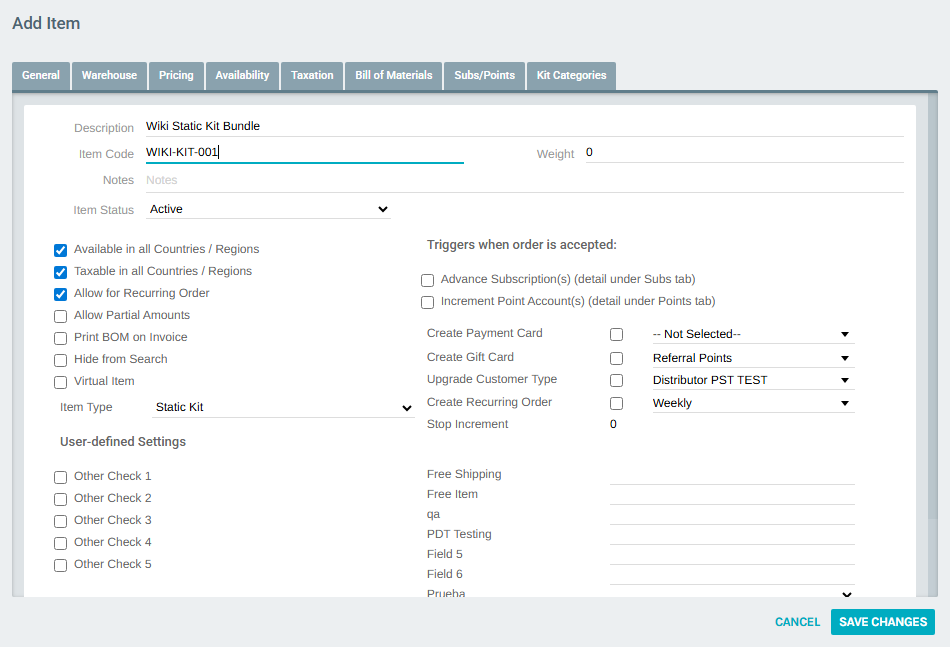
The Bill of Materials tab is where you will define the component items. The Kit Categories tab is only relevant for Dynamic Kits.
Step 5 — Save the Item
Click SAVE CHANGES at the top of the form.
Important: You must save the item before you can add component items to the Bill of Materials. Attempting to add items before saving will show a warning.
The popup closes and you are returned to the Items list.
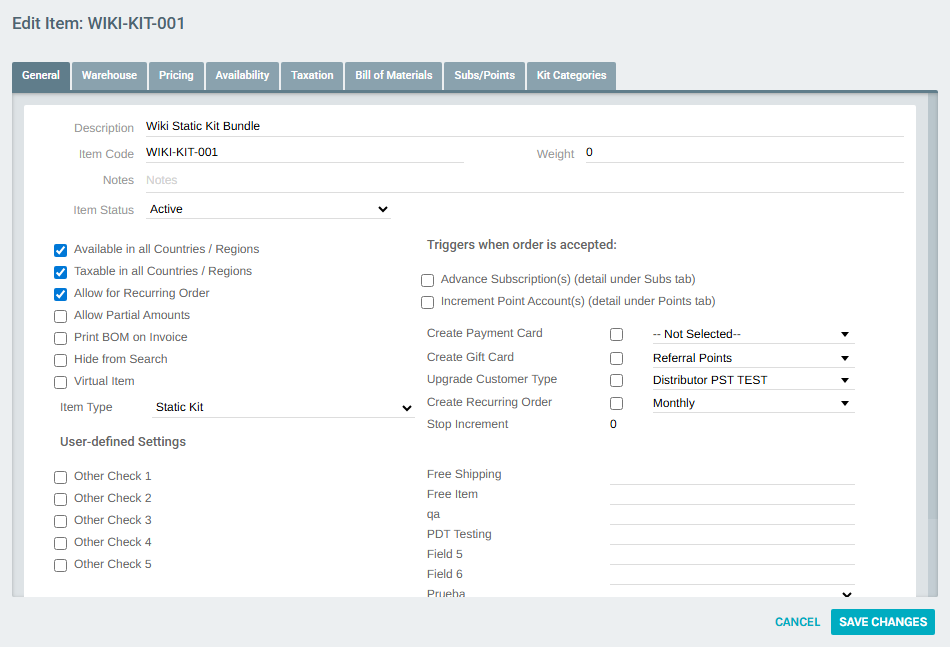
Step 6 — Reopen the Item for Editing
Use the Item Code search box to find the item you just created, then click EDIT.
The Edit Item form opens, confirming the Item Type is Static Kit.
Step 7 — Go to the Bill of Materials Tab
Click the Bill of Materials tab. This tab lists all component items that make up the kit.
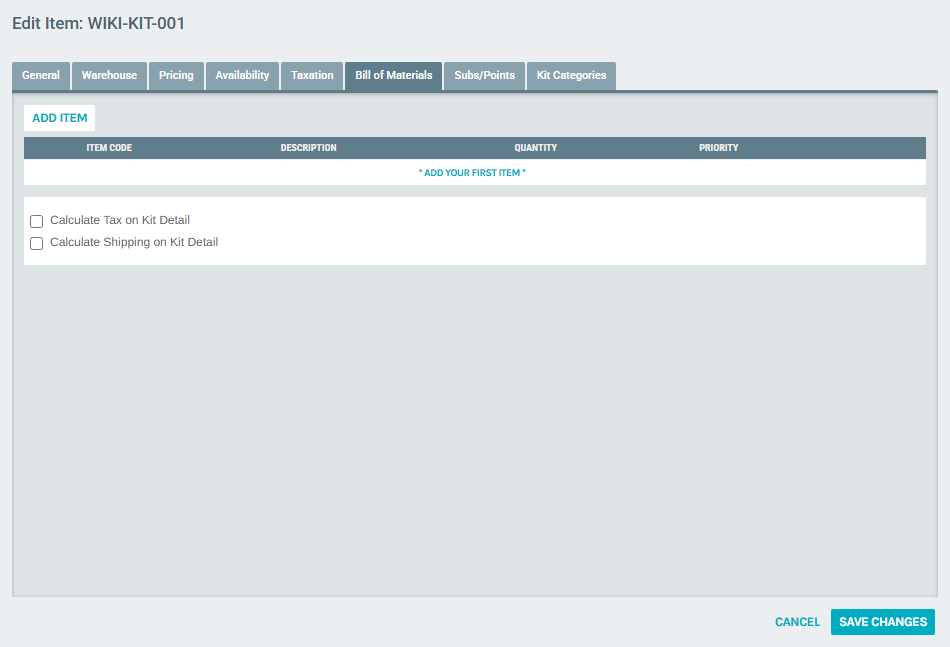
The table is empty until you add components. Two optional checkboxes are available at the bottom:
- Calculate Tax on Kit Detail — Applies tax calculations to individual component items rather than the kit as a whole.
- Calculate Shipping on Kit Detail — Applies shipping calculations to each component item.
Step 8 — Add a Component Item
Click ADD ITEM in the Bill of Materials section. The Item Kit Setup popup appears.
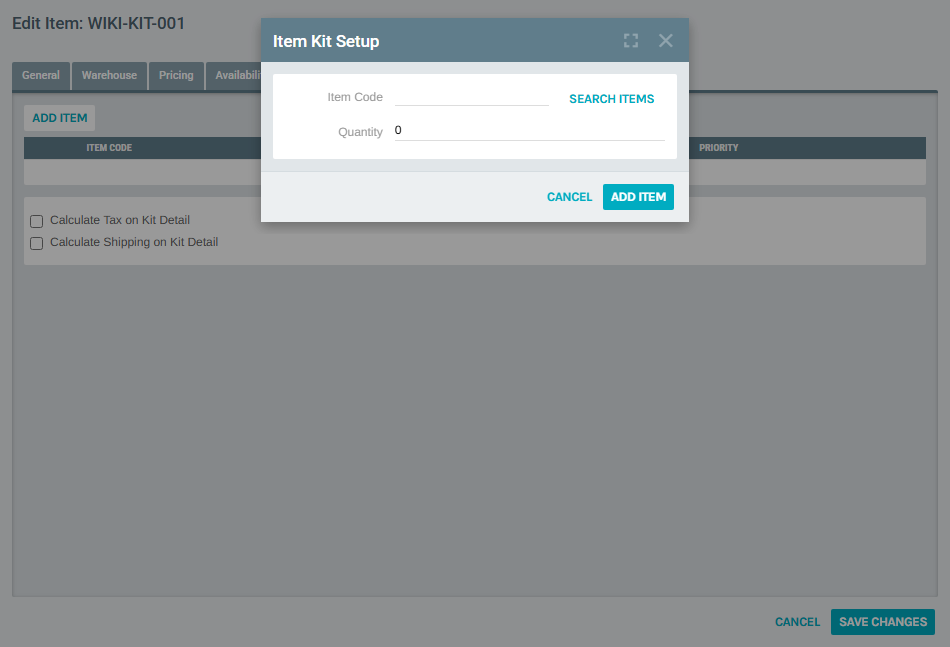
In the popup:
- Type the Item Code of the component item you want to add.
- Click SEARCH ITEMS — a Pick Item dialog appears with matching results.
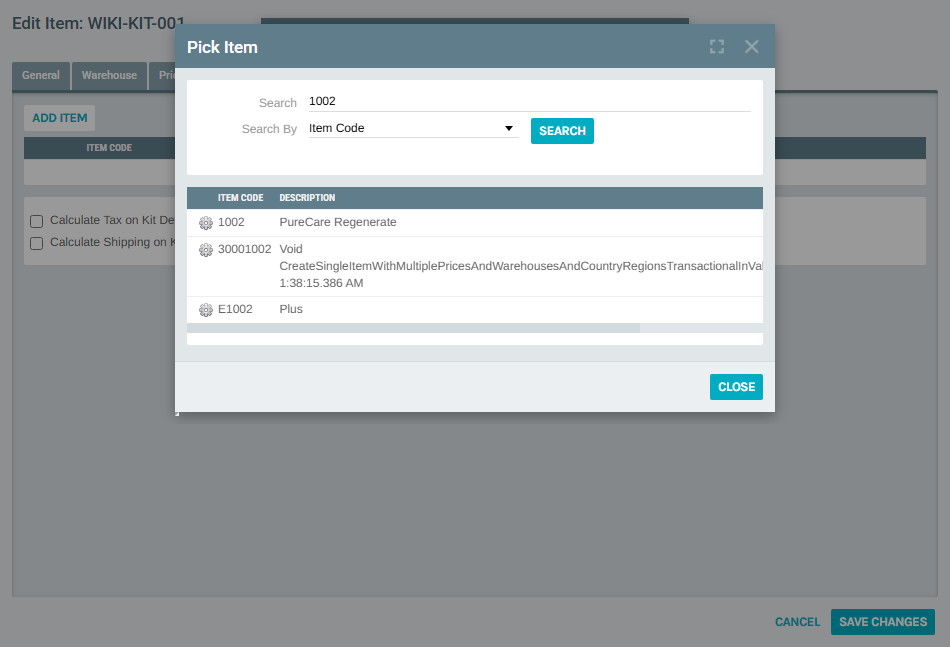
- Click PICK ITEM next to the correct item to select it.
- The Item Code is populated back in the kit setup form. Set the Quantity for this component.
- Click ADD ITEM to save this component to the kit.

Step 9 — Add More Components
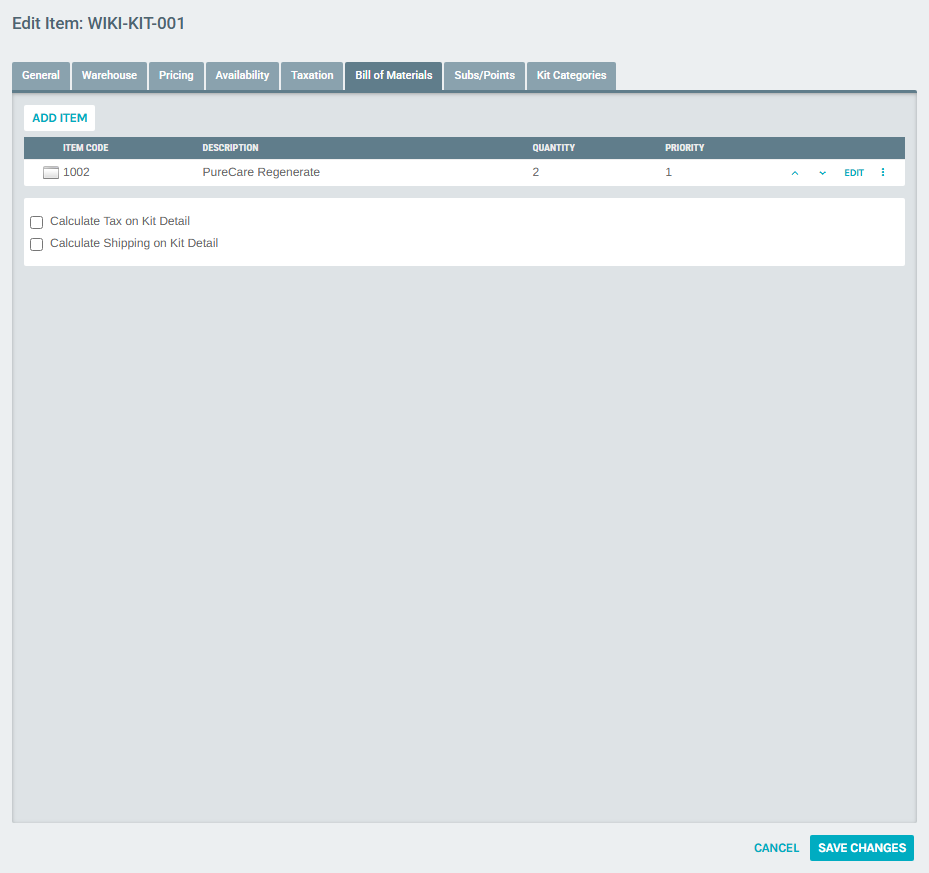
Repeat Step 8 for each additional component item. Each component you add appears as a new row in the Bill of Materials table.
After adding the first component:
After adding a second component:
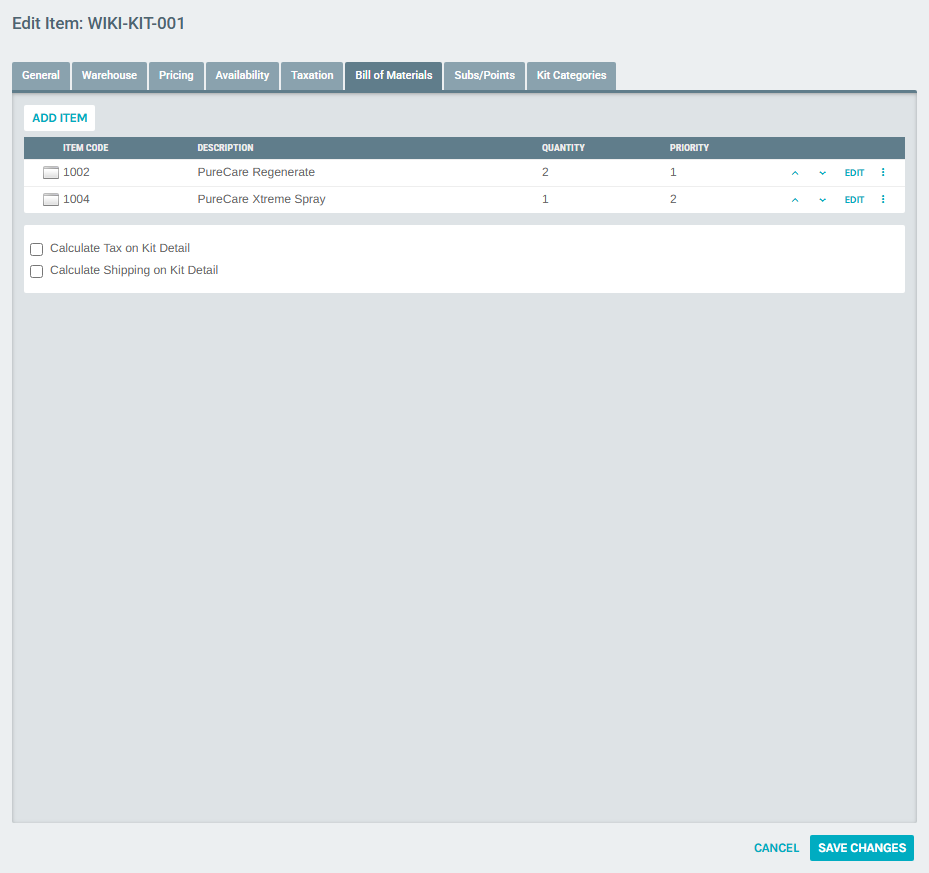
Each row in the table shows:
| Column | Description |
|---|---|
| Item Code | The component item's code. |
| Description | The component item's name. |
| Quantity | How many units of this component are included in the kit. |
| Priority | The display order of components (editable via the up/down arrows). |
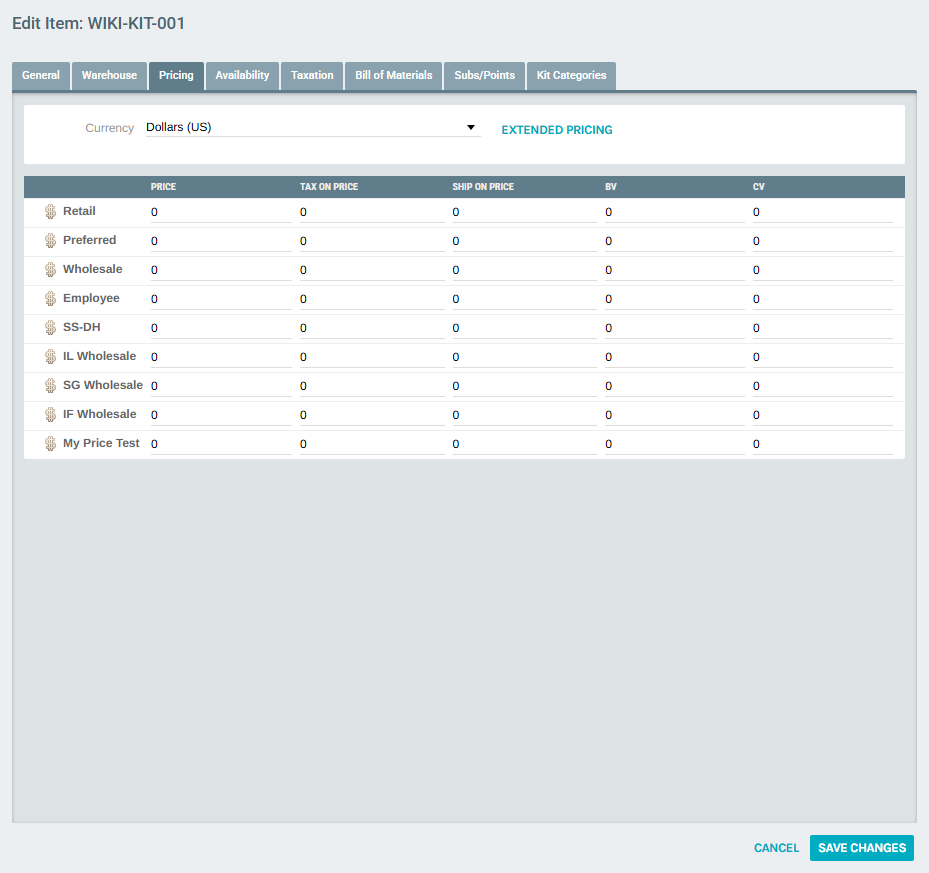
Step 10 — Set Pricing
Click the Pricing tab to set prices for the kit as a whole. Pricing works the same as for standard items — set a price per price type (Retail, Preferred, Wholesale, etc.) across each currency column.
Step 11 — Save Changes
Once all components and pricing are configured, click SAVE CHANGES. The popup closes and the kit is ready to be ordered.
Summary
| Step | Action |
|---|---|
| 1 | Navigate to Accounting → Items |
| 2 | Review the Items list |
| 3 | Click ADD ITEM |
| 4 | Set Description, Item Code, and Item Type (Static Kit or Dynamic Kit) on the General tab |
| 5 | Click SAVE CHANGES (required before editing the BOM) |
| 6 | Find the item in the list and click EDIT |
| 7 | Go to the Bill of Materials tab |
| 8 | Click ADD ITEM, search for a component, pick it, set the quantity, and click ADD ITEM |
| 9 | Repeat for each additional component |
| 10 | Set kit pricing on the Pricing tab |
| 11 | Click SAVE CHANGES |