Creating Grouped Items (Admin)
This guide explains how to configure Grouped Items in Exigo Admin. Item groups allow you to associate related items together — for example, product variants like different sizes or colors — so they can be presented as a unified product selection in the storefront.
Overview
Item grouping is configured through the Web Settings of each individual item. One item in the group is designated as the Group Master, which serves as the primary product entry. All other items in the group are linked to this master.
Key concepts:
- Group Master: The primary item that represents the group. It is the entry point for the product group in the storefront.
- Product Group Description: A label describing the overall group (e.g., "PureCare Ballcap").
- Grouping Description: The label for each individual item's role within the group (e.g., "Small", "Medium", "Large").
- Display As: An optional override label for how a specific item appears within the group selection.
You can review all existing item groups from the Items list by clicking MANAGE GROUPS.
Step-by-step
1) Navigate to the Items List
- In the left navigation sidebar, expand Accounting
- Click Items
- The Items list page loads, showing all existing items
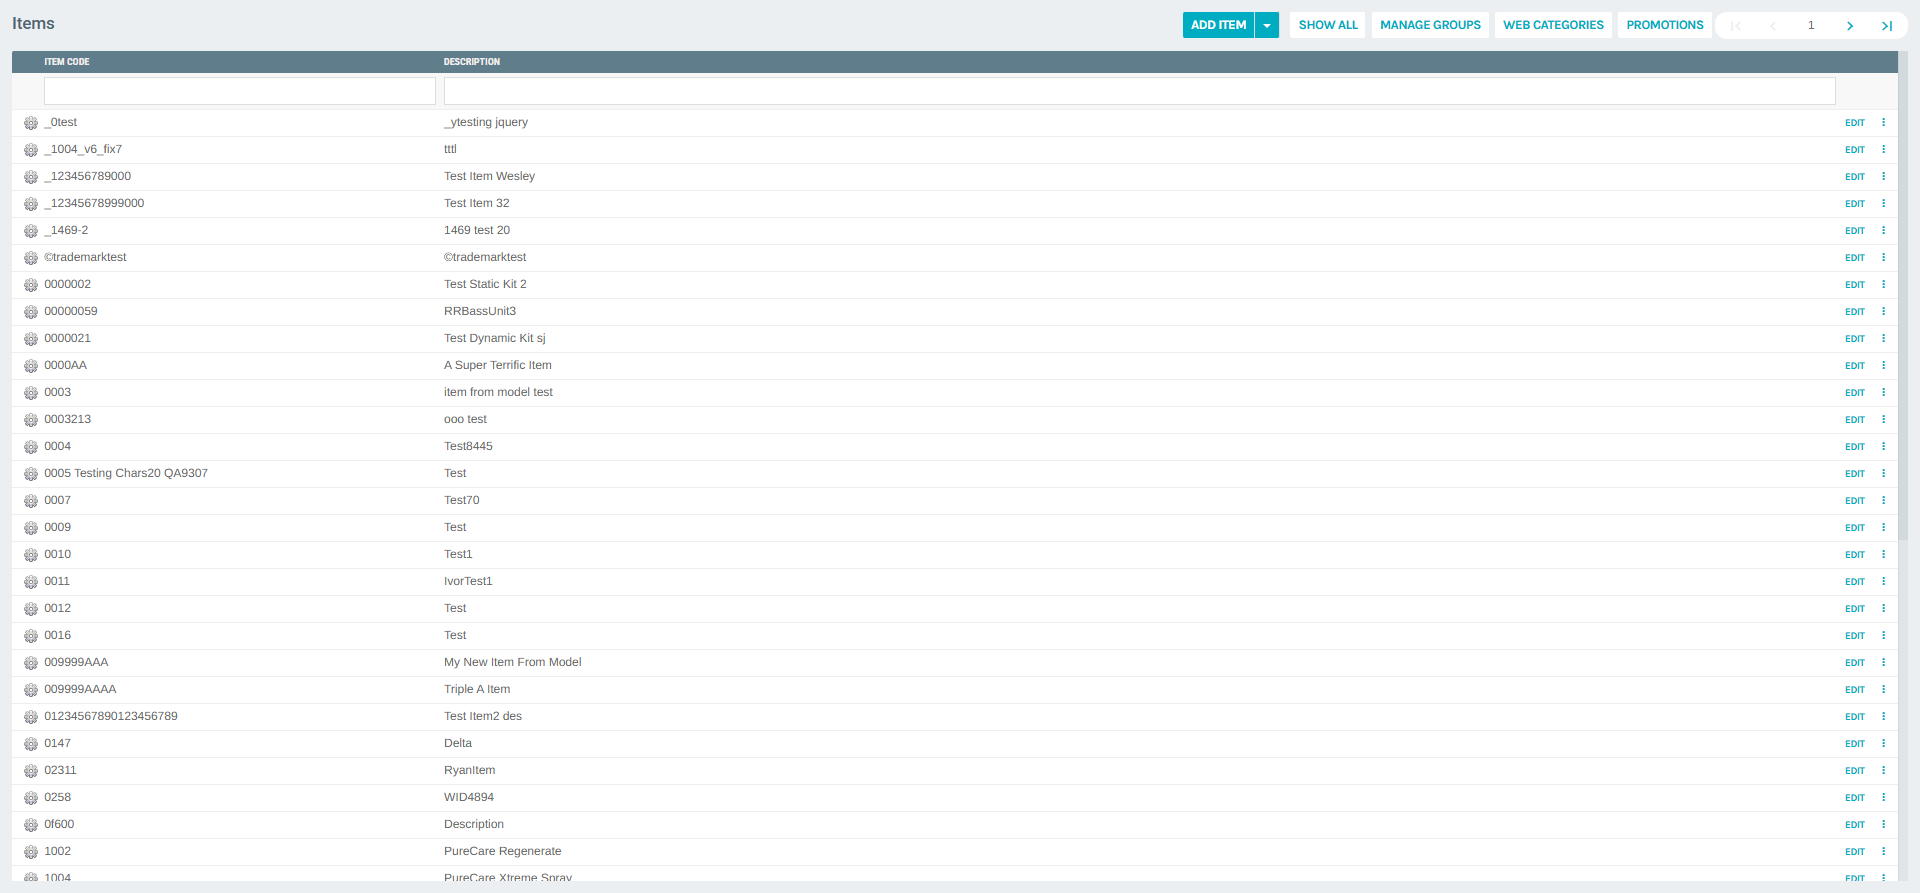
From the Items list you can also:
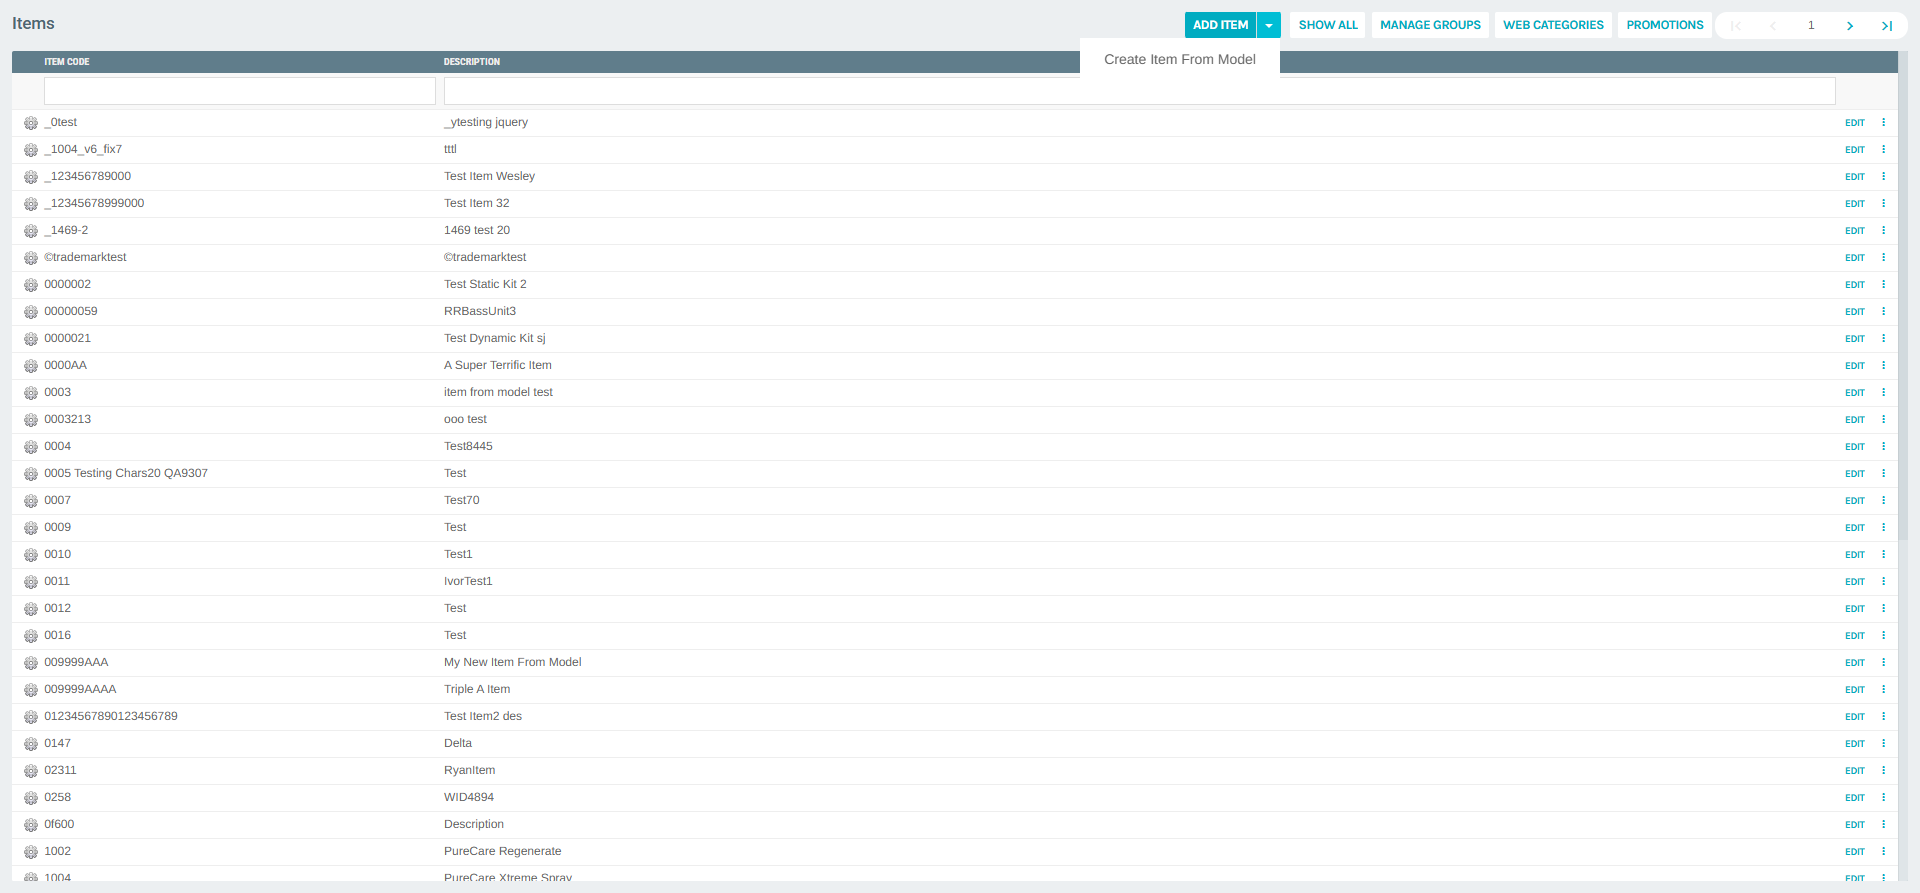
- Click ADD ITEM to create a new item, or use the dropdown arrow to create from a model
- Click MANAGE GROUPS to view all currently configured item groups
2) Review Existing Groups (Optional)
Click MANAGE GROUPS from the Items list to open the groups management panel. This lists all item groups with their Group Name, Master Item Code, and Item Description.
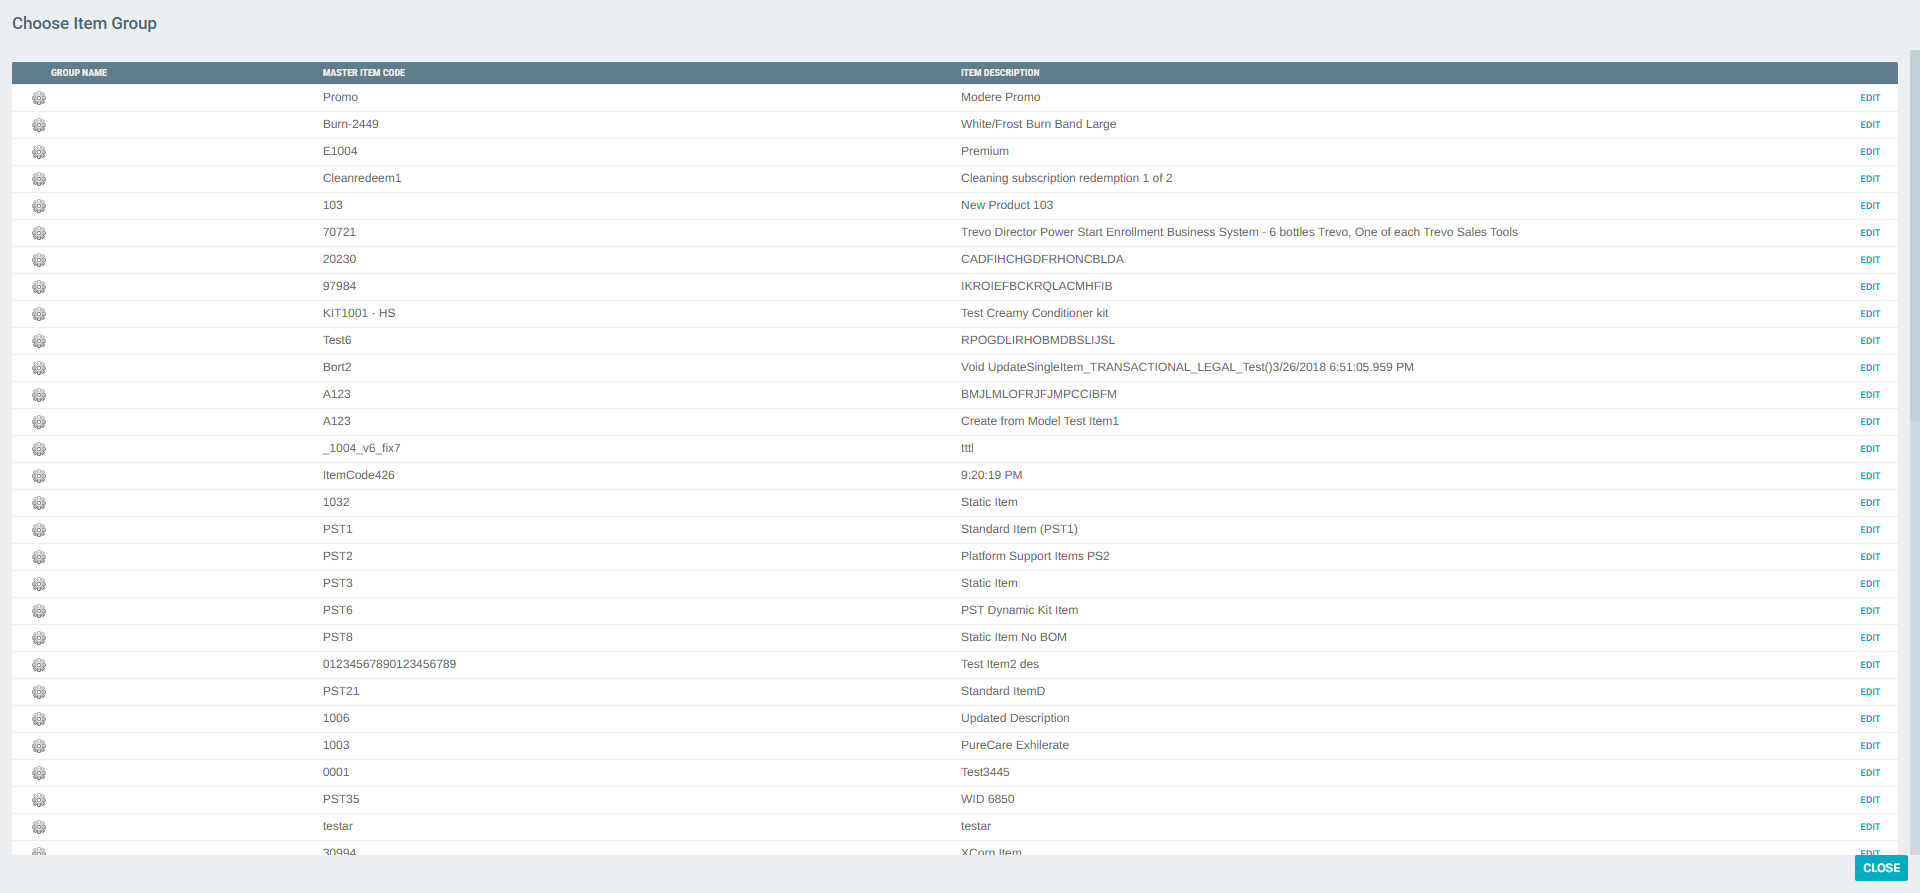
Each group has an EDIT button that opens the pricing configuration for the group's master item. Groups themselves are not created from this panel — they are configured from within each individual item's Web Settings.
3) Create the Individual Items
Before configuring a group, all the items that will belong to the group must already exist. Create each item using the standard item creation process:
- Click ADD ITEM from the Items list
- A popup window opens with the Add Item form
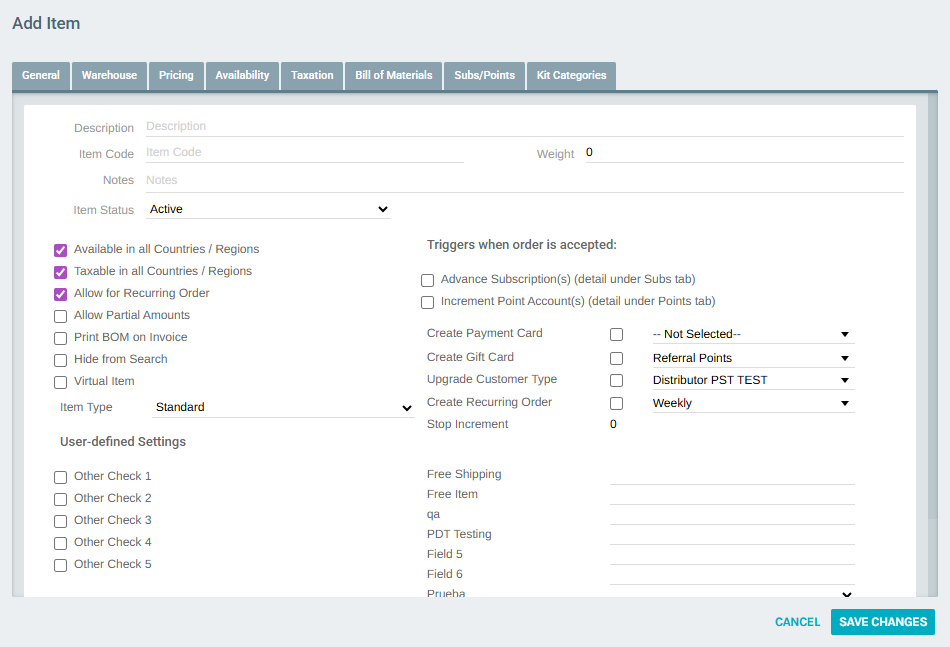
Fill in the required fields:
| Field | Description |
|---|---|
| Description | The full display name of the item |
| Item Code | A unique identifier for the item |
| Item Type | Select Standard for regular grouped items |
| Item Status | Set to Active |
Create each item variant (e.g., Small, Medium, Large) separately before proceeding to configure the group.
4) Open the Item's Web Settings — Grouping Tab
Once the items are created, navigate to the Item Portal for the item you want to designate as the Group Master:
- From the Items list, click EDIT on the item, then navigate to its portal
- In the left sidebar under Web Settings, click Grouping

This opens the Item Descriptions Setup page on the Grouping tab.
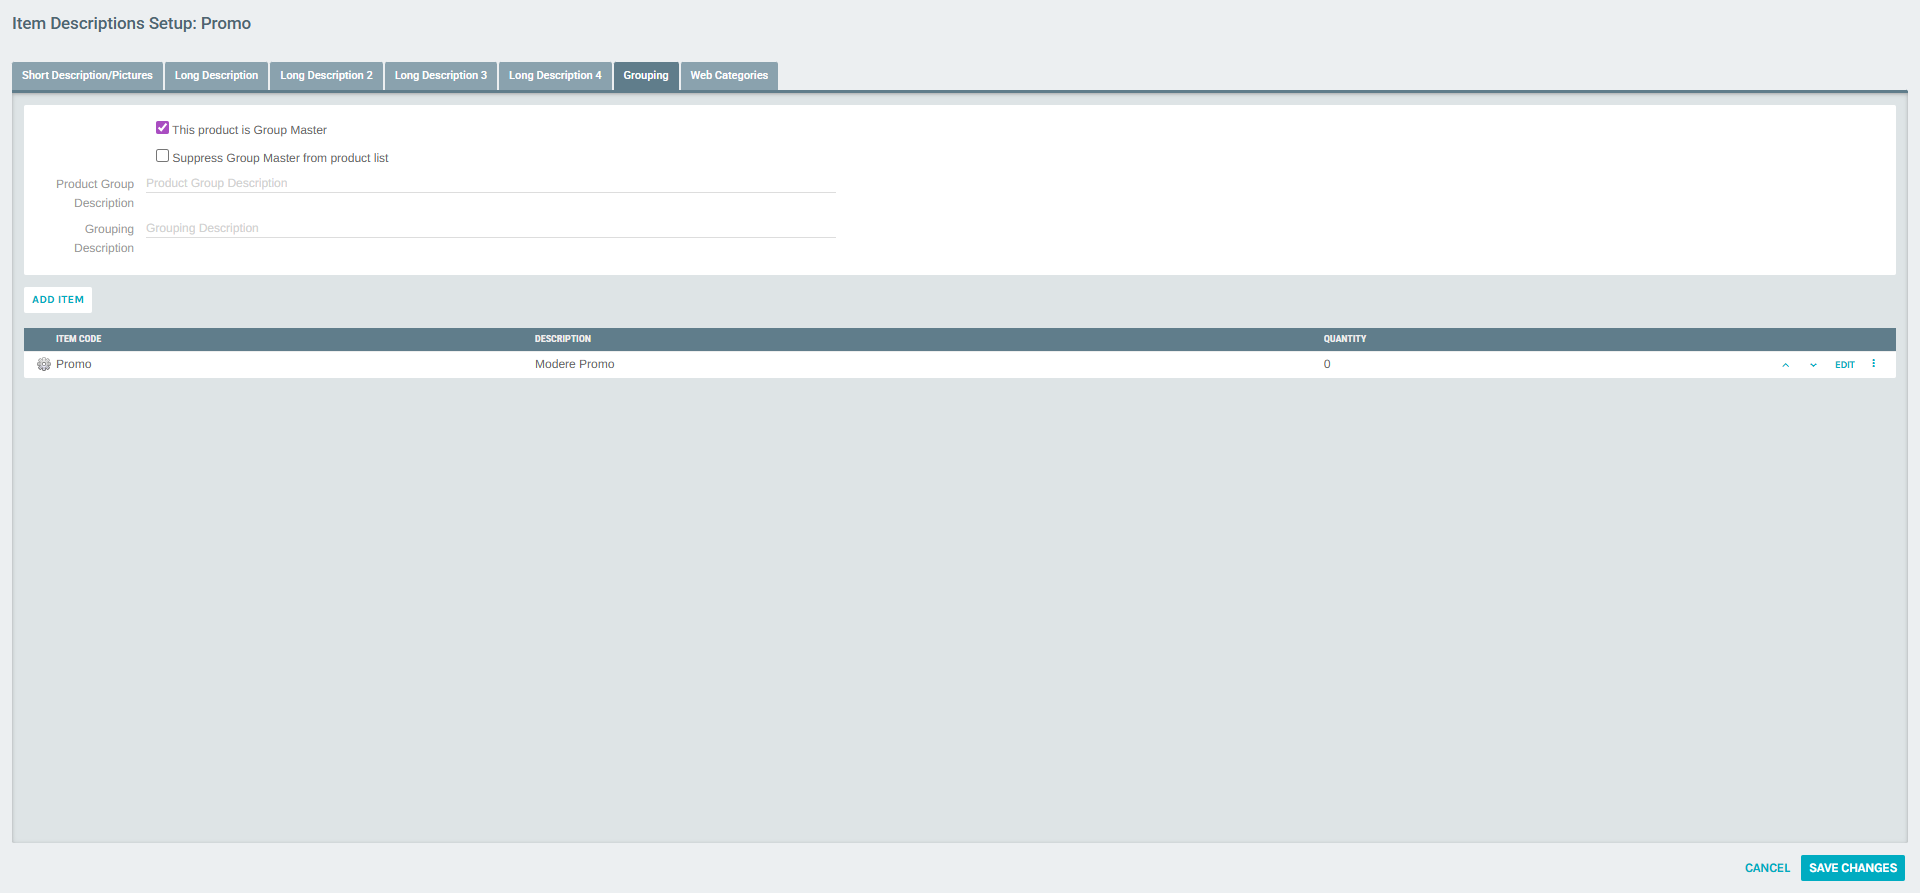
5) Configure the Group Master
On the Grouping tab of the master item:
- Check This product is Group Master to designate this item as the group's primary entry
- Optionally check Suppress Group Master from product list to hide this item from the general product catalog (it will still appear as part of the group)
- Enter a Product Group Description — the overall name for the group shown to customers
- Enter a Grouping Description — a label for this specific item within the group (e.g., "Standard" or the master variant name)
Note
An item that is NOT the Group Master also has a Grouping tab. On non-master items, the "This product is Group Master" checkbox is unchecked.

6) Add Items to the Group
Click ADD ITEM within the Grouping tab to open the Pick Item dialog.
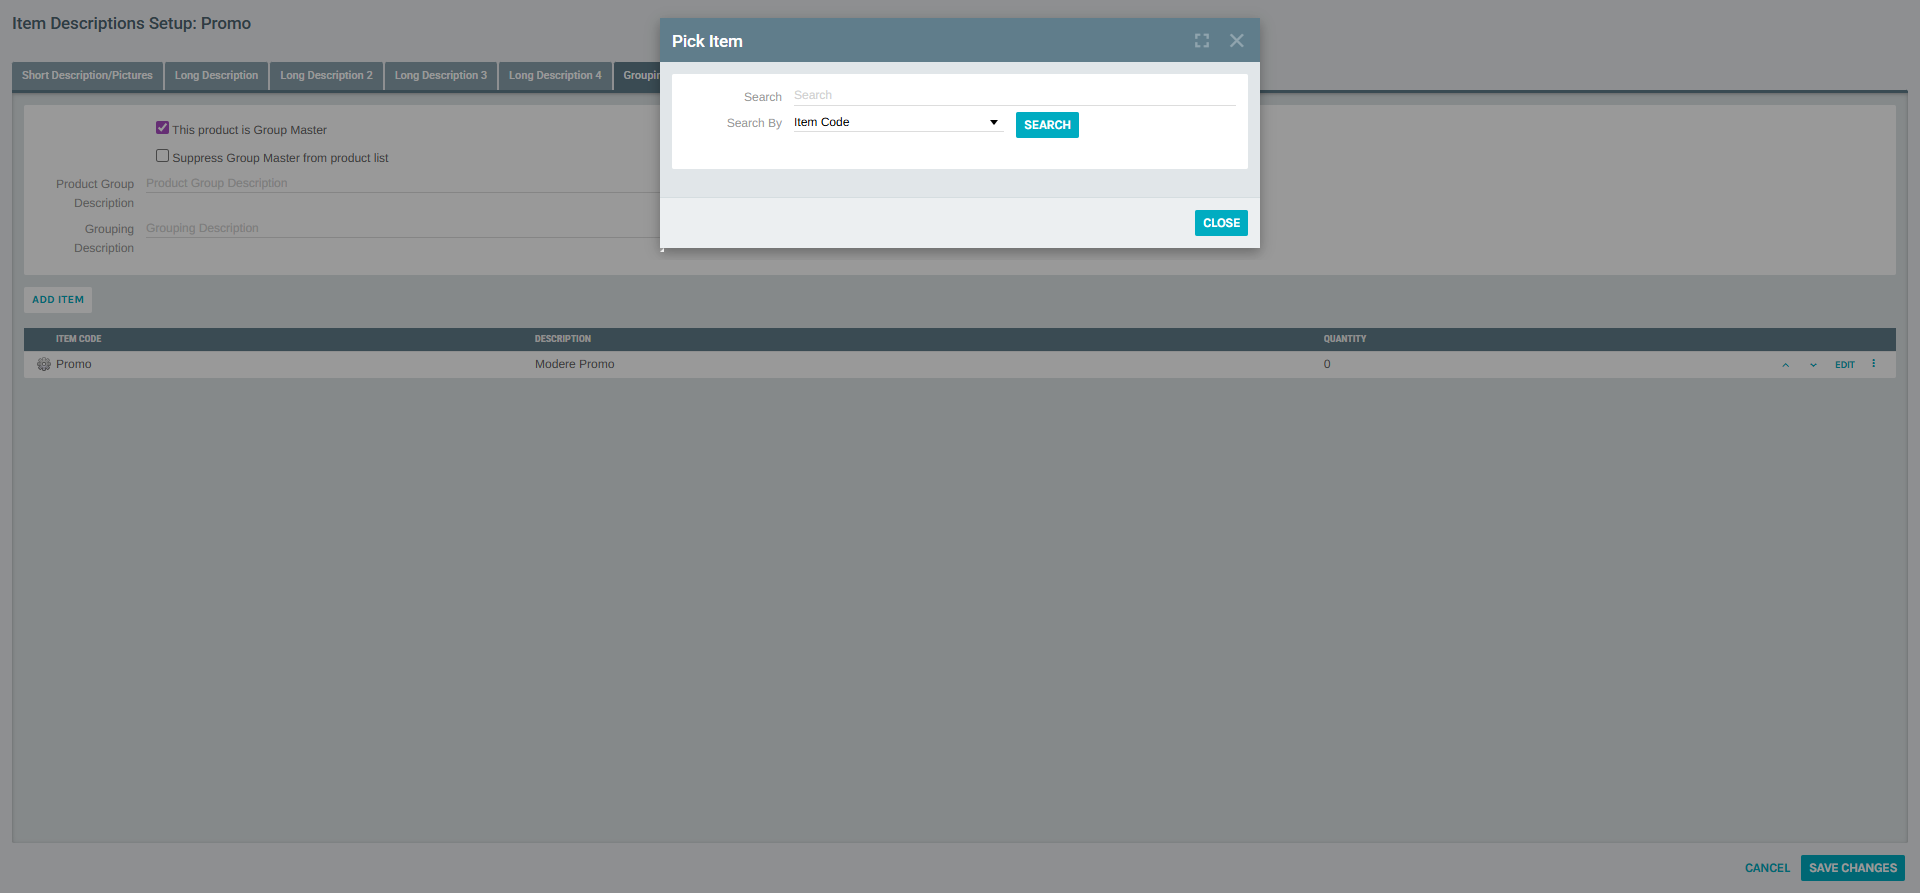
In the Pick Item dialog:
- Enter a search term in the Search field (e.g., the item code prefix)
- Select a search type from the Search By dropdown (Item Code or Description)
- Click SEARCH to load matching results
- Click PICK ITEM next to the item you want to add to the group
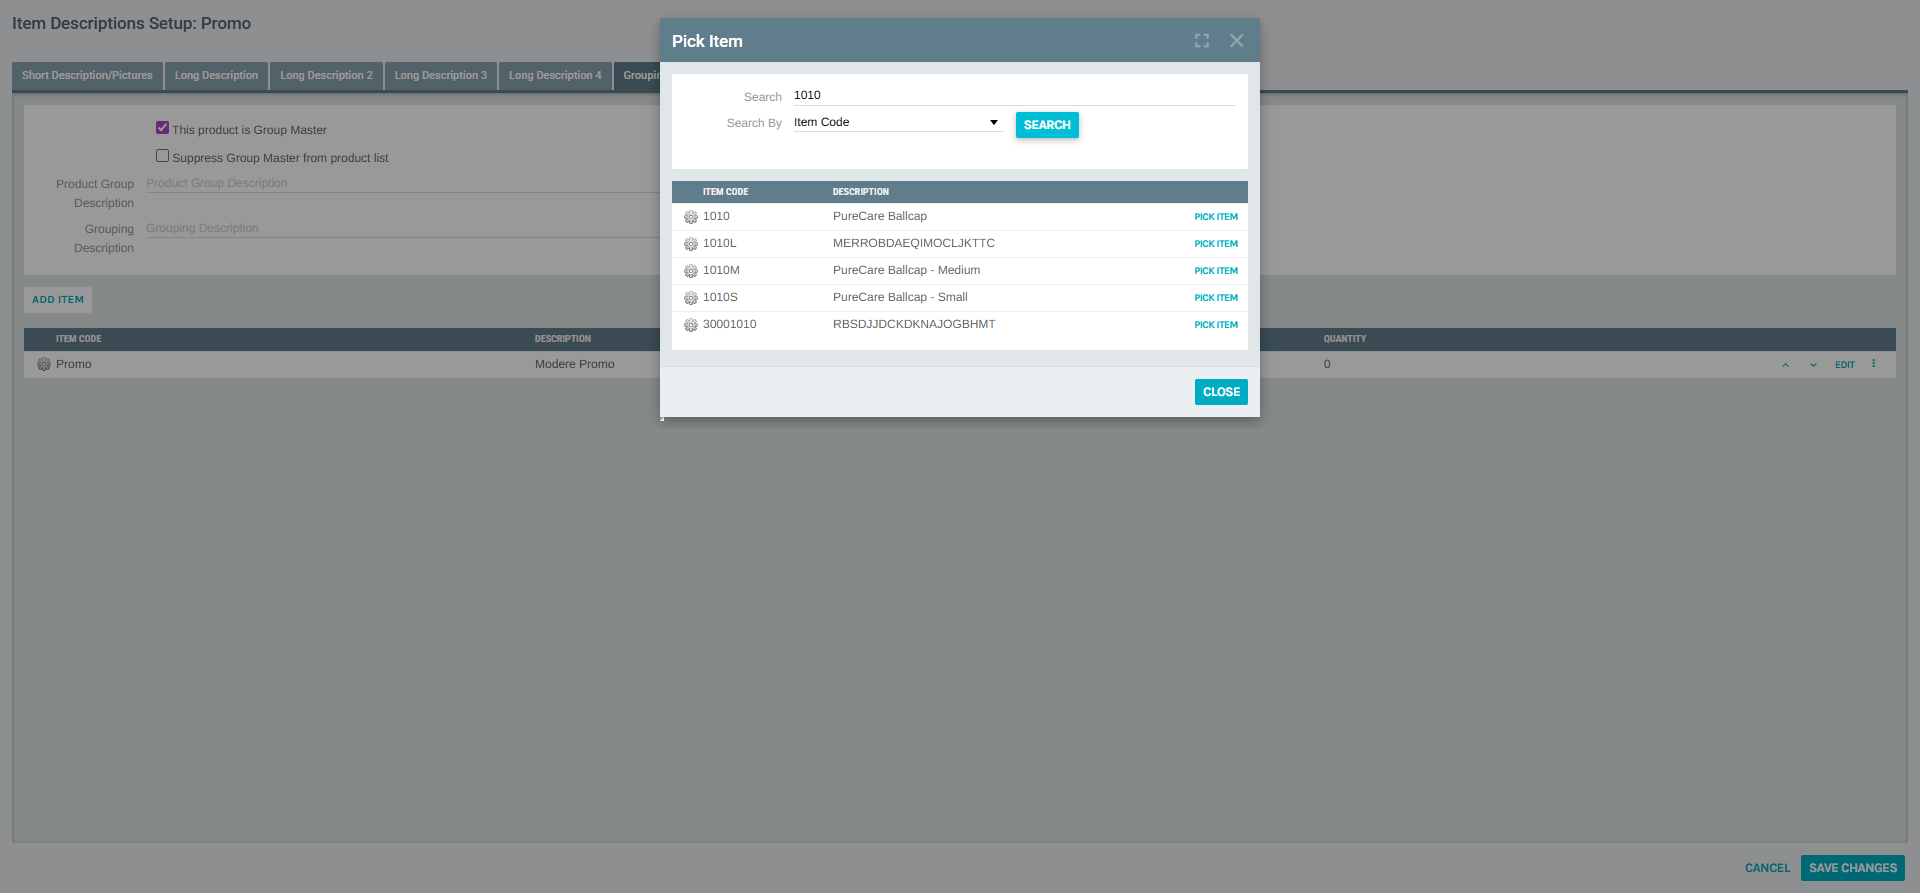
Repeat this process to add all variants to the group.
7) View the Completed Group
After adding all items, the Grouping tab displays all group members in a table with columns: Item Code, Description, and Quantity.
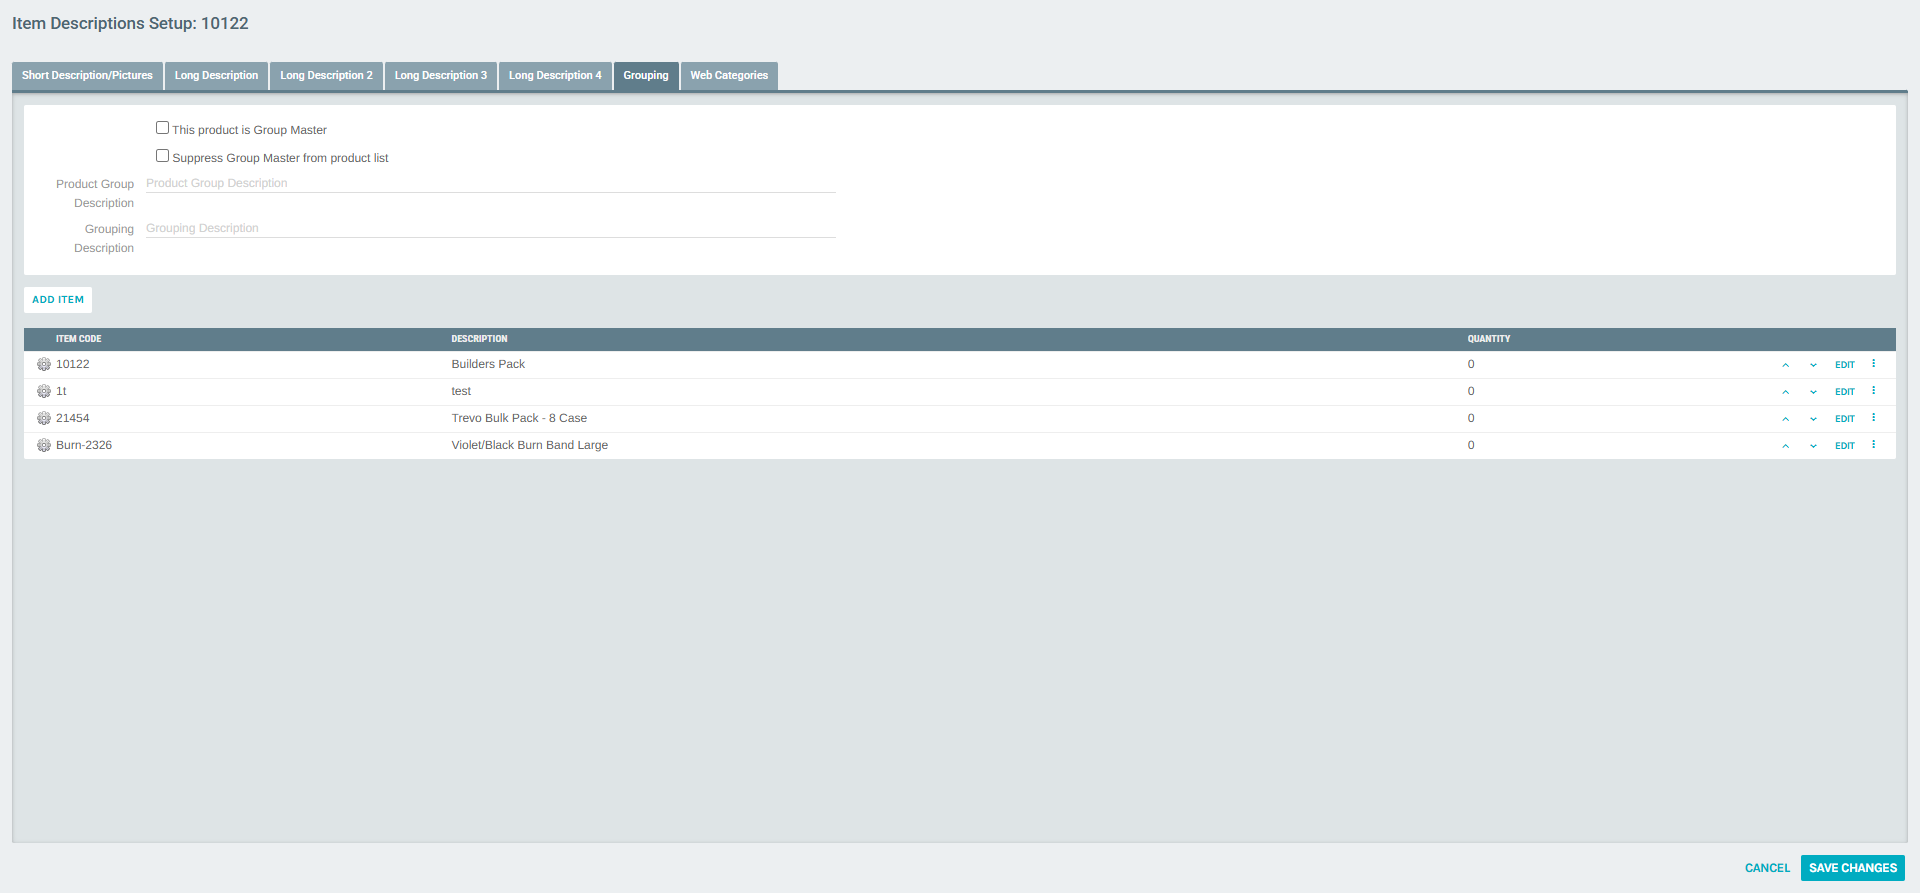
Each item in the table has an EDIT button to configure how it appears within the group.
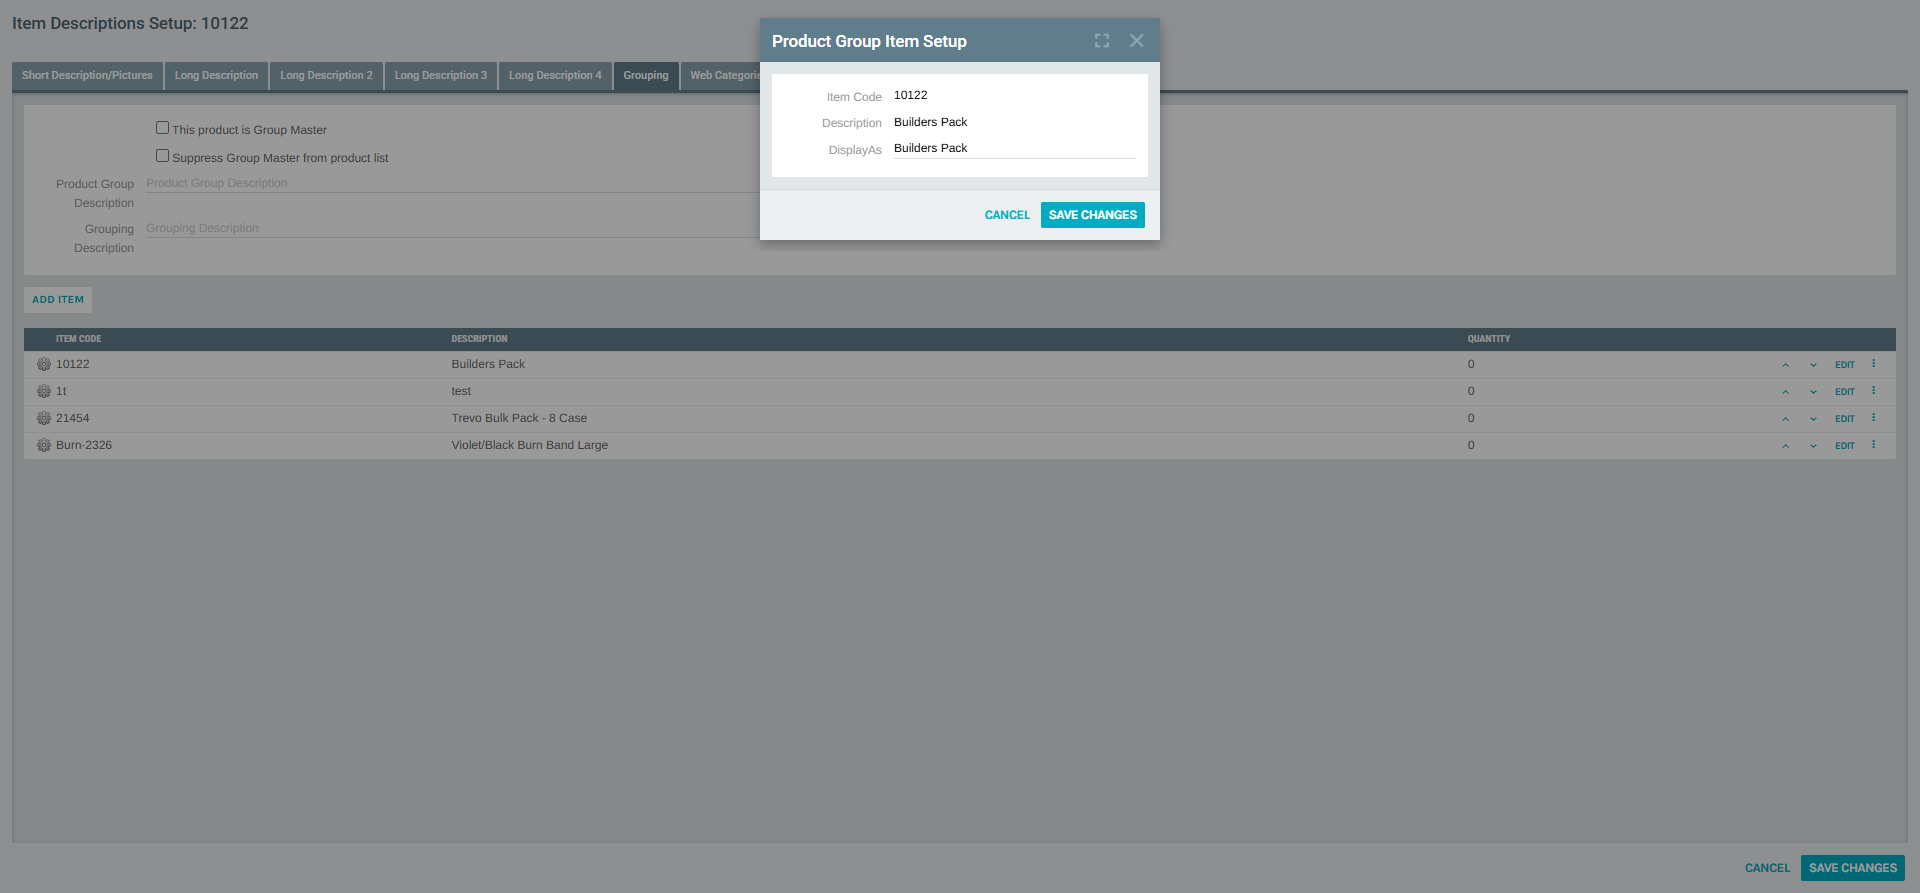
8) Configure Item Display Labels
Click EDIT next to any item in the group to open the Product Group Item Setup dialog. This lets you set the Display As field — the label shown for that item in the group selection interface.
| Field | Description |
|---|---|
| Item Code | Read-only. The item's unique code. |
| Description | Read-only. The item's full description. |
| Display As | Editable. The label shown to customers when selecting this variant in the group. |
Click SAVE CHANGES to apply the display label.
9) Save the Group Configuration
After adding all items and configuring their display labels, click SAVE CHANGES on the Grouping tab to finalize the group setup.
Summary
| Step | Action |
|---|---|
| 1 | Navigate to Accounting > Items |
| 2 | Optionally review groups via MANAGE GROUPS |
| 3 | Create all individual items that will form the group |
| 4 | Open the intended Group Master item's Web Settings > Grouping tab |
| 5 | Check "This product is Group Master" and fill in group descriptions |
| 6 | Click ADD ITEM to add each variant/related item to the group |
| 7 | Use EDIT on each group member to set their Display As label |
| 8 | Click SAVE CHANGES to finalize |