Creating Company Calendars
This document provides a step-by-step guide for creating and managing Company Calendars in the Exigo Admin portal.
Table of Contents
- Overview
- Accessing Company Calendar Settings
- Viewing Existing Calendars
- Adding a New Calendar
- User Permissions
- Best Practices
- System Notes
Overview
Company Calendars in Exigo allow administrators to create shared calendars for scheduling and event tracking across the organization. Each calendar can be configured with user-level permissions, controlling who can view, modify, or have full control over calendar events. Calendar events can optionally be displayed on the Today page for quick visibility.
Accessing Company Calendar Settings
Navigation Path
- Log in to the Exigo Admin portal at
login.exigo.com - From the left sidebar, navigate to Administration > Settings
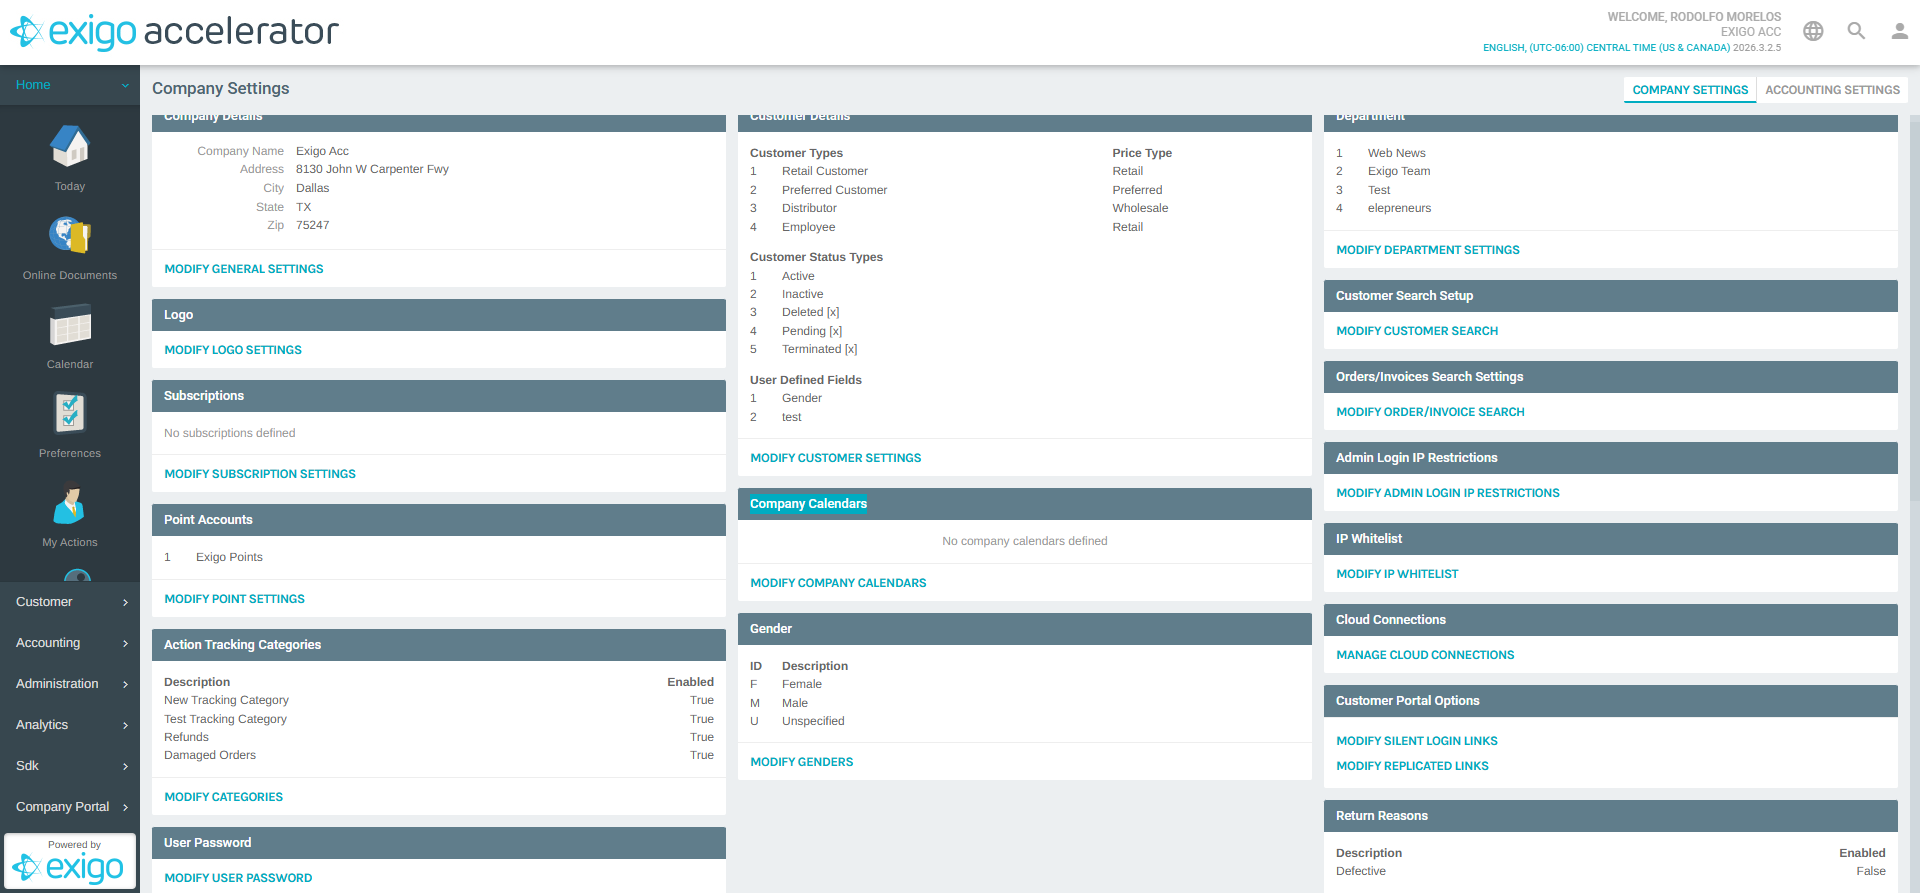
- The Company Settings page loads in the main content area. Scroll down to the Company Calendars section.
The Company Calendars section displays a summary of existing calendars. If no calendars have been created, the message "No company calendars defined" is shown.
- Click MODIFY COMPANY CALENDARS to open the calendar management popup.
Viewing Existing Calendars
After clicking MODIFY COMPANY CALENDARS, the "Company Calendars" popup opens.
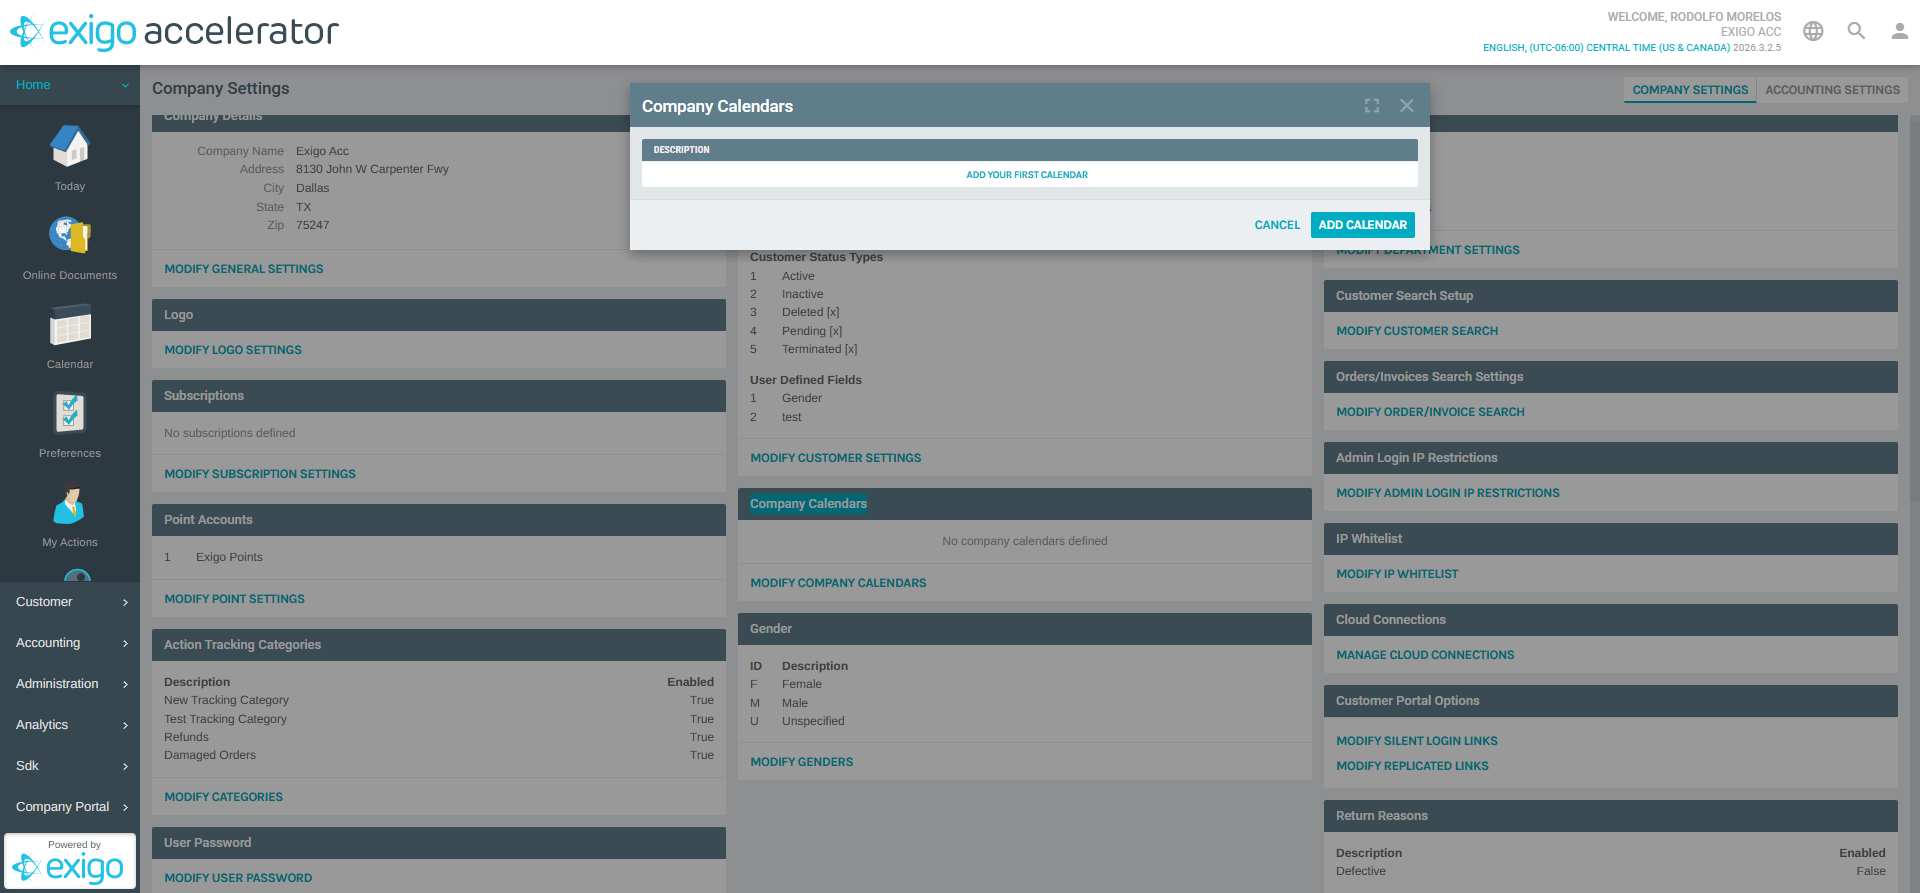
The popup includes: - ADD CALENDAR link at the top to create a new calendar - Calendar Table with a Description column listing existing calendars - CANCEL button to close the popup without changes
If no calendars exist, the message "ADD YOUR FIRST CALENDAR" is displayed in the table area.
Adding a New Calendar
Steps to Add:
- In the Company Calendars popup, click the ADD CALENDAR link
- The "Company Calendar Setup" form opens

- Fill in the following fields:
| Field | Type | Required | Description |
|---|---|---|---|
| Calendar Name | Text | Yes | The display name for the calendar |
| Show Events On Today Page | Checkbox | No | When checked, events from this calendar appear on the Today page dashboard |
- Configure user permissions in the grid below (see User Permissions)
- Click ADD CALENDAR to save the new calendar
- The calendar will appear in the Company Calendars list
User Permissions
The calendar setup form includes a user permissions grid that lists all admin users in the system. For each user, you can assign a permission level that controls their access to the calendar.

Permission Grid Columns
| Column | Description |
|---|---|
| Checkbox | Select/deselect a user to include them in the calendar |
| Username | The display name of the admin user |
| Permission | The access level dropdown for the selected user |
Available Permission Levels
| Permission | Description |
|---|---|
| None | User has no access to this calendar (default) |
| Read Only | User can view calendar events but cannot create or modify them |
| Read/Modify/Creator Owner | User can view all events and modify events they created |
| Full Control | User can view, create, modify, and delete any event on the calendar |
To assign permissions: 1. Check the checkbox next to the user's name 2. Select the desired permission level from the Permission dropdown 3. Repeat for each user who needs access
Best Practices
- Use Descriptive Names: Choose calendar names that clearly identify their purpose (e.g., "Marketing Events", "Team Meetings", "Company Holidays")
- Principle of Least Privilege: Assign the minimum permission level each user needs — use Read Only for users who only need to view events
- Enable Today Page Visibility: Check Show Events On Today Page for calendars with important company-wide events so they are immediately visible on the dashboard
- Review Permissions Regularly: Periodically audit calendar permissions to ensure they remain appropriate as team members change roles
System Notes
- Each calendar must have a unique name
- The Calendar Name field is required — the calendar cannot be saved without it
- User permission changes take effect immediately after saving
- Calendars can be edited or deleted from the Company Calendars list after creation
- The header checkbox in the permissions grid allows selecting or deselecting all users at once
Documentation created: February 18, 2026 Environment: Exigo Admin v2026.3.2.5